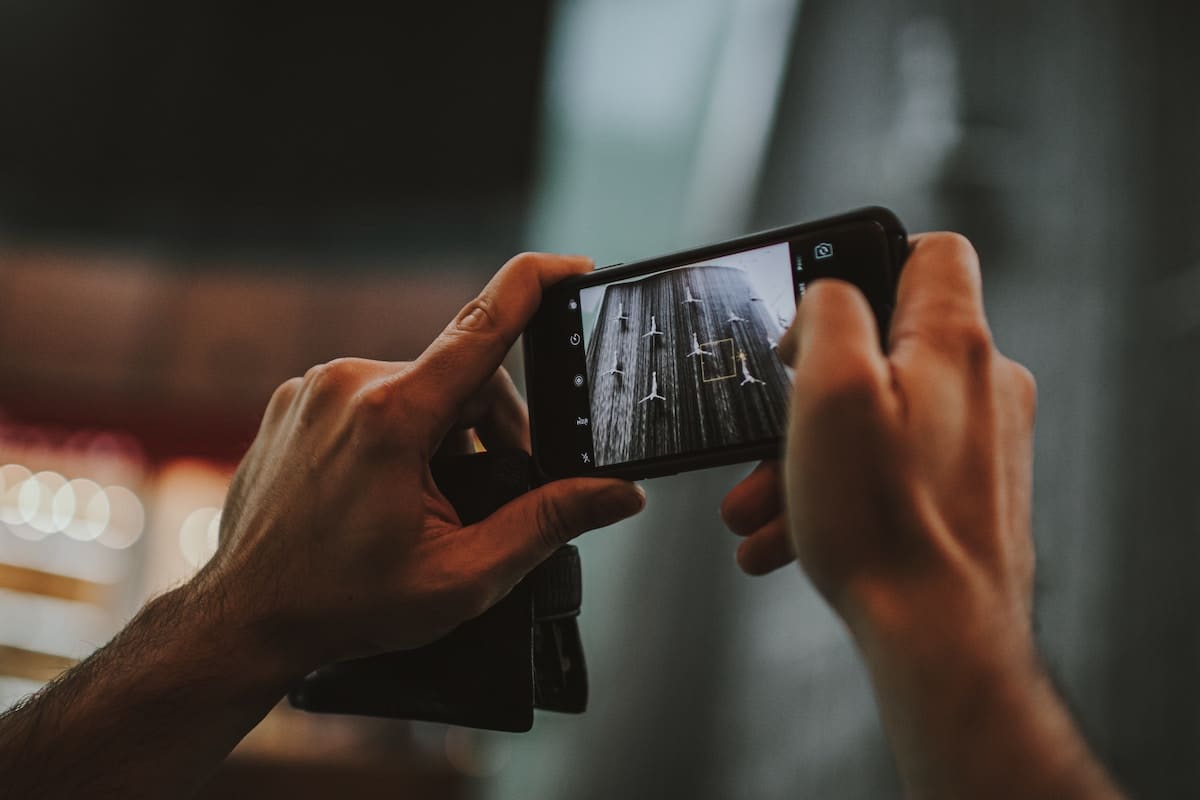

Apple’s Live Photos are photographs with a plus, with effects. when you shoot a Live Photo on your iPhone, capture 1.5 seconds of video both before and after touching the shutter. But how to convert a Live Photo into a video?
The result is not only the photograph itself, but also the scene enhanced by movement and sound that we can see while holding down the image itself on our device. Live Photos debuted in 2015 along with the iPhone 6S, and they’re easy to create because the process is exactly the same as taking any other type of photo. We simply have to have the Live photo option activated on our device, at the time of taking the photograph.
Live Photos are fun, to be sure, but there are some downsides. In their native format, they can only be viewed on other iOS devices. So to share your Live Photos with anyone outside of the Apple world, you must convert them into a video or GIF so they can enjoy them like you on your iPhone. When Live Photos are shared outside of the Apple ecosystem, they revert to simple, still images.
Another drawback of Live Photos is that they take up more storage space than other photosso perhaps it is not always the best option, perhaps a simple photograph or a conventional video is better.
To find all your Live Photos, just open the Photos app and tap the Albums icon. That will take you to an album called Live Photos, where you’ll see all the photos taken while Live Photo was enabled on your device.
If you want to preserve the motion and ambient audio of your Live Photos for viewing elsewhere, you must convert them to videos. I show you how you should do it in iOS 16.
How to save a Live Photo as a video in iOS 16
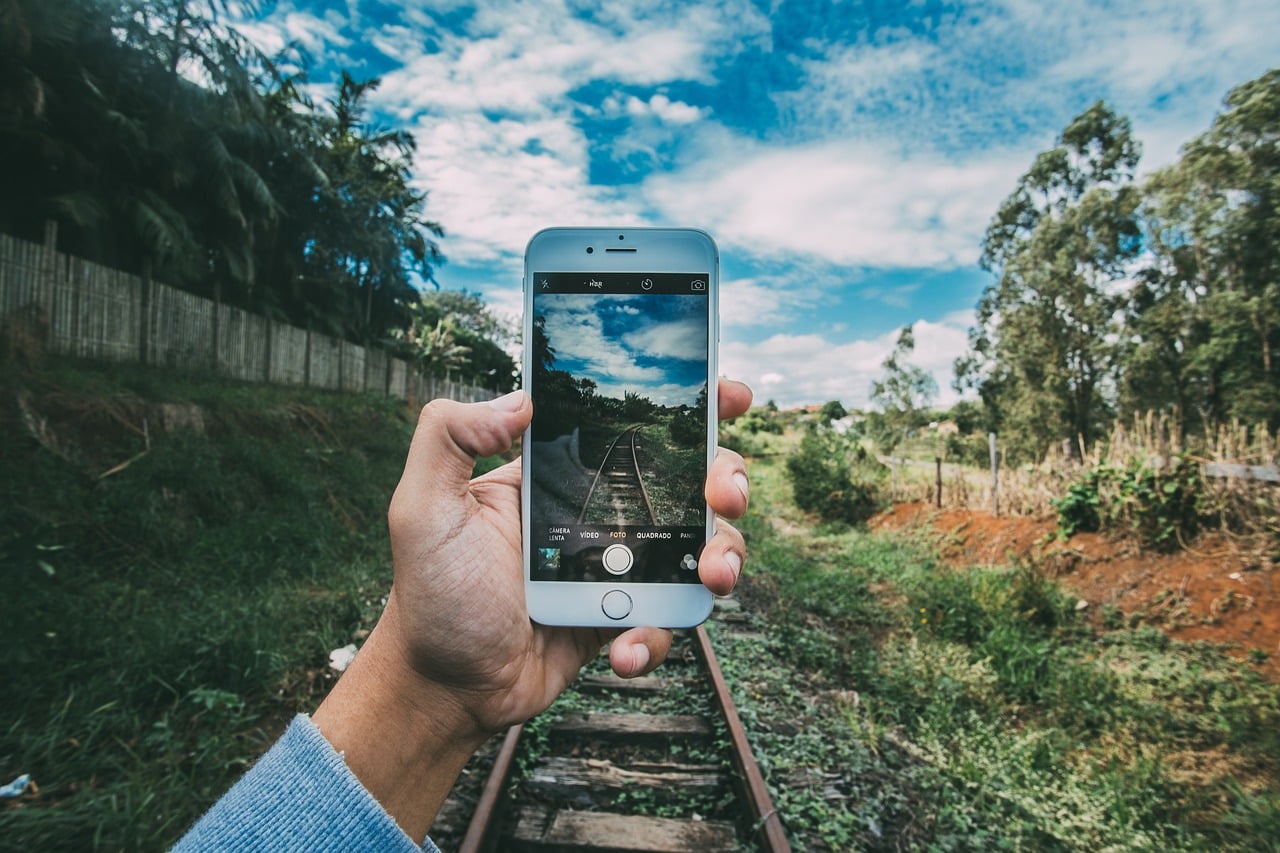
Here I show you how you can create a video from a Live Photo in iOS 16 to be able to share it with a family member or friend, outside the Apple ecosystem, and who can enjoy photography in all its splendor. iOS 16 should be the software you’re running if you have an iPhone 14, an iPhone 14 Pro, or any iPhone that’s an iPhone 8 or later.
Or maybe right now, you’re testing one of the betas that Apple has released. You can check your iOS in its settings.
For convert a Live photo to videoyou must perform the following steps:
- First in the app Photostouch the album icon and select the option to Live Photos.
- Second, you must choose a Live Photo from the gallery on your iPhone and tap on it to open it.
- Now with the chosen Live Photo open, tap the button Further three dots at the top right of the screen, which will give us access to a drop-down menu.
- In the resulting menu, you must select the option Keep like video.
- And finally, you must go to the album Video or Recent in the Photos app to see the new video. From there you can share it with whoever you want, regardless of their device platform.
How to save Live Photo as video in iOS 15 or earlier
On iOS 13, 14, and 15 operating systems, the Save As Video command makes it easy to save a Live Photo as a video with a single touch, faster and easier that option available now. Is that how it works.
- First of all, in the application Photosyou must touch the album icon and select the option of Live Photos.
- Now you must select and open a Live Photo from your iPhone gallery.
- In this step we have to touch the button Share.
- And finally we have to select the option Keep like video.
How to use the Loop and Bounce option with Live Photos
The boys from cupertino included the Loop and Bounce function in the Photos app in iOS 11, and it’s still useful for creating a special effects video or animation, making them even more different.
Loop turns your Live Photo into a short loop which plays continuously without pausing, and the Bounce option makes the subject of your photo move back and forth. If you want to use these features on your iPhone, follow the steps below:
- First you need to open the app Photos on your iPhone and choose a Live Photo from your gallery.
- Secondly, you must touch the image you want, and then tap the Live button directly above it and select the Loop or Bounce option in the dropdown menu that is displayed.
- And it would be
Convert a Live Photo to a Video with Shortcuts
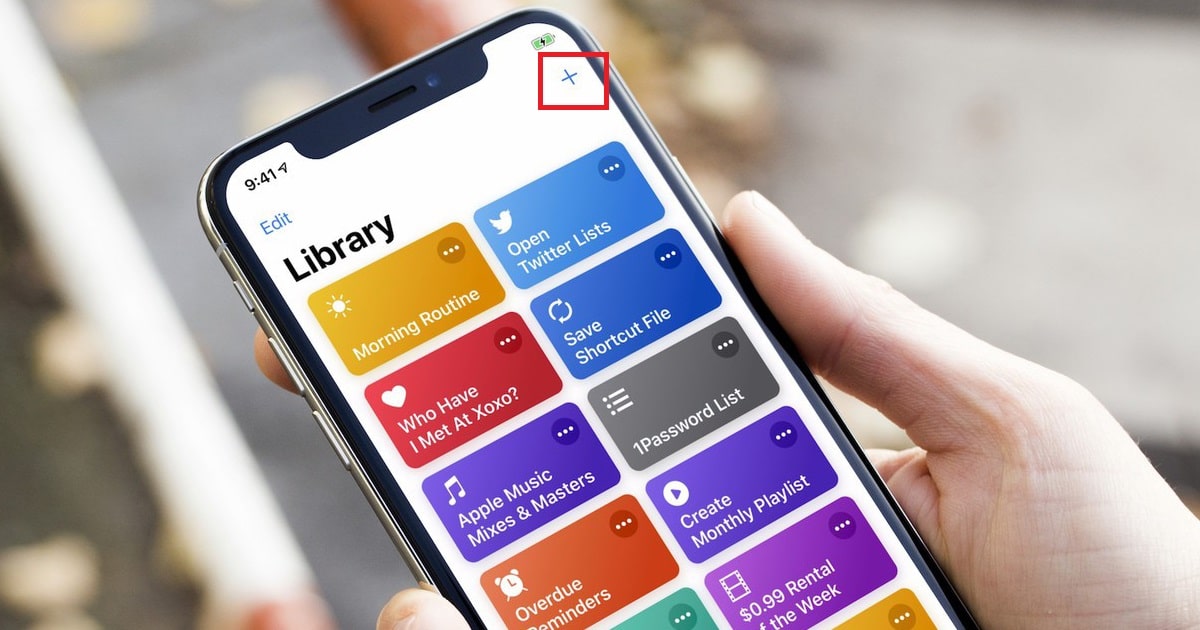
Finally, you can also use the Shortcuts application, a little-used and well-known native application, which can do our daily tasks much easier and faster, with a few simple touches. The Shortcuts app has been integrated into the iPhone operating system since iOS 13, to convert a Live Photo to a video or GIFwith a few simple touches.
The best way to add shortcuts is to create them yourself, so little by little, you will learn how the application works, and you will be able to create your own unique shortcuts that solve your tasks in a personalized way. But we can also use third-party shortcuts, searching for them in telegram groups or web pages, like the one I leave you here.
This shortcut works wonderfully, let’s see how to include it in our iPhone, with the following steps:
- First you need to open the app shortcuts. If you deleted it from your iPhone, download it again from the app store.
- Now go to the website that I have given you above, and access and download the shortcut of Convert Live Photos to Video.
- click on add shortcut on the page that is displayed.
- Once the shortcut has downloaded to your shortcut library, tap to open it.
- Now go to the Live Photo you want to use via Photos > Albums.
- Give a tap to the Live Photo you have chosen and conversion to video will be executed.
- Decide if you want the shortcut to notify you about Live Photo conversions.
- With notifications enabled, you’ll receive a message with each conversion telling you where to find your new video.
- And it would be Now the Live Photo to video conversion is done automatically.
