You have finally decided to build a PC. You are clear about the pieces that you are going to use, and you are looking forward to getting down to work so that you can start enjoying it as soon as possible. If you are careful and approach the assembly calmly, and knowing at all times the steps that you must follow, you should not have a problem, but there is always some risk that, for one reason or another, you end up doing something wrong, and the consequences of those mistakes could end up being very serious.
I know of cases of experienced users who, either because of haste or overconfidence, have gotten carried away and have entered an automated mode that has led them to make mistakes that in some cases ended up being very expensive. So that you do not have to go through that situation, today I want to share with you five things that, even though they are very basic, we can do wrong when assembling a PCand that can end up giving us a displeasure.
In this guide I will focus only on errors that occur during the assembly processthat is to say, in the things that we can do wrong while we are assembling the PC, and not in the previous stage of component selection, nor in the later part of the installation of the operating system, of the drivers and of the final configuration of the system.
In those it is also possible to make serious mistakes, such as the purchase of parts that are not compatible with each other or that do not fit, and also the installation of inappropriate drivers, so be careful with those steps as well, because they are very important. That being said, I invite you to make yourself comfortable, and let’s get started.
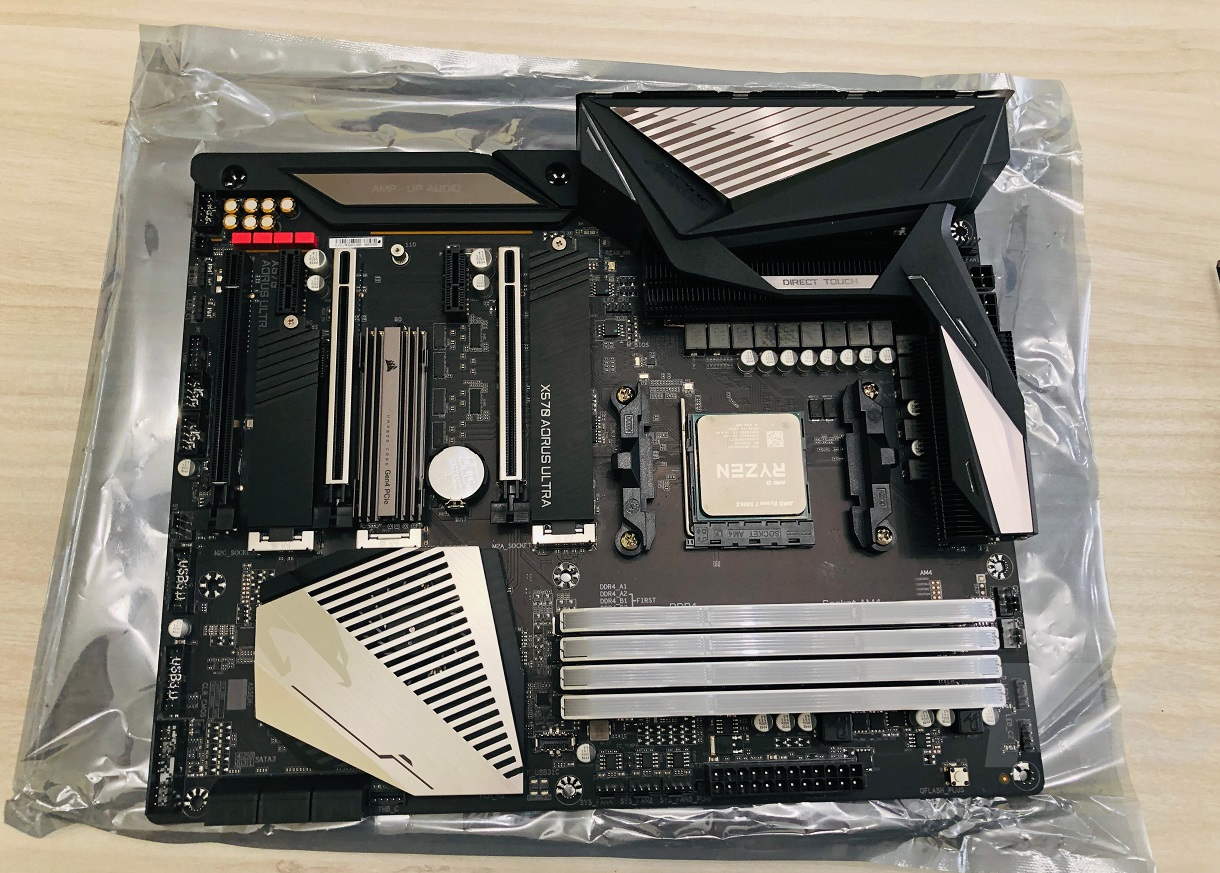
1.-Place the processor in the wrong orientation
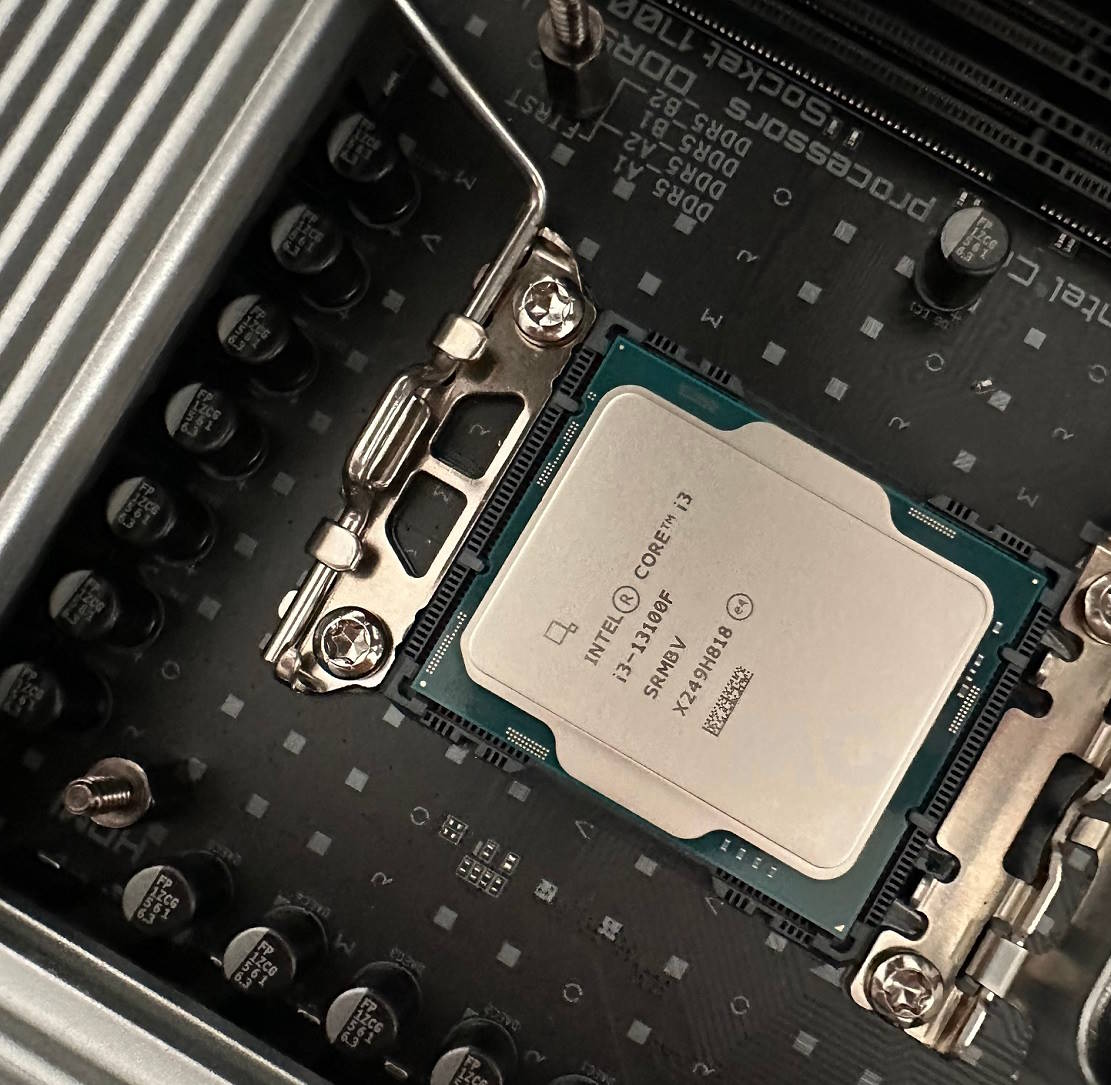
This is an assembly mistake that, luckily, is becoming more and more difficult to make, and that with little care it is very easy to avoid. Both Intel and AMD market their processors with a triangle-shaped indicator pointing the orientation that the processor should have so that we insert it correctly into the socket. It is not a major complication, in fact if we have placed it correctly we will notice that it enters perfectly under its own weight, and we will not have to use force.
There are cases where it’s physically impossible to misplace the processor because it just doesn’t fit if we don’t put it in the right position, so in the end It’s more difficult to get it right than it is to get it wrong. However, I can confirm that I have seen cases of people who have done it wrong thinking that it was normal to have to apply some force to insert the pins, which eventually end up bent, so we must always be careful with this point.
Before inserting the processor, take a good look at that orientation triangle that appears drawn both in a corner of the processor and in the socket of the motherboard, since this will tell you the position in which it should be placed. Once you have it clear, you just have to drop it and that’s it, it will enter directly under its own weight without you having to force yourself. If you notice that it does not enter under its own weight never force yourselftake it out and make sure you were installing it correctly.
Forcing the processor and installing it incorrectly can end up causing irreversible damage that, in the end, will render it completely useless. Something as simple as bending or breaking one or more pins can turn a processor into a paperweight, and we can also end up bending or breaking the socket pins on the motherboard if we are not careful, and this will render the motherboard useless, since it will not be able to run any processor. In some cases it is possible to repair this damage, but the cost is usually very high.
2.-Install the RAM memory in «single channel» mode
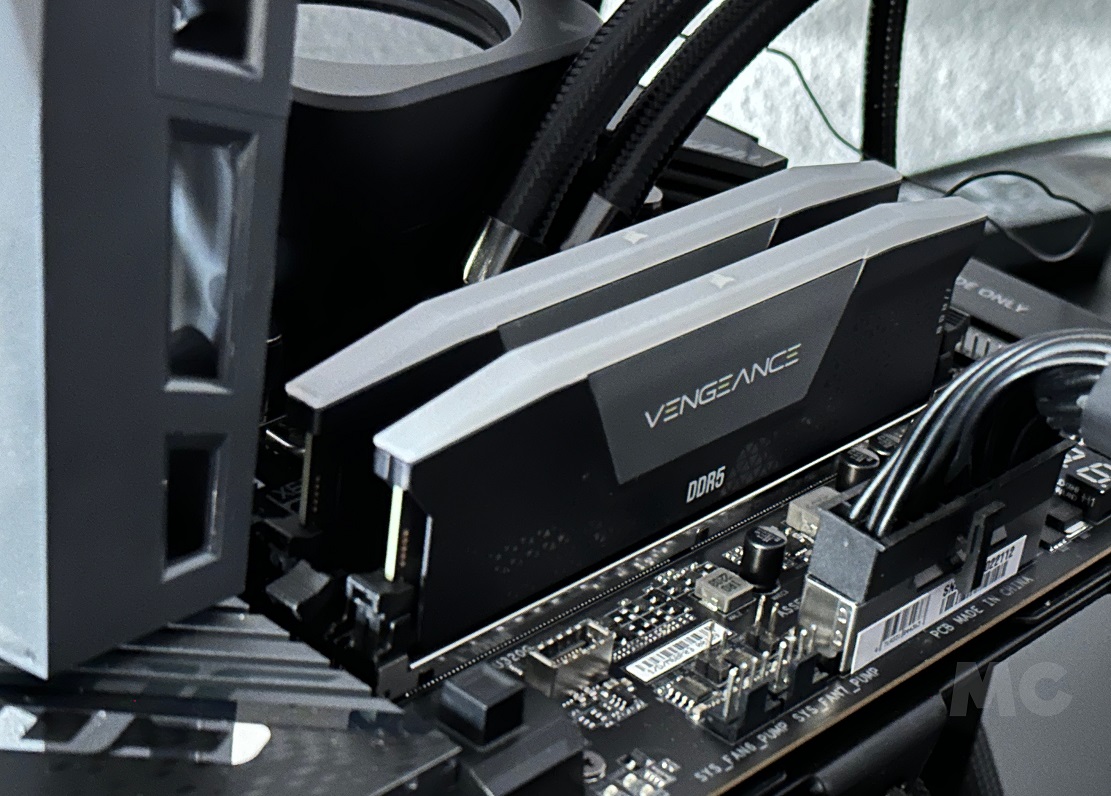
Undoubtedly one of the most common mistakes, although luckily it is also one of the most innocuous that we can make, since It does not cause any type of damage to our PC and we will not have anything to worry about if we commit itsince we can correct it at any time and without effort.
Installing the RAM memory in “single channel” mode means that we have placed two modules in succession, and therefore only will use a 64-bit bus instead of a 128-bit one. This will reduce the bandwidth, and will make the communications and data transfers that the CPU performs with the memory much slower. It can also negatively affect the performance of an integrated GPU, since it uses RAM as graphics memory, and depends on the bandwidth it offers to achieve a higher level of performance.
You can visually identify if you have placed the RAM memory correctly or incorrectly in a very simple way, and this will prevent you from having to turn on the PC to clear up doubts. If you have installed the modules in slots 1 and 2, from left to right, or 3 and 4, also from left to rightI am sorry to tell you that you have fallen into this error, and that they will work in “single channel”.
Luckily this error is very easy to correct, as I told you at the beginning of this section. You only have to remove one of the two modules and change it slot. The correct order to activate dual channel mode would be, from left to right, slots 1 and 3 or slots 2 and 4, always following an alternate placement. If you are afraid of placing the RAM memory in the wrong direction, don’t worry, it has a pattern that makes it not fit directly, and you just have to look in the slot to hit it.
3.-Place an M.2 SSD in the wrong slot
It is a less frequent error, but it can have quite serious consequences. In many motherboards that offer several M.2 NVMe PCIe slots, it is normal to find differences in the level of support of different standards, and also with a number of certain PCIe lanes. For example, Intel Z590 motherboards typically feature an M.2 slot that supports PCIe Gen4 x4while the rest of your M.2 slots are typically limited to PCIe Gen3 x4 or x2.
We can also find current motherboards today that have one M.2 slot that supports PCIe Gen5 x4, and the rest limited to PCIe Gen4 x4 or x2. If we install an M.2 NVMe SSD that supports PCIe Gen4 or Gen5 in an M.2 slot that only supports PCIe Gen3 in the first case, or PCIe Gen4 in the second case, we will be generating a bottleneck that will limit the performance of those units.
We will not have stability problems and we will not have to fear that some type of damage may occur to the board or the SSD, but the loss of performance will be considerable and we will not be really taking advantage of the potential of our storage unit. Please note that PCIe lanes can also limit performance, and that each SSD unit must go in a slot that offers the maximum lines that it can take advantage of. These are indicated as x4 (four lines) or x2 (two lines).
Last but not least, you need to know that when we occupy all the M.2 slots on a motherboard some SATA III ports may be disabled. This will be indicated in the motherboard manual, and you just have to make sure that you do not have any SATA drives connected to the ports that will no longer be operational. Do not forget that wireless network cards can also consume PCIe lines when they are activated, with all that this implies when using M.2 NVMe PCIe SSD drives.
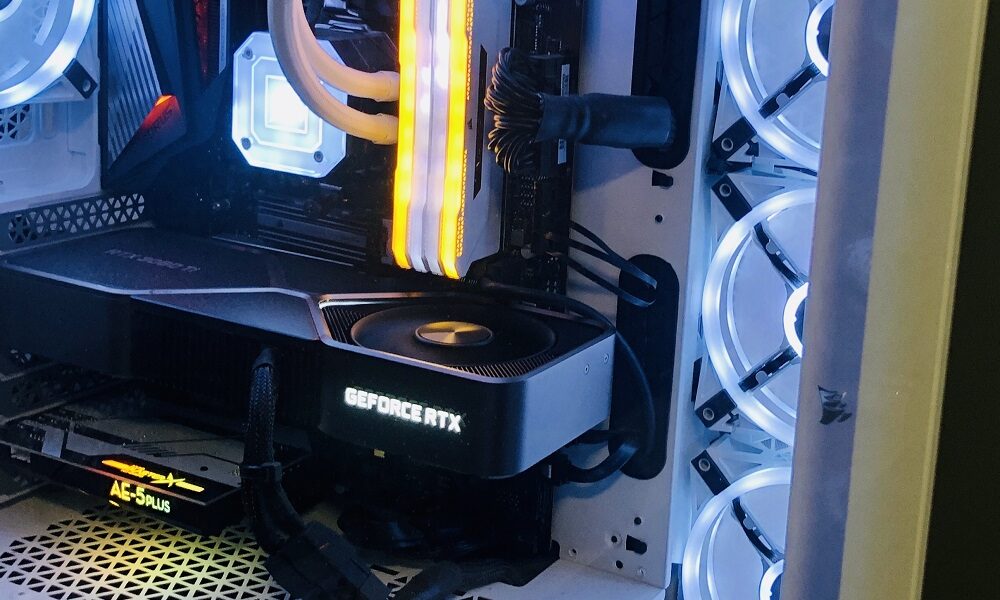
4.-Mount the graphics card in a slow PCIe slot
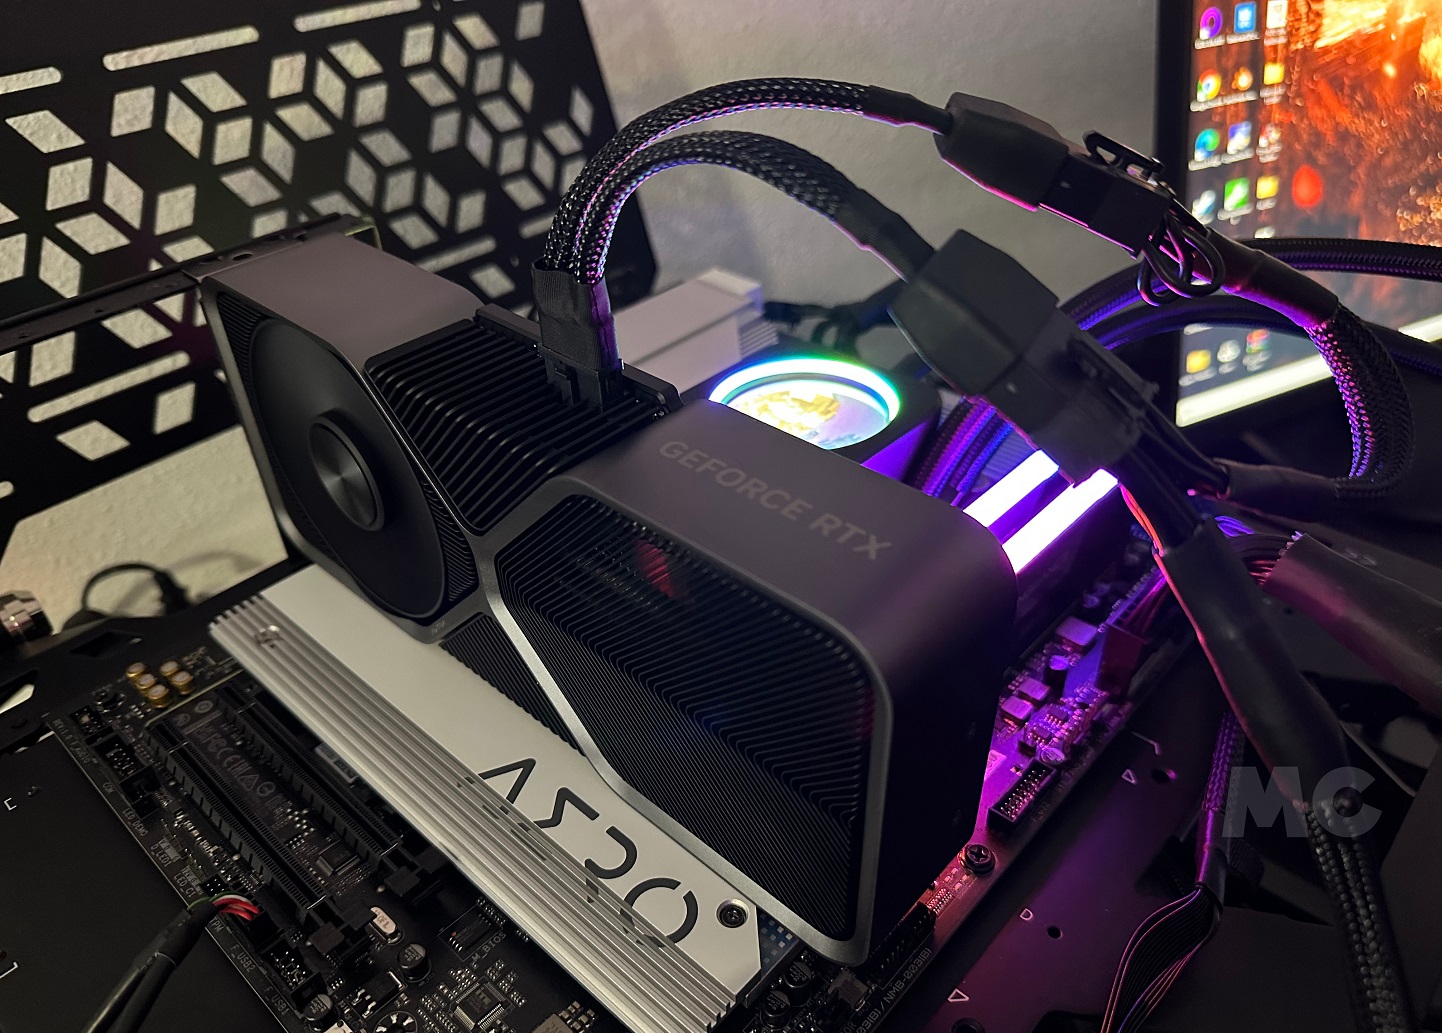
Although it may not seem like it, it is a fairly easy mistake to make, and more frequent than we think. A motherboard has different PCIe slots working at different speeds, and therefore do not offer the same bandwidth. The normal thing is that the first PCIe slot works in x16 mode and that, depending on the age of the motherboard, it is compatible with the Gen3, Gen4 or Gen5 standards, the latter being the newest and the one that is integrated into motherboards. most current.
A higher standard means more bandwidth for each line, as long as the graphics card we install is compatible with that standard. Therefore, if we install a PCIe Gen4 x4 graphics card like the Radeon RX 6400 in a PCIe Gen3 x4 slot, we will be causing a bottleneck, because it will work under an older standard and will have less bandwidth.
On the other hand, it is also possible that we install the graphics card in a slot that only offers four or even one PCIe lane, which obviously it will reduce your bandwidth to a pyrric level, and severely limit your performance. Hopefully this won’t do any hardware damage, but the loss of performance can be huge, which is why it’s important to be careful and put your graphics card in the correct slot.
That’s not complicated at all because there is a general rule that is always fulfilled, and that is that the graphics card must be mounted in the first slot of PCIe expansion of the motherboard, since this is the one with a configuration of 16 PCIe lanes, and the one that supports the most advanced standard. Do not hesitate, always go for the first slot on the motherboard. This is usually also reinforced with a metallic finish on many motherboards, which adds an ideal structural reinforcement for moving heavy graphics cards and also facilitates their correct differentiation from the rest of the slots, which are generally made of plastic.
5.-Place controllers in areas where they make contact
Many chassis, fans, all-in-one liquid cooling systems, and certain peripherals come with controllers that allow us to regulate certain aspects, such as rotation speed or RGB LED lighting. These types of accessories can be very useful, but we must be very careful when placing them, because not all adopt the same presentation or are properly isolated.
I have come across, on more than one occasion, people who, after mounting their PC, do not understand why it does not finish booting. I remember a very particular case, the PC was trying to boot, the fans were spinning, the light on the motherboard was onand it even stayed on, but the PC gave no signs of life and the fans stopped.
After thinking about it a lot, I realized where the problem was, on a fan controller in the form of a small PCB with pins that I had decided to bolt directly to the chassis, and made some type of contact that prevented the correct start of the equipment. Fortunately it seems that the protection systems on the motherboard and the power supply prevented damage to the components, and after removing the controller and connecting the fans directly to the motherboard everything worked normally.
We must not connect any type of controller or similar peripheral in such a way that it makes contact with the chassis. This kind of components must always go with adequate insulationor placed in such a way that it does not touch the chassis, and that no type of contact can occur over time (due to detachments due to the deterioration of glues or fasteners, for example).
If we ignore this, we may find ourselves in very different situations, and with very different consequences. For example, the PC may not boot, or it may boot but when it starts to work with a certain intensity it may hang up or spontaneously blackout caused by that contact. The consequences could be very varied, I have already told you that if we catch it in time, nothing might happen, but also could end up taking one or more members of our team aheadso be careful.