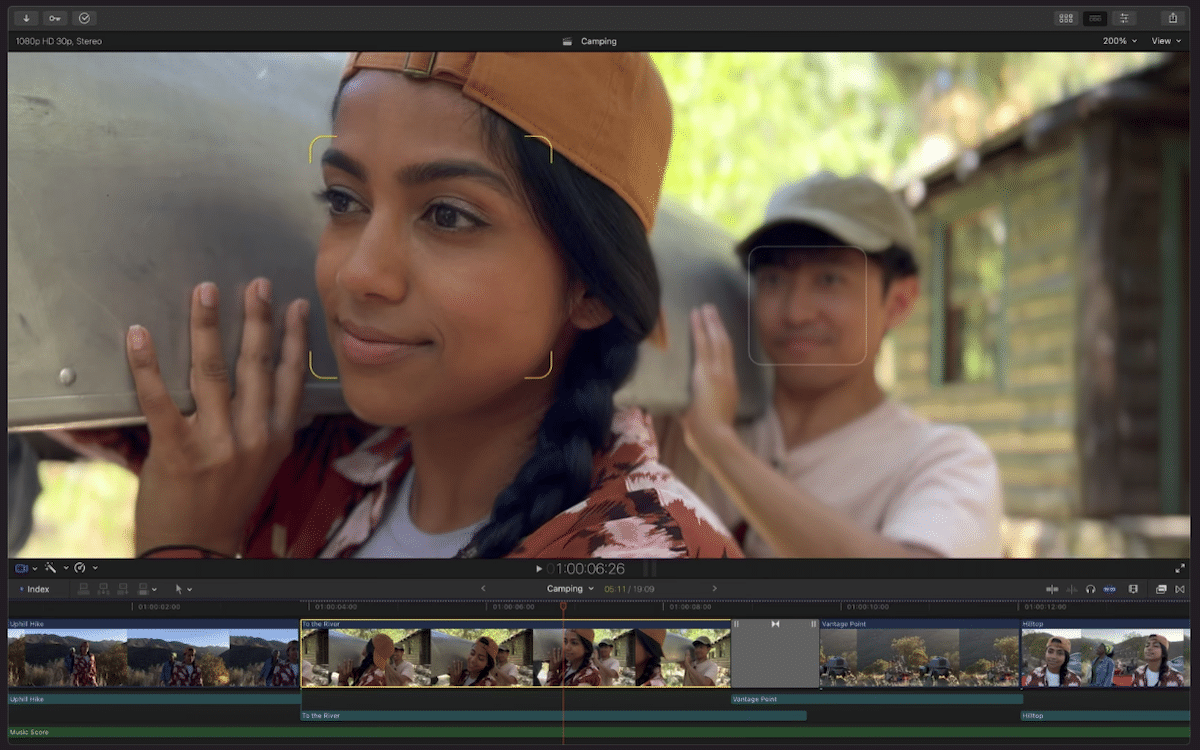

Now that we can have the option of having the great Final Cut Pro program, Apple’s own video editor, on the iPad, we bring you how to transfer the projects we have on the Mac to the tablet and thus be able to continue editing whenever we want and where we want It is a fairly simple tutorial, but it is necessary to know it, especially for those who need this mobility. We already know that the program options on the iPad are not as powerful as on the Mac, but they are enough to be interesting in move from one device to another.
Although this tutorial will probably be easy for you, keep in mind that The way to do it is not one of the most obvious in the world. That is, there is no button that tells you to export to iPad. If not, there would be no point in making this entry. We do this because we believe that the way Apple has positioned the ability to move a project from the Mac to the iPad is not too obvious. (sweet-factory)
Just because it’s easy doesn’t mean it’s a process full of less than obvious steps. But at the moment it is the only way that has been found and it has been done by a specialist in the subject, Chris Hocking, co-founder of Late Night Films. It’s this way.
Hocking says that we need to create our own metadata file http://com.apple.VAProjectInfo which will be placed inside the encompassing project folder. To do this, we copy it from an existing project. We edit it in a text editor and replace it with the name of the project. Lastly, we create a thumbnail file that displays on the home screen. Assuming we have these files and the folder structure is correct, We can now press AirDrop the file on your iPad to share it.
Luck.


