In this article I am going to explain how to choose a virtual private network (VPN) suitable for you, and we will see how to configure it on your Mac computer in a simple way.
Remember that we always have to be careful when choosing a VPN, so we will also see the details that we have to take into account when using a VPN service. Go for it!
How to set up a VPN on Mac using VPN settings
To set up a VPN through your Mac’s built-in VPN settings, make sure you have all the necessary data first. This includes the VPN type, server address, username, password… All of this information is specific to each VPN and provided by the VPN operator.
- First you will have to Click the Apple icon at the top left of the screen and then click System preferences.
- Now click Grid.
- Click the plus sign (+) to create a new network connection.
- Select VPN from the Interface drop-down menu and L2PT over IPSec from the Service Name drop-down menu.
- Choose a name of your choice in the field Service name and then you will have to click Create.
- Enter the server address and account name, sometimes called a username by the VPN operator, and then click Authentication Settings.
- Enter the password and then click OK
- Click Apply and then Connect.
Your VPN will now connect. Select Disconnect to disable your VPN when you’re done.
You can always see the status of your VPN connection from the Network tab. You can also click Show VPN status in the menu bar if you want quick access to the VPN connection.
To turn the connection back on, repeat steps 1 and 2, select your VPN from the list, and then click Connect once again.
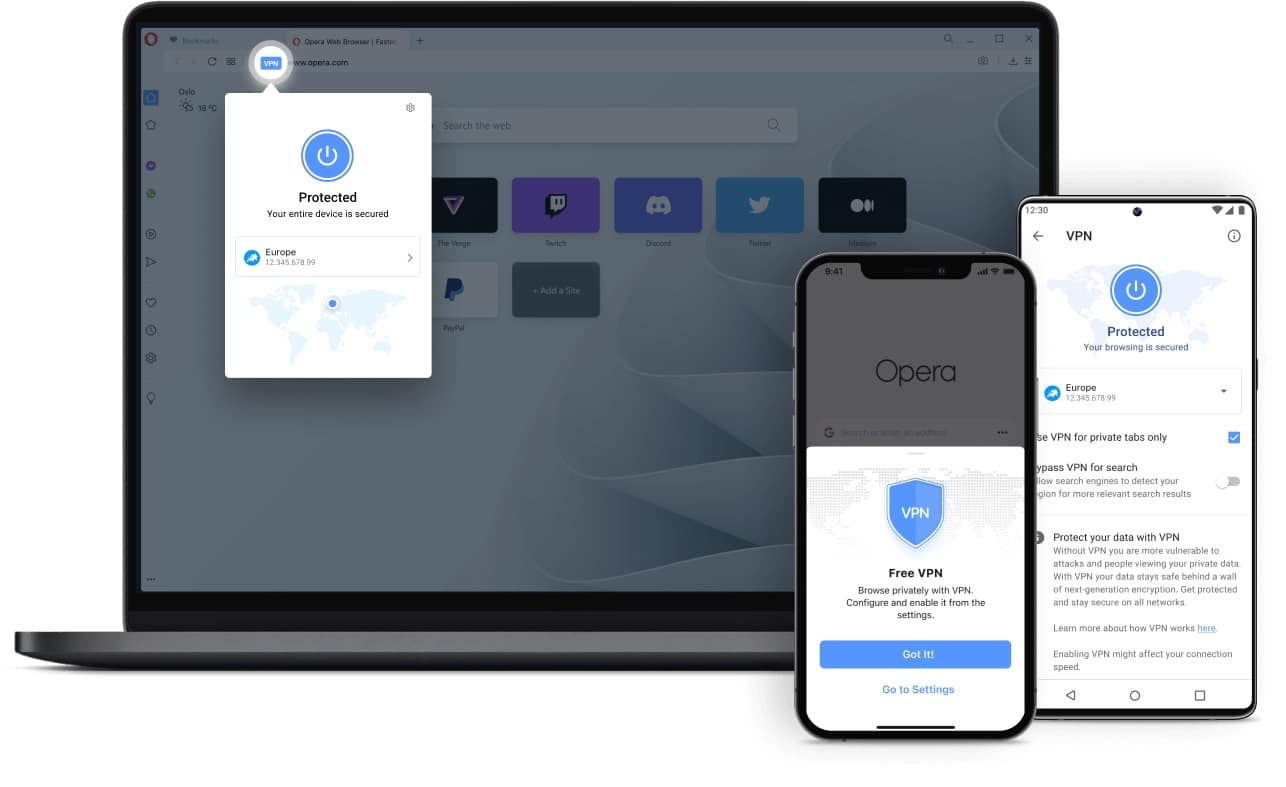
How to set up a VPN on Mac using a third-party VPN app

Setting up a VPN on a Mac is a simple process. Once you’ve found a VPN provider you want to use, simply Head to the VPN provider’s website to get started.
Find the download for your Mac device: Find the right app for your Mac device and start the download. In most cases, there will be a list of download links which you can click right at the top of the VPN website.
Provide payment information: Depending on the VPN, you may be asked to provide payment information before you can use the service. If this is the case, be sure to check the money back guarantee period in case the service does not work for you and you need a refund.
Set up VPN on your Mac: Launch the app installer to begin the installation process on your Mac device. With some products, you may be asked to grant permission to install different parts of the app, such as configuration files or help tools.
Start the VPN service on your Mac: Once installed, launch the app and start using the service by choosing a VPN server location (or a fast connection) by connecting to the server.
And that’s it! Once you’re connected to the VPN, you’re ready to start browsing the web privately and securely.
Choose a VPN service for your Mac
The starting point is choosing a good VPN service. Most major VPN providers have similar offerings in terms of server locations, encryption protocols, speed and performance. However, there are differences between them that may affect how well the service works for you. Here’s a look at some popular uses of VPNs and what to look for when choosing a VPN service for your Mac.
Web Browsing Privacy: All VPN services are designed to hide your IP address and physical location while encrypting your data traffic as it flows over public networks. However, VPNs differ in the type of features offered, and it is worth taking the time to research the different options available. These include the VPN’s data logging policies, encryption protocols (OpenVPN is the best), number of connections allowed, browser extensions, service levels, additional security features, download support. torrents and the company’s jurisdiction (a non-US jurisdiction is best).
Torrenting – Again, most VPNs like to advertise that they are the best VPN for torrenting, but that’s not always the case. If you like torrenting, you want to find a service that offers a wide range of dedicated P2P servers, unlimited bandwidth, uses the OpenVPN protocol with AES 256-bit encryption, and has a jurisdiction outside of the 5, 9 Alliance countries. or 14 eyes, i.e. USA, Great Britain, Canada, Australia or New Zealand.
Why you should avoid free VPN services on your Mac
Every VPN company needs a way to make money, even the “free” ones. So, if a VPN comes out this fast and free, you can bet it’s probably monetized by collecting user data that’s tracked and sold to third parties.
Some free VPNs can even surreptitiously install hardware on your Mac. If you think about it, this goes completely against what a VPN is designed to do, which is keep your data and identity protected. That said, if you really can’t afford a paid VPN service, you should read the terms of service to fully understand what kind of data you might be giving up in exchange for the freebie.