When you buy an Apple iPhone or iPad for the first time, you may have questions about how to share files via bluetooth on iPhone or iPad, since it is not exactly the same as how it is done with other devices. At Apple, we have AirDrop functionality, which allows you to send and receive videos, photos, contacts, etc. with nearby iPhone, iPad and Mac wirelessly.
Sharing files via Bluetooth via AirDrop is easy to use, fast, secure, and done without loss of quality. Let’s dive in and see how to use AirDrop. AirDrop creates a peer-to-peer network between devices. But you have to take care of the following points. Let’s see them!
How does AirDrop work?
- Make sure that the devices between which files are to be shared are closewithin Bluetooth and Wi-Fi range
- Wi-Fi and Bluetooth must be enabled on both devices
- Personal hotspot must be disabled on both the sender and receiver devices
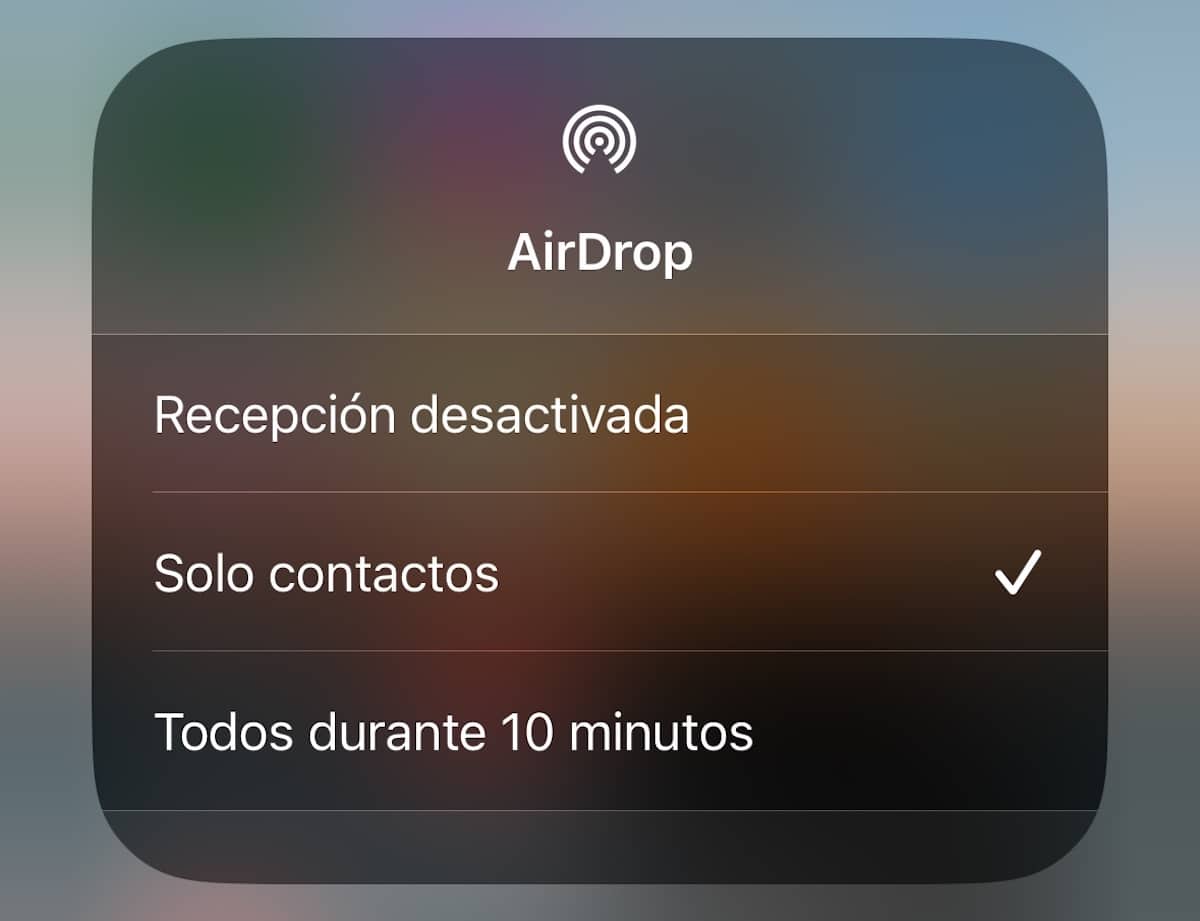
- The person who receives the files through AirDrop has three visibility options: Everyone, Contacts Only, and Receive off.
- If Contacts Only (or Receive Off) is selected, that means AirDrop is restricted to unknown people (or everyone). And, your email or phone number is in Contacts on the recipient’s iPad or iPhone, they can send files even when their AirDrop visibility is Contacts Only. If not, ask them to set up AirDrop for everyone.
How to Activate AirDrop on iPhone and iPad

Open the Control Center.
- On your iPad running iOS 12 and later, swipe down from the top right corner of the screen
- On iPad running iOS 11 or earlier, swipe up from the bottom of the screen
- On your iPhone 11 Pro Max, 11 Pro, 11, Xs Max, Xs, XR, and iPhone
- On iPhone SE 2020, 8 Plus, and earlier, swipe up on the screen from the bottom
- Now make a Long press on the Airplane mode box, Wi-Fi, Bluetooth, etc., and hold down the Wifi icon
- The box will expand. Now, tap the AirDrop icon and select Only contacts or Everyone to activate AirDrop.
How to use AirDrop on iPhone and iPad
Now, let’s see how to use it to send and accept files. You should know that you are not limited to photos and videos. Almost everything that is visible on a share sheet can be shared using AirDrop. This means you can AirDrop a website link, a note, your Apple Maps location… Let’s give the example with the photos application:
- Open the Photos app and tap select.
- Select one or more items, if applicable.
- Tap Share or the Share icon.
- Then press AirDrop.
- A window will open of the devices that have AirDrop active and visible.
- Select the device with which you want to share the files.
If the person is in your contact list, you will see their name and picture. If a person is not in your contact list, you will only see their name. You can also use AirDrop between your own Apple devices.
- Select the device and tap Done to share files using AirDrop on iPhone
With the release of iOS17, we can now share files following the same previous steps, and finally when we are in the last step of selecting the device with which we want to share the file, we simply bring the iPhone together, putting the upper parts togetherand the files will be shared like magic.
How to accept Airdrop on iPhone and iPad
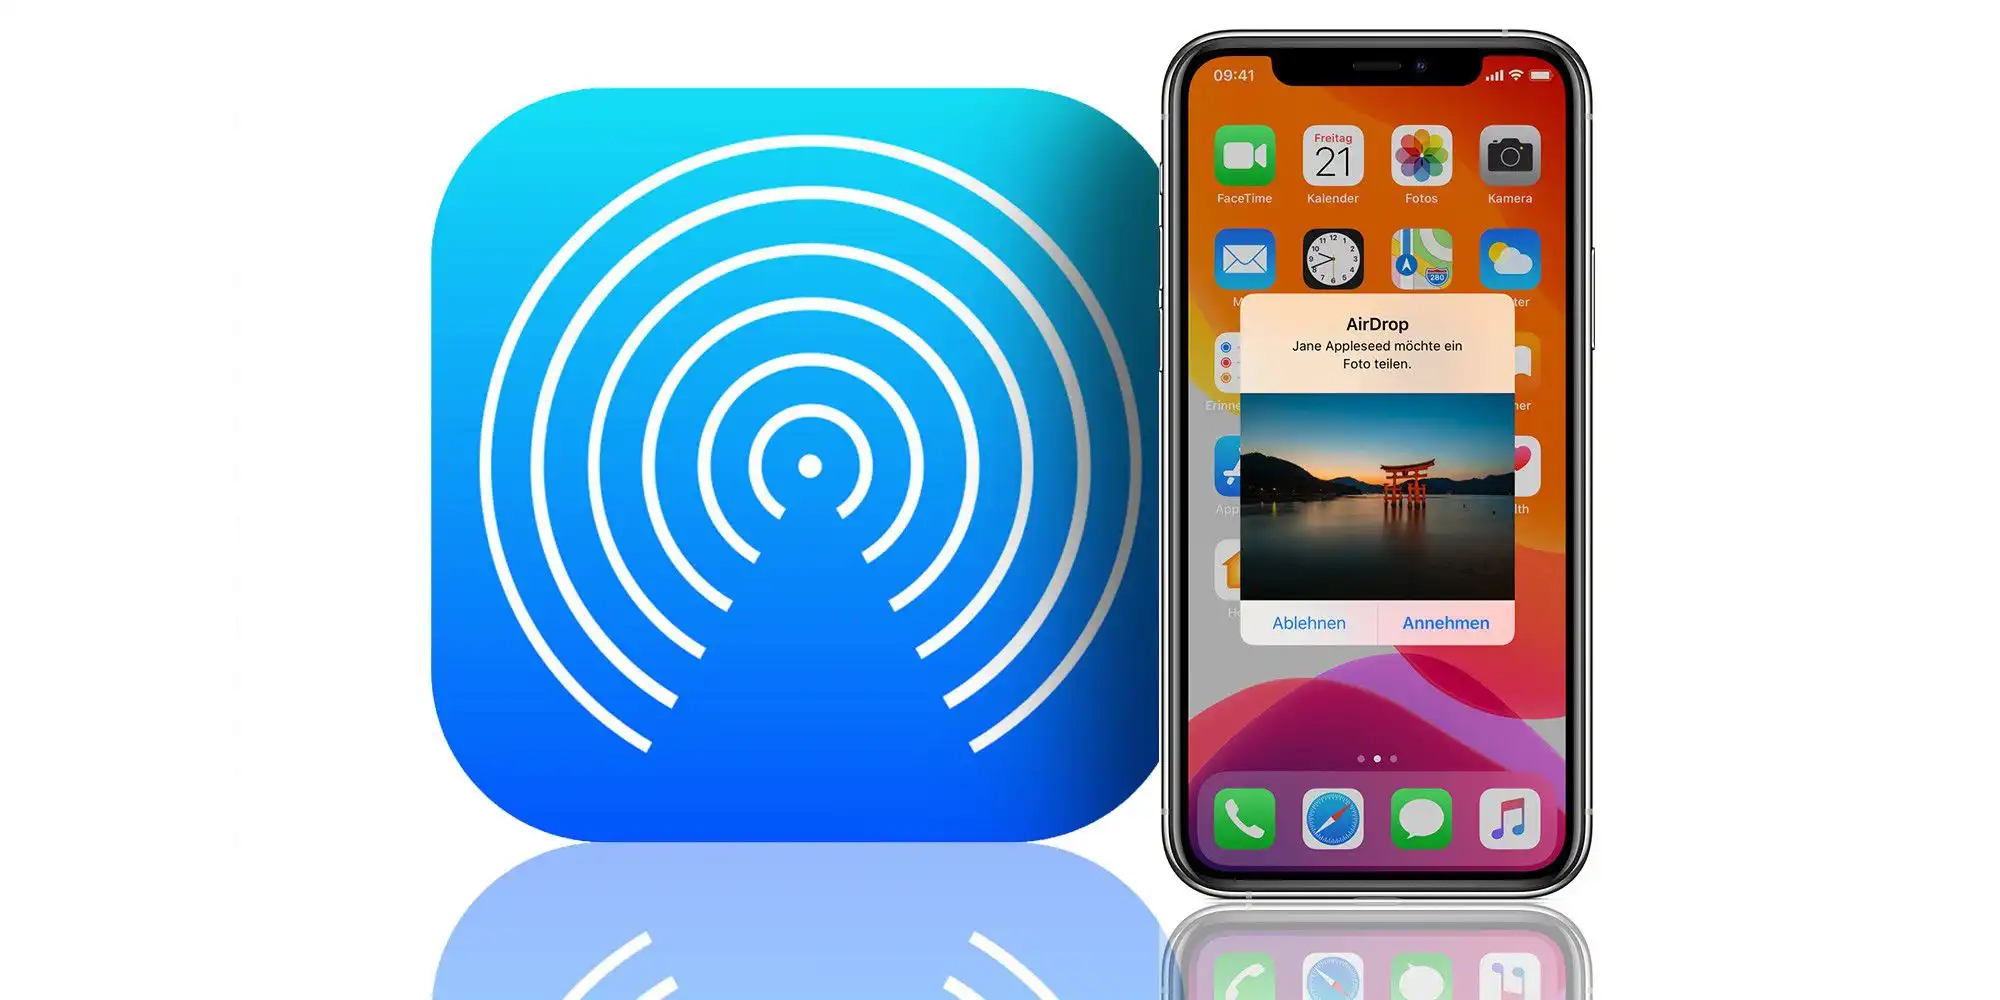
When someone shares something with you via AirDrop, a pop-up window appears on your device’s screen. You have two options: Accept or Reject.
For Most files, when you press OK, will be saved and opened in the same application from which they were sent.
For example, images shared via AirDrop will appear in the Photos app on your device. Website links will open in Safari, and app links will automatically open in the App Store. But for some file types like PDF, you may have the option to save it to Books, the Files app, or other apps. You will see a pop-up window after the AirDrop transfer is complete. In that window you can choose the application in which you want it to be saved.
If you press Reject, the AirDrop is canceled and no file is received.
When you AirDrop to one of your own Apple devices (devices with the same Apple ID), you won’t see the Accept or Decline option. It is sent (and received) automatically.
AirDrop is amazing. Like iMessage, it’s one of the things that makes the Apple ecosystem perfect and worthwhile. But, there may be situations where you want to stop or block AirDrop.
How to stop AirDrop with screen time
If you’re on the subway, bus, or any public place, you may want to change your AirDrop settings so you don’t receive requests to accept unsolicited photos, videos, and files. The easiest option is to set AirDrop reception to Contacts only or Receive disabled. You can do this from the Control Center as explained above.
- Open the Settings app on your device
- Tap Screen Time and turn it on
- Tap content and privacy restrictions.
- Tap Allowed apps. Enter the time of use code.
- Turn off the switch for AirDrop. Stop AirDrop with Screen Time on iPhone
The steps to re-enable AirDrop are the same. In step 5, turn on the AirDrop switch.
The second method is to use the Settings app to disable AirDrop

- Open the Settings app > General.
- Next, tap AirDrop and select Receive Off to turn off AirDrop.
This is how you can use AirDrop on your iOS and iPadOS devices. The basic instructions for Mac are the same. You’ll find the AirDrop settings in the left sidebar of the Finder on Mac.