When we buy a computer, or install an operating system from scratch, we all seek to get the most out of it and that it can work 100%. To do this, we install the latest versions of the drivers, we usually uninstall everything we don’t need, we clean the programs that are loaded at startup, and we make sure that everything works as it should. However, a PC doesn’t always work badly because of us, but there are times when it does so because of Windows itself and functions that are activated by default that weigh down our PC, as is the case with VBS.
Virtualization-Based Security (VBS) is a new feature that is included in the latest versions of Windows 10 and Windows 11, and activated by default in the latter. Thanks to this function, Windows Defender can create an isolated space in memory where all kinds of information can be safely stored on the system. It is a security measure, based on Hyper-V, that can be very useful when it comes to protecting the most important data. But, depending on the equipment, using it can imply a performance loss of between 5% and 25%. Especially when playing.
Therefore, if we are experiencing problems and FPS drops when playing, we can try to disable this security measure, since we will probably solve everything that way. Let’s see how.
Disable Windows Defender Core Isolation
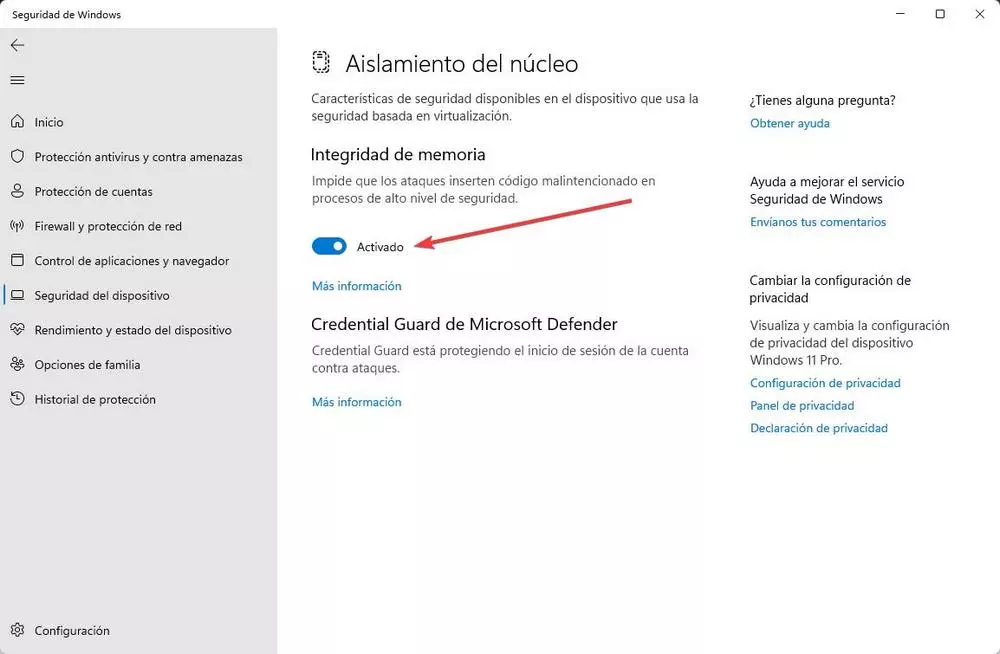
Before disabling global Windows virtualization features, let’s see how we can disable this feature from Windows antivirus itself. To do this, we will open its configuration panel and go to the “Device security” section. Here we will enter the “Core isolation” section, and from within we can deactivate the memory integrity function.
We restart the computer and that’s it. This security measure will already be disabled, and we will be able to test to see if we notice, or not, an improvement in the PC.
Disable Windows virtualization features
Another way to disable this feature is to completely disable the virtualization features of Windows itself. To do this, what we can do is look for the “Windows Features” section, in the Configuration panel itself, and we will look for the following functions:
- Microsoft Defender Application Guard.
- Virtual machine platform.
- Windows hypervisor platform.
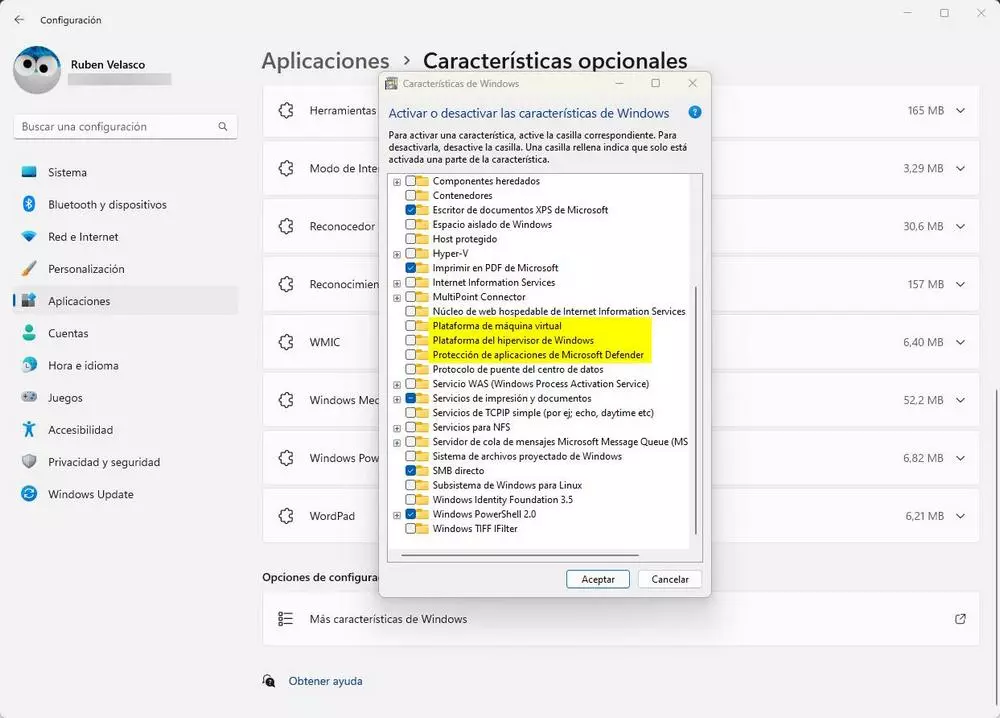
We uncheck their boxes, if they are activated, and apply the changes. After a few seconds, Windows will ask us to restart the PC. We do it, and when the computer starts we can check if its performance has improved or not.
Last trick: with a CMD command
Finally, if the previous steps are complicated for us, there is one last way to disable everything related to virtualization: use a single CMD command. To do this, we will open a Windows CMD or PowerShell terminal, with Administrator permissions, and execute this command:
bcdedit /set hypervisorlaunchtype off
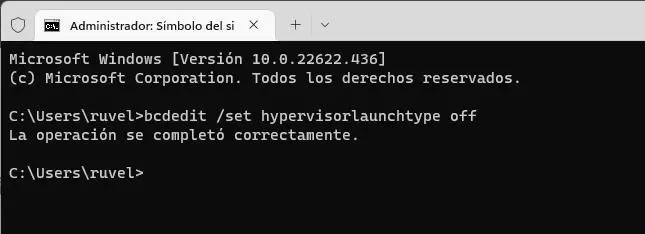
Once it runs, we restart the computer and that’s it. VBS will be completely disabled now, and we will be able to see if the performance of the PC has really improved and we have finished with the FPS drops.