Sunny dispositions, sunlight fueling your home, the undeniable draw of becoming your own mini-utility company – installing solar panels is about the coolest thing you can do with your roof since blasting that good ol’ Santa Claus track on your first ghetto blaster.
But before you go full Watts on us and start slapping photovoltaic panels from here to Timbuktu, you’ll need a lay of the land – and the sun, of course.
This quick guide will whisk you through the essentials of solar panel installation without the technical jargon and costs that make you want to weep.
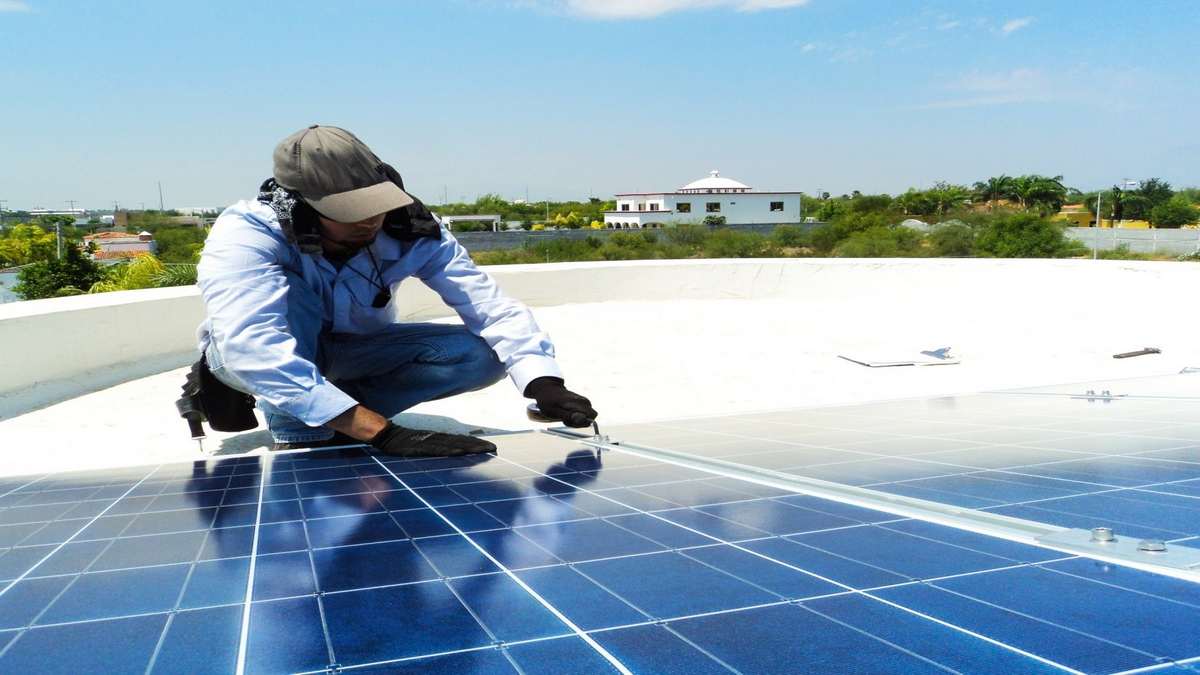
Step 1: Make Your Roof Shine (Not Literally)
First things first, you need to determine if your roof can handle the solar power hustle without collapsing like a tired camel. Here are some basics:
Roof Position and Pitch
Your roof should ideally face due south, but slight deviations aren’t deal-breakers. An ideal pitch hovers between 30 and 40 degrees, which is quite perky; think of it as the aerobics instructor of roof inclines.
No Shade Zone
Do a dance on your roof (safety first, please) during several points of the sunny day to see if there are any wet-blanket shadows shrouding your sunlit dreams. Trees or tall buildings casting shadows can really mess with your energy gains.
Age of the Roof
If your shingles are flirting with their warranty’s expiration date, consider a re-roof before covering it with those amazing suction-cupped marvels. You don’t want leaks raining on your renewable energy parade. This is easier when you collaborate with experts from https://www.edmontonsolarpower.ca/
Step 2: Befriend the Neighbors (or Just Notify Them)
The last thing you want is a ‘Not In My Sunny Backyard Act’ playing out next door.
Regulations and Permits
Check your local laws if you need a permit and what the building codes are for solar panel placement. Sometimes, red tape is amber for a reason – stop and look both ways before you go ahead.
Neighbors and Associations
It’s the solar equivalent of inviting your nearest and dearest to your wedding. Or at the very least, it’s about the neighborly thing to do to inform them that your roof’s about to get a stylish new do.
Step 3: Power to the Panels
Solar panels might as well be baby birds – they need an uninterruptable power supply in the form of inverters. Here’s the low-PVdown on inverters:
String Inverters
The OGs of solar energy, string inverters process power from multiple panels at once. They might be big and somewhat less efficient, but they’re reliable and have been in the game a good long while.
Micro Inverters
Think of these as cool gen-Z versions – they sit pretty on the back of each solar panel, optimizing power production and giving you more control and data on individual panel performance.
Final Step: Picking Up the Pieces (or Panels)
Now you’re sprinting towards the finish line, so close you can almost taste that sweet, sweet, self-generated electricity.
Choose Your Photonic Sidekicks
Once you’ve picked your inverter flavor, it’s time to select your squad – the solar panels themselves. Research and ask questions; they’re the real workhorses of your renewable energy farm.
Professional Installation vs. DIY
You can either channel your inner Elon Musk and DIY the installation, or you can play it safe with professionals who’ve been around the solar block a few hundred times.
Installing solar panels is a commitment – to the environment, to the future, and to understanding utility bills as if they’re suddenly in a new language with a decidedly lower price point. And remember, the sun is not only the looming papa of the sky – it’s now your home’s primary provider, and that’s something to truly shine about.