This text style can be moved or placed in any document for decoration or emphasis, and can be modified or add to text in a WordArt object existing when we want it. Many different special effects can be applied to text and these can be combined for many styles.
Although in general, where we find its use the most is text documents, it can also be used in other programs such as spreadsheets. For example, suppose we want to display the title of an outline more prominently. To do this we could apply a larger font, make it bold and change the text. Or, use WordArt for more style flexibility.
Although this tool has been designed to be used in Office programs such as Word, Excel or PowerPoint, we can also use it with Google Spreadsheets and documents.
How to use in Google Docs and Sheets
Whether we use the Docs or Sheets tools, we can insert a WordArt element. We are going to see the simple steps that we must take in each of these applications.
in docs
Docs is the online spreadsheet application, so in order to use it, all you have to do is access its website and log in to your Google account. Then click on “Go to Google Documents”. Next, we must open an existing text document where we can insert WordArt or create a new sheet, which will be an excellent way to add a visual touch to our document.
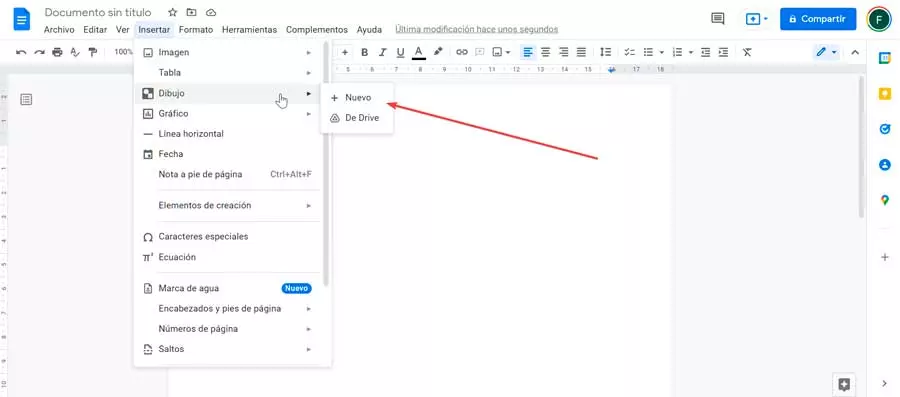
Once the document is open, we must click on the Insert tab. This will open a context menu where we click on “Drawing” and “New”.
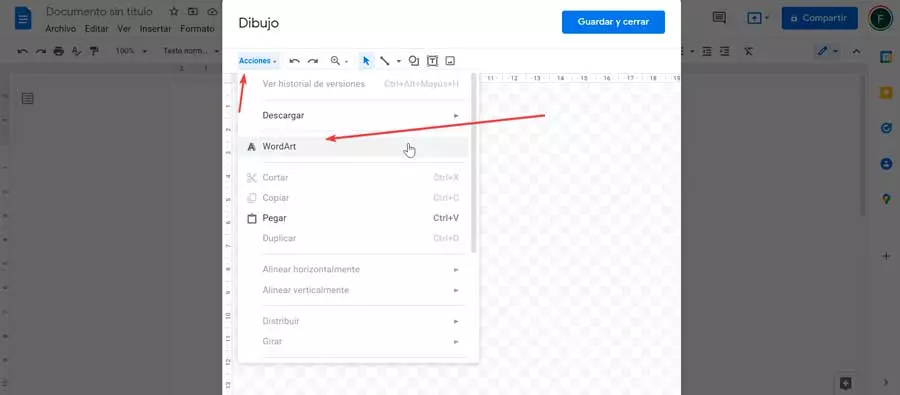
This will open a new window where we must click on the “Actions” section and then on “WordArt”.
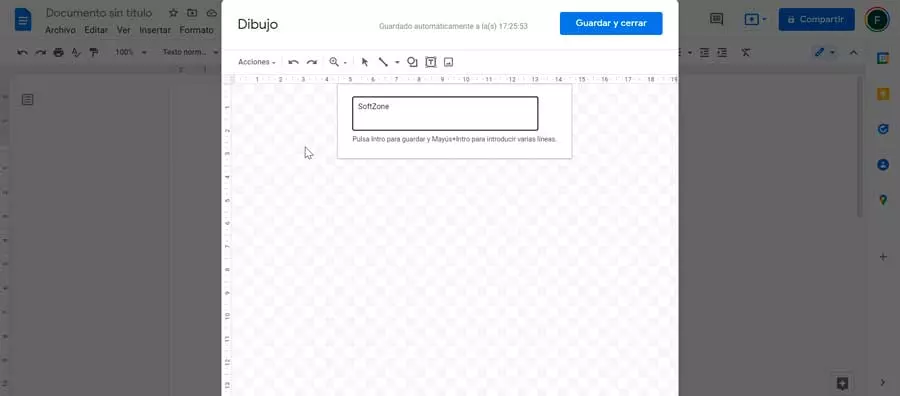
Next, a box appears for us to write the desired text and we confirm it by pressing Enter. If we need to include several lines, we can do it by pressing the “Shift + Enter” buttons at the same time, which will create a new line each time.
In Sheets
As we have mentioned Sheets is an online spreadsheet application, so to use it it will only be necessary to use our web browser. It’s free and all you have to do is log in to your Google account to start using it. So we start by going to its official website and clicking on “Go to Google Sheets”. Later we can open an existing spreadsheet where to insert the WordArt or create a new sheet to test the function.
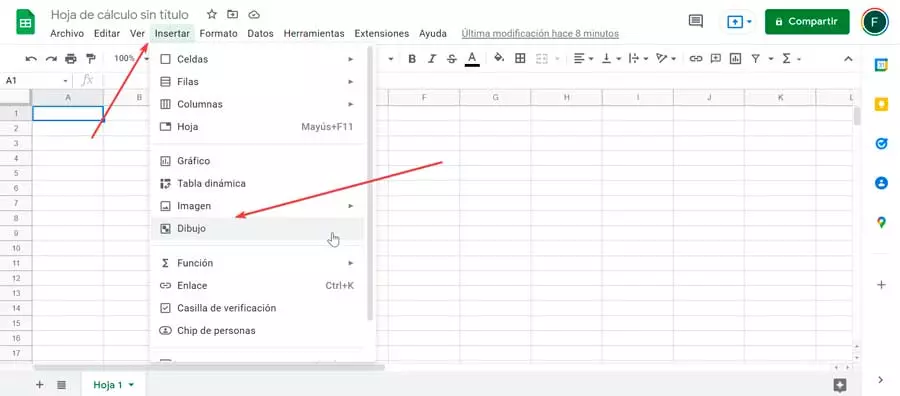
Once the Google Sheets window is open, we must click on the “Insert” tab that we find in the toolbar at the top. This will open a drop-down menu where we select the option to “He drew”.
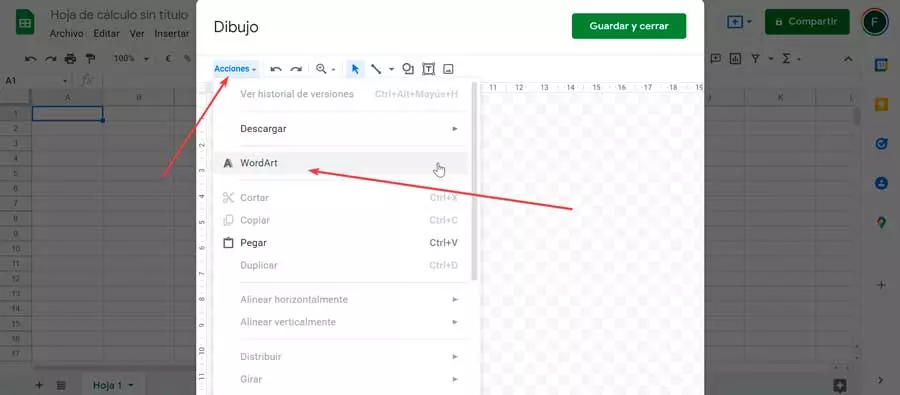
This will open the Google Drawings panel on the screen. Next, we click on the “Actions” menu and select the option to “WordArt”.
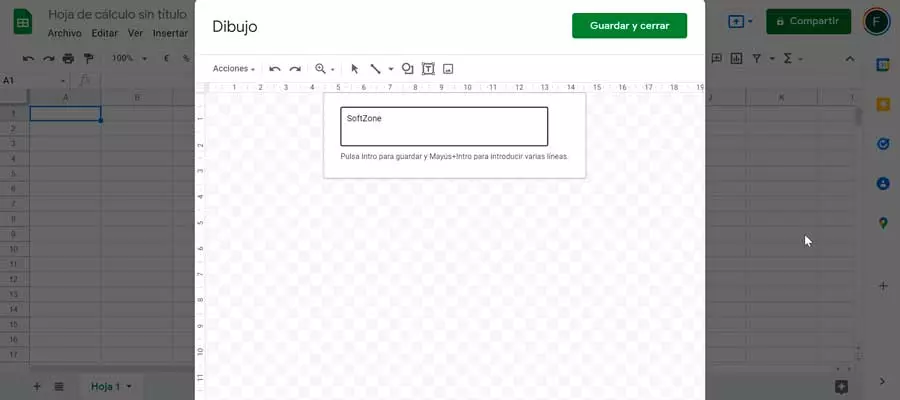
Next, a box appears where we must write the desired text and press Enter to confirm. In the event that we want to insert several lines, we can do so by pressing the “Shift + Enter” buttons at the same time, so that each time it creates a new line.
edit and save
Once we know the steps to take to create a WordArt in Docs and Sheets, now we are going to focus on how we can edit it, change the font, colors, etc. until we get the result we want. We will also see how to save it so that it is inserted into our document or spreadsheet.
change your style
Once this is done, the text written on the screen will appear, so we can now change its style to adapt it to our needs. The Google Drawings tool itself has different options to be able to customize it, since it will be possible to change the color of the border or the fill. Also the size and family of the font, rotate, among other actions.
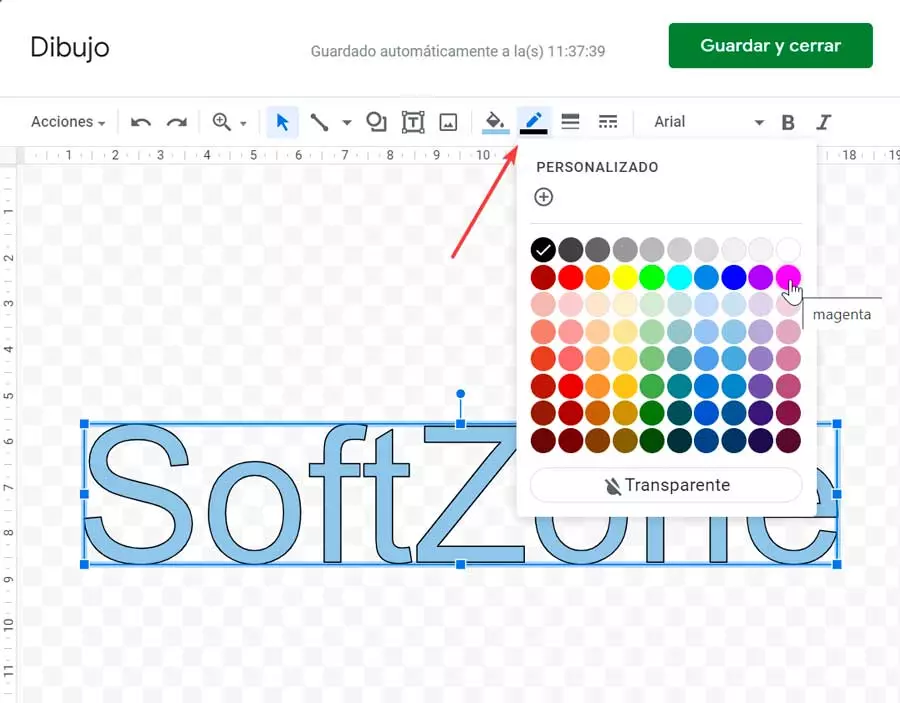
All the actions that we can carry out can be found in the toolbar at the top. Here, we find the “Fill color”. By clicking on it we can configure the color of the interior of the text in the color that we need or make it transparent. Right next to it we have the tool “border color”, which allows us to change the outline of the letters to the color we need or if necessary make it transparent. We can also change both the thickness of the border and the border line.
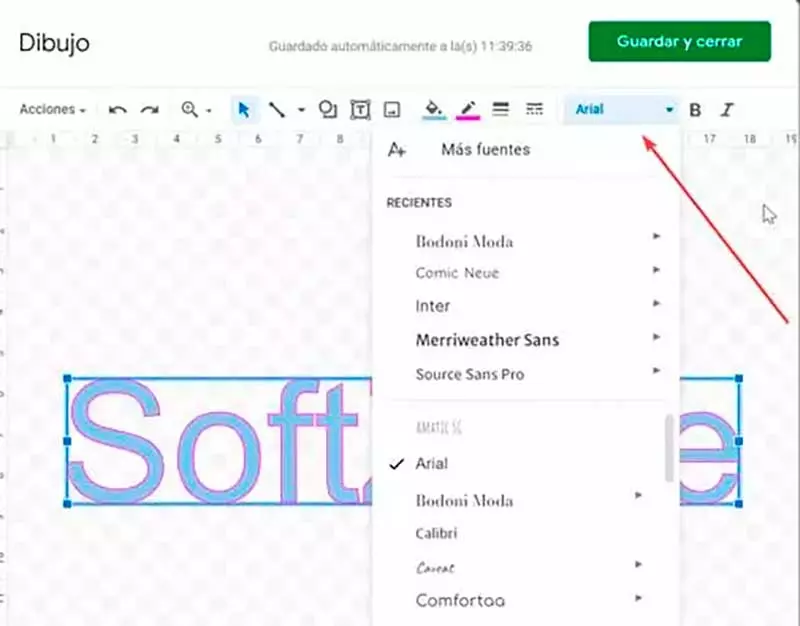
Of course, you cannot miss the possibility of change the font style among 30 different shapes. In the case of needing additional fonts, we can click on the Add fonts button, which will display a menu with all those supported by Docs and Sheets and that we can download and use with our WordArt. Some of these styles also have a submenu from where you can choose a Normal, Medium, Semi Bold, or Bold style. In addition, we have the classic italic and bold buttons.
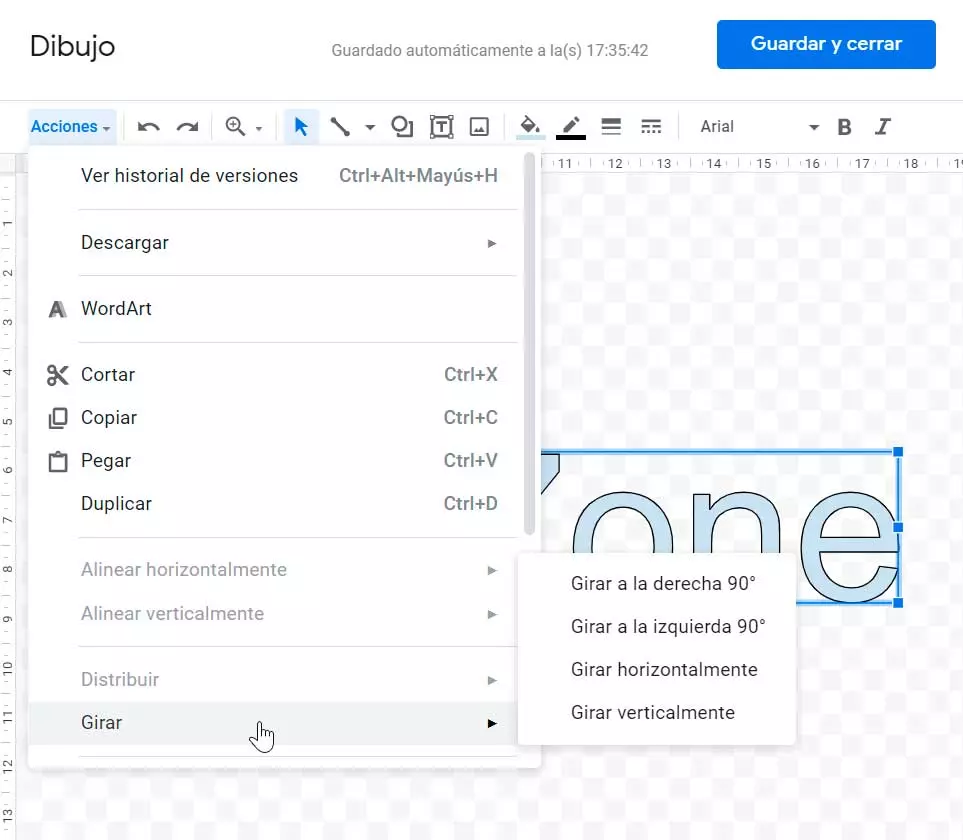
From the “Actions” tab we will also be able to rotate text clockwise or counterclockwise at an angle of 90º, as well as rotate it vertically or horizontally. In addition, we can adjust it to both the grids and the guides. If we want to enlarge or reduce the text proportionally, we can do it from its corners or from the top, bottom or side to do it disproportionately.
save and insert
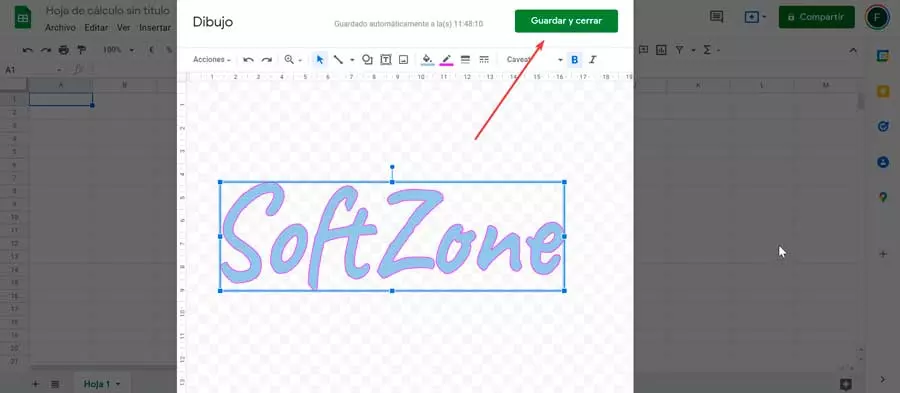
Once we have finished editing our WordArt to our liking, we click on the button “Save and close”. In this way it will become visible in our spreadsheet or text document, from where we can move it to the correct position where we want it to be displayed.
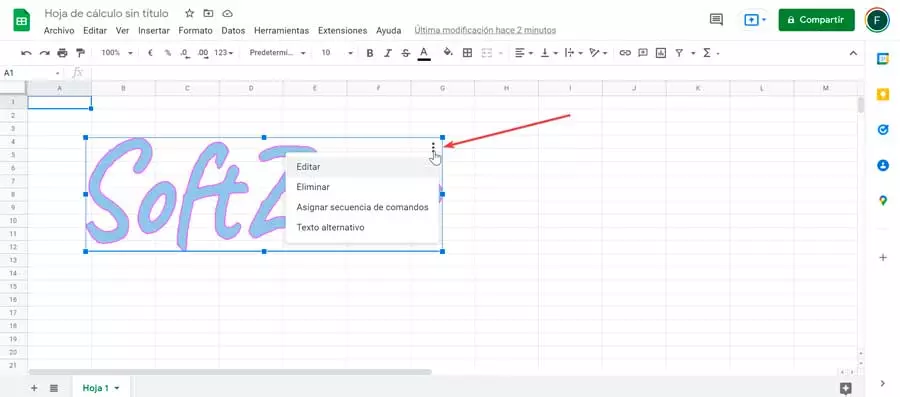
In case we need edit the word art that is already inserted in the spreadsheet or documents, we must click on the inserted text. Subsequently, we click on the icon with three points that we will see visible in the upper right part of the box. This will open a small menu where you can click on Edit to change some aspects. We can also remove it, assign a script or alternative text.