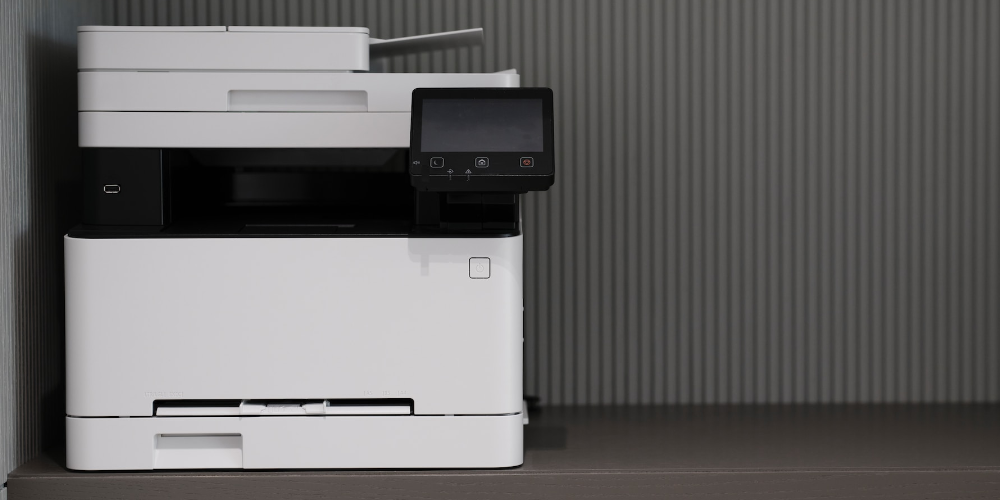
Macs are devices that work very well with each other, but when we want to install some type of external accessory or device we find ourselves with the security and privacy of macOS. Therefore, in this article we are going to see How can we correctly install a printer on our computer?
Connect the printer to Mac
Before we get to work on installing our printer, make sure it’s compatible with your Mac, although the vast majority they are compatible, exceptions may be found. If you have any doubts, consult the manufacturer’s website.
Once we’ve determined their compatibility, there are two main methods to connect this accessory to your Mac: USB connection or wireless connection. The process is similar in both ways.
- Turn off the printer.
- connect the USB cable to the printer and to the USB port on your Mac. If you want to connect it via wifi, make sure they are both connected to the same Wi-Fi network. As a tip, always try to make the connection direct between the printer and the Mac, that is, without using third-party accessories.
- turn on the printer and expect both devices to configure successfully.
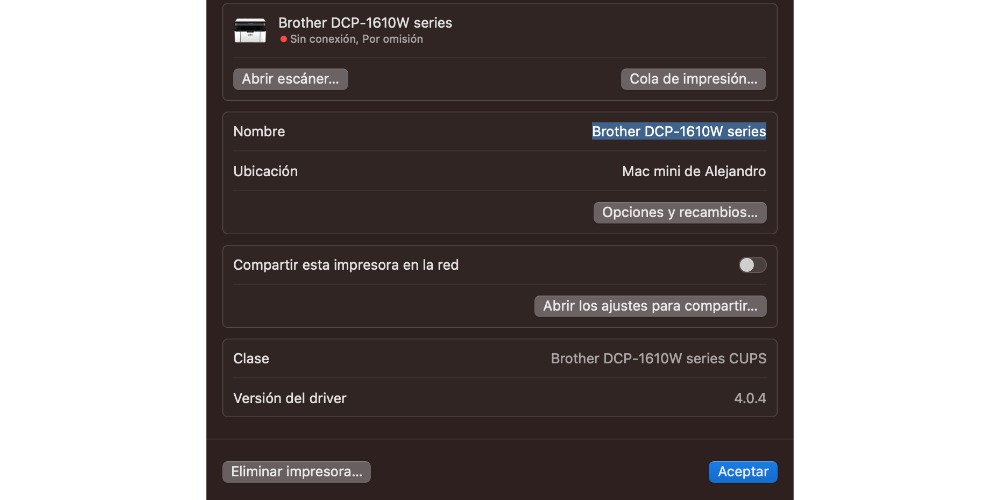
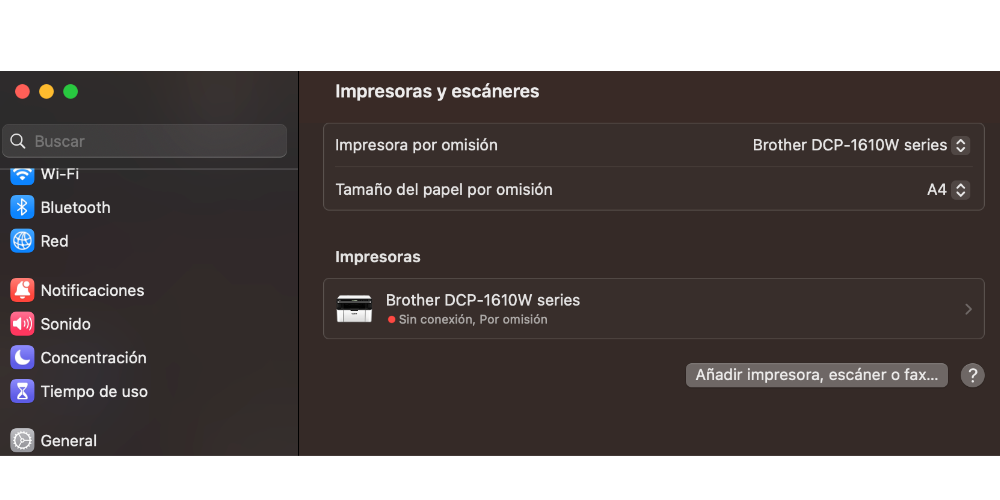
Add Printer in System Settings
Once we have connected both devices, we have to go to System Settings to the “Printer and scanners” tab. If your printer appears in the list of devices, it means that macOS has automatically detected it and is ready to use. Now you have to click “add” to add said Gadget to your Mac. In some brands that sell this type of items, known or not, you may need to install additional drivers so that your Mac can properly communicate with it. These drivers are usually available for download on the website from its manufacturer.
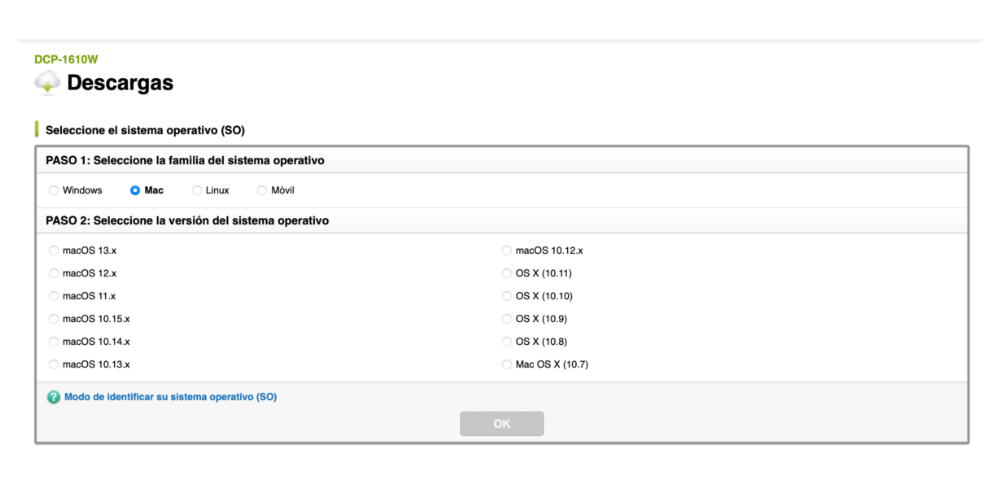
For example, Brother is one of the most famous printer brands in the world, and it needs driver installation to connect with your Mac. Therefore, you have to go to the official website of brother (www.brother.com) and go to the section support or downloads. Next, find the model of your product in the list of compatible devices and download the driver corresponding to your model and version of macOS.
The installation process would be completed and now, you can perform printing any file. Of course, in the event that you have to scan a file, you have to click on the “Open scanner” option regardless of whether you have the drivers installed or not.
Add printer as default
Once we have completed the installation process, you can determine that it is the default printer. To do this, you have to go to the “Printer and scanners” again and select the accessory that you just added. Next, you have to go to the “default printer” dropdown menu and determine which one you want to set as the default. The process would be complete.
In conclusion, connecting a printer to your Mac is a process that, in most cases, does not require much. effort or technical knowledge as if it may be necessary in the event that you install applications that are not adapted for macOS. However, it is always good to analyze whether this accessory, which is so important in the field of users and companies, is compatible with the Apple system for their computers, as well as the need to install drivers.