When it comes to sharing photographs or any type of image over the internet, depending on the method we are going to use, it is more than likely that we will be forced to lower the resolution of the photos, in order to reduce the final size of the file or files to share.
Lowering the resolution of your photos on Mac is a very quick and easy process and, depending on the needs of users, we can perform this process natively without installing any application or be forced to resort to the Mac App Store or even a website.
Preview

The fastest and easiest process to lower the resolution of multiple images Without installing any application on our Mac, it is necessary to use the native Preview application.
Preview is one of the best apps available natively on any operating system, since it not only allows us to change the resolution / size of the photographs, but also allows us to create transfer photos to PDF, export images to other formats …
If you want lower the resolution of your photos on Mac with Preview, you must follow the steps that I show you below:
- First of all, click twice over the image so that it automatically opens with the Preview application.
- Next, we press the pencil located just in front of the search box.
- Next, click on the button Adjust size.
- Finally, we set the size / resolution we want the resulting image to have.
This process can be done in batches, opening the first place Preview, dragging all the images to the application, selecting them and clicking on the Adjust size button.
Photoshop
Yes you usually use PhotoshopYou can use this application to quickly change the resolution of your photos by creating a macro and always having it on hand so that, when you run it, it will carry out the process automatically.
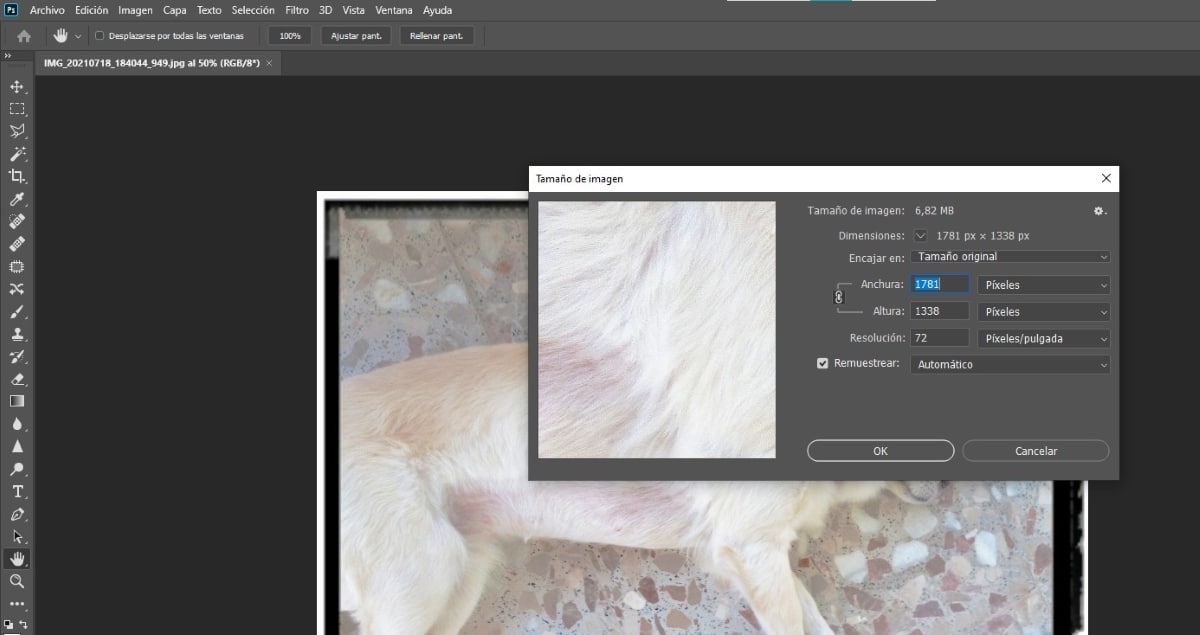
For lower the resolution of a photo in Photoshop, you must perform the following steps:
- Once you have opened the application, press the key combination Control + Alt + I.
- At that moment, a window will be displayed where we must set resolution we want the image to have and click on accept.
If you save this process in a macro, you can quickly resize of all the photographs you want just by running it.
GIMP
In I’m from Mac we have talked about GIMP on a large number of occasions, the free Photoshop. GIMP is a completely free and open source photo editing application that allows us to perform the same functions as Photoshop, except for the more advanced functions that are only available in the Adobe application.
For any home user, GIMP is more than enough, since its operation is very similar to that offered by Photoshop. If you use Photoshop illegally, you should give GIMP a try. If you want to know how to reduce the resolution of a photo in GIMPThen I show you the steps to follow:
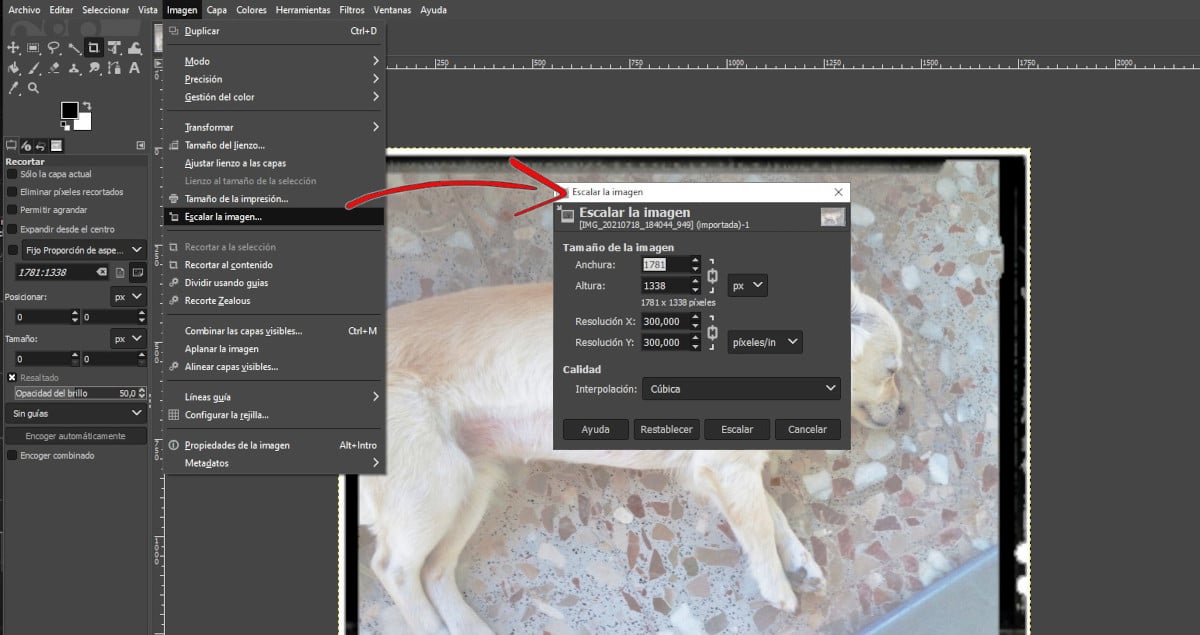
- Once we have opened the application, we go to the top menu, click on Image – Scale the image.
- Next, we establish the new resolution that we want to use and click on Climb.
You can download GIMP for free from this link.
ImageOptim
An interesting application whose only mission is reduce the resolution of images is ImageOptim, an open source application under the terms GPL v2 or later, which allows us to download and use the application completely free of charge and does not include any type of ads.
This application integrates with macOS, so we can use it in three different ways:
- Dragging the images we want to reduce the resolution of
- Through the Finder.
- Through the command line.
ImageOptim is not available on the Mac App Store, so don’t trust apps that have a similar name. This application is only available for download through its website by clicking on this link.
ImageAlpha
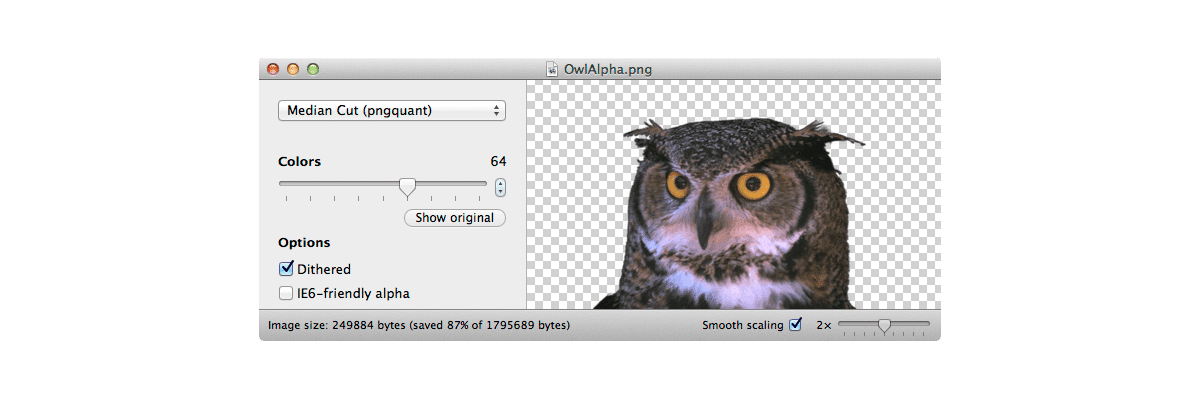
Another interesting completely free application for reduce the resolution of PNG images with transparencies, it is ImageAlpha, a completely free application whose source code is publicly available.
ImageAlpha reduces the size of 24-bit PNG files (including alpha transparency) when applying compression and lossy conversion to a more efficient PNG8 + alpha format.
How does ImageAlpha work? We must drag the PNG image to the application once we have it open on our desktop. Small images will convert quickly, but if they take up more space, the process may take several seconds.
You can download and install ImageAlpha through this link.
ImageOptim via web
Above we talked about the ImageOptim application to reduce the resolution of photos, a fantastic application. However, for all those users who they don’t want to install an app that they will use for a very short time or occasionally, the web version of ImageOptim is available to them.
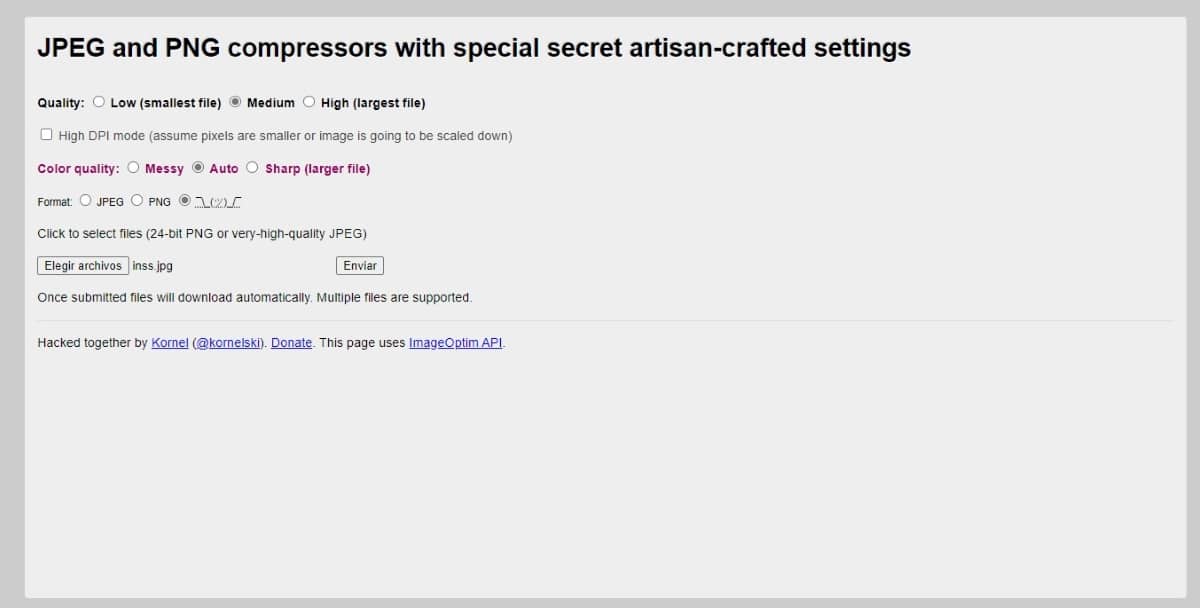
This web version, obviously it doesn’t work as fast, but for specific cases, it is more than enough. Through this web version we can:
- Set the quality: low, medium or high.
- Set the color quality: messy, auto, sharp.
- Select the format to which we want to convert it between jpg and png.
The web version of ImageOptim only allows us to convert from file to file. Once we upload it to the platform by clicking on the button Choose files, the converted image will be downloaded automatically.
TinyJPG
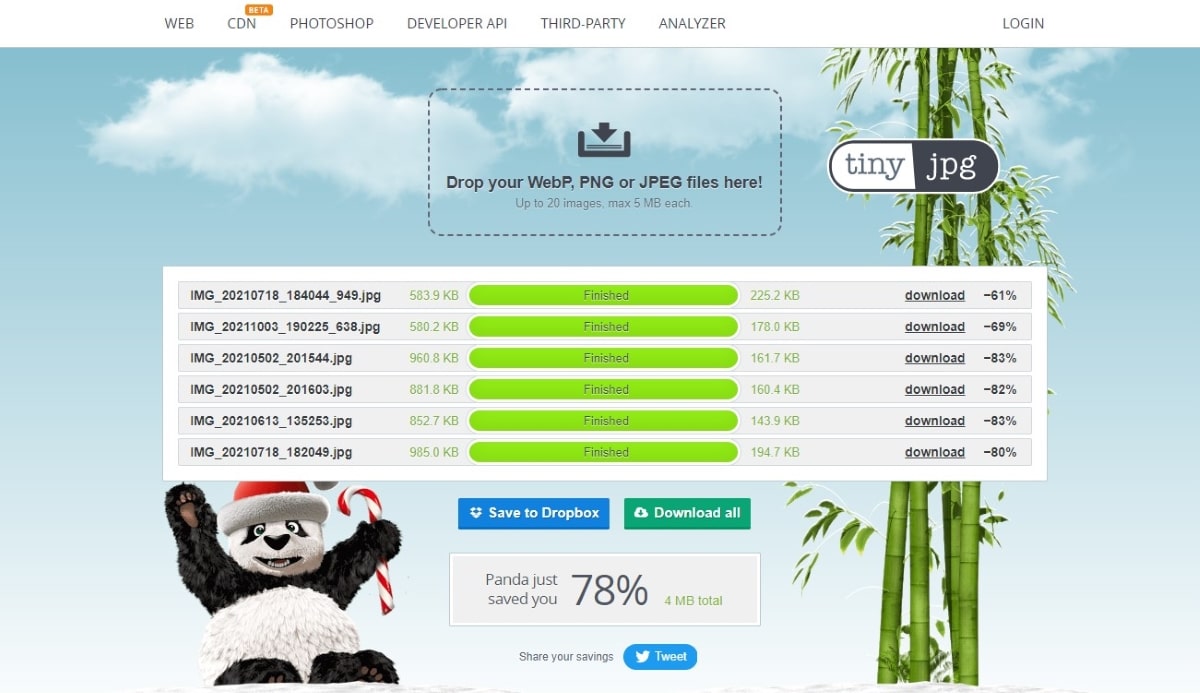
If you do not want to use the native Preview application and prefer to carry out this process through a web page, you can do it thanks to TinyJPG. Tiny JPG allows us reduce the resolution of jpg, webp and png images in batches of up to 20 images, with a maximum size per file of 5 MB.
If the size of any or all images individually exceeds 5 MB, you will not be able to use this website.
How does TinyJPG work? The process is as simple as accessing your web page and dragging a maximum of 20 images that do not individually exceed 5 MB.
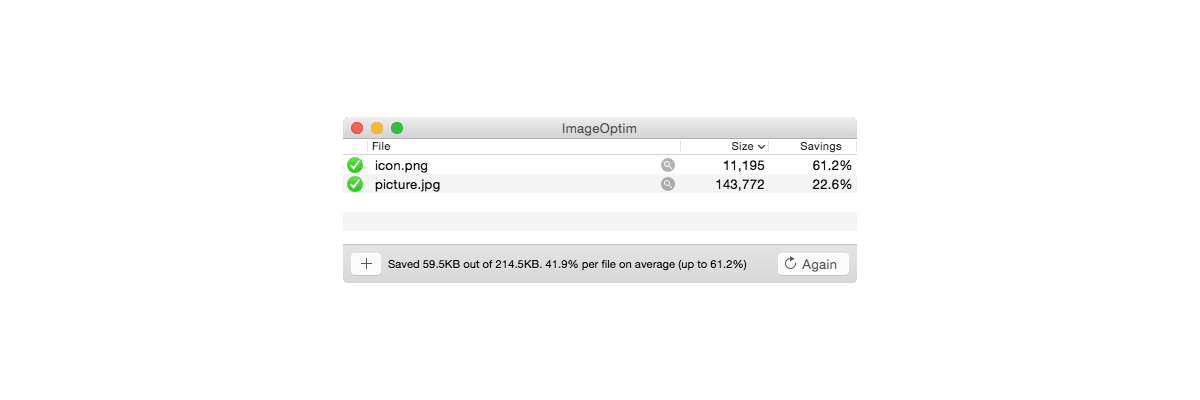
Once the process is finished, it will show, per file, the original size and the resulting size after compression plus a link to download the file and the compression rate.
At the end it shows us a link to download all compressed imagesalong with the average compression rate and storage space that we save.
Web Resizer
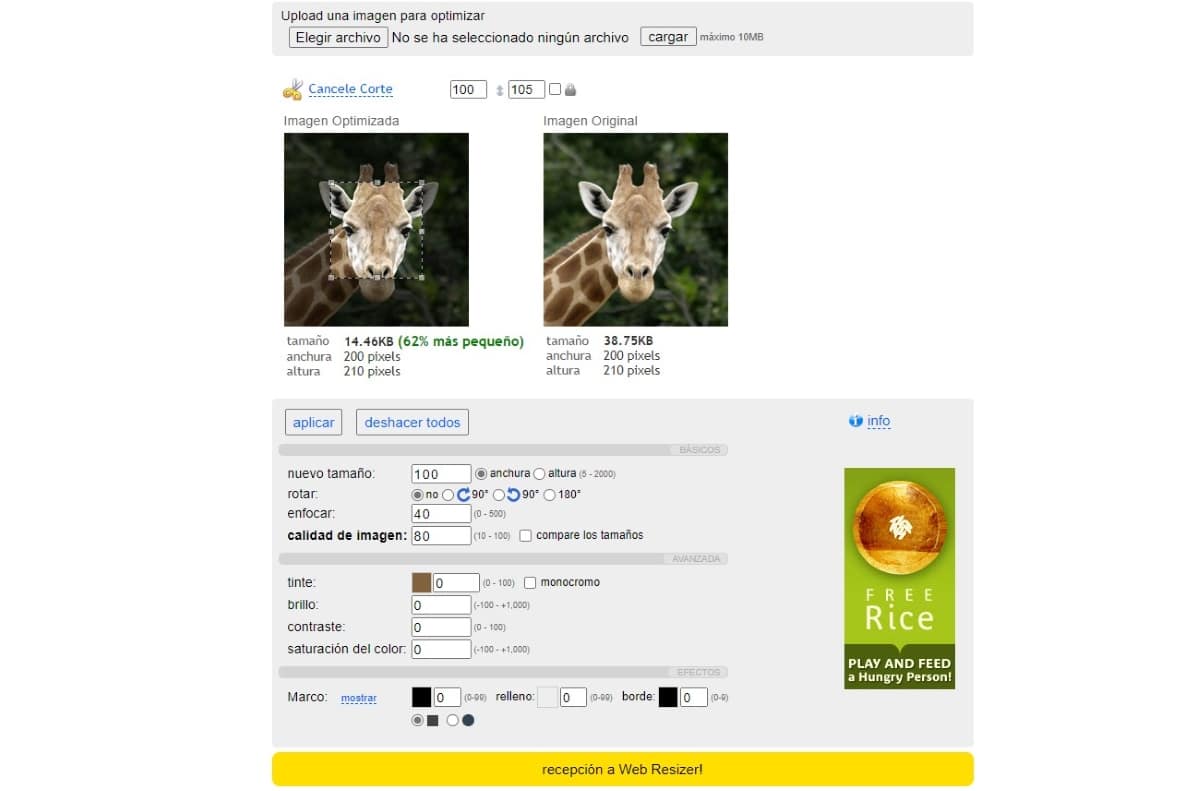
One of the most complete web pages to reduce the size and resolution of photos on Mac in addition to allowing us change image orientation and set specific width or height is Web Resizer.
In addition, it also allows us to cut the photographs, so we can use this website as a photo editor to use but online so we can use it from any device.