Thus, Microsoft has started to release the latest versions of Windows 11 for Windows 10 users. However, before proceeding further, it is necessary to check if your computer meets the necessary hardware requirements to do it without any problems. Obviously, in the case of complying with them, then we can continue with the installation. However, over the last few days, some users have been reporting an error with this process. upgrade to windows 11.
It seems that even though their computer meets the minimum requirements set by Microsoft, affected users claim that the update appeared and then disappeared. Moreover, many others also affirm that the Windows 11 setup wizard won’t stay open enough time to complete the process. Obviously this does not allow installing the new version of the system due to a software failure. Therefore, now we are going to explain how to prevent the installation wizard from disappearing.
What we are actually going to do is force the wizard to stay open so that we can finish upgrading to the new OS. In addition, we must bear in mind that leaving the process halfway can report a serious problem in our team. So, if you see this tool disappear suddenly, here is what you have to do.
Prevent the Windows 11 Upgrade Assistant from disappearing
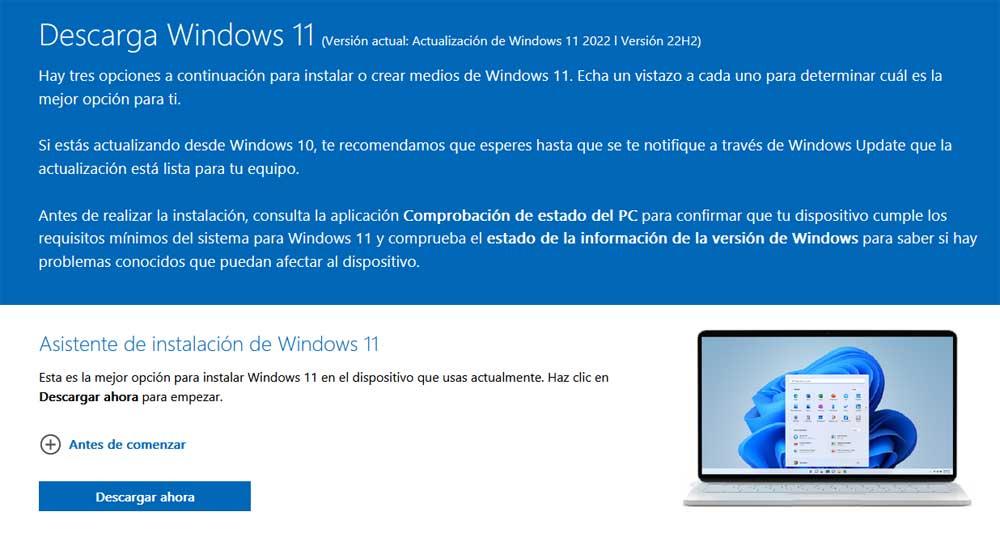
The first thing we must take into account is that we are using the latest version of the Windows 11 installation wizard. To do this, we only have to download from the official Microsoft website the media creation tool more recent. This is something that we can do easily from this official website of the software giant.
In it, it is enough for us to locate the section called Windows 11 Installation Assistant, and click on the button that says Download now. In this way we make sure that, once the installer is downloaded, we have the most recent version.
Next, we should go to the folder o disk location where we have downloaded this new assistant from Microsoft. At this point and in order to solve the problem we have had in the past, when we locate the downloaded file we click with the right mouse button. In the contextual menu that appears we opted for the Properties option.
Within it, in this case we choose the compatibility tab and we locate a box that says Run this program in compatibility mode for, which we activate. In the drop-down list that we will see here, we select the Windows 7 option. To finish, we only have to click on Apply to save the changes we have made.

Now we run the file and we will see how the Windows 11 installation wizard no longer disappears. This means that it stays open long enough to complete the actual installation.