Many of the iPhone users believe to get the most out of their devices. They think they know all its ins and outs and functions. However, Today we will see one of the cases that fewer people know. The function that allows you to lock the iPhone screen, but at the same time allowing its use.
The specific case that we will see in the article will be applied to lock the screen while playing a video. This feature will allow you to continue listening to a YouTube video or podcast while leaving your iPhone in your pocket. In this way you will not have to worry that the screen ends up calling your boss accidentally. However, we will see how it is applicable to other much more interesting and unknown ideas.
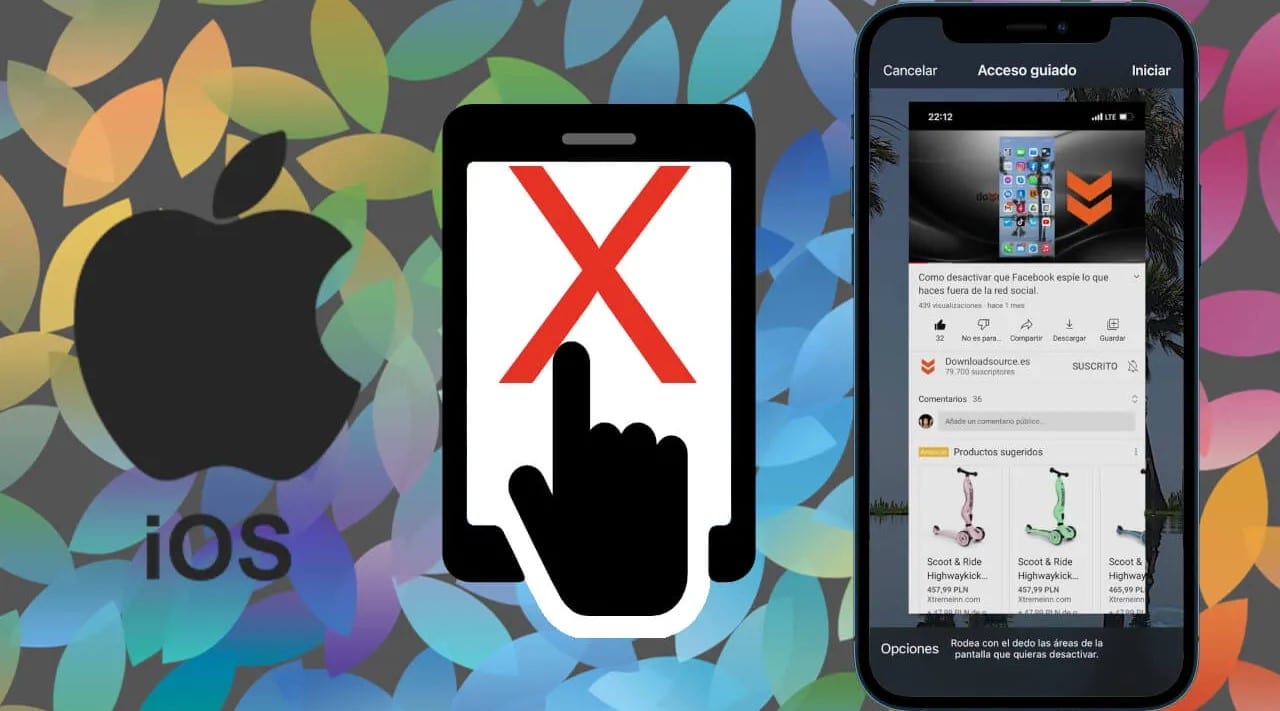
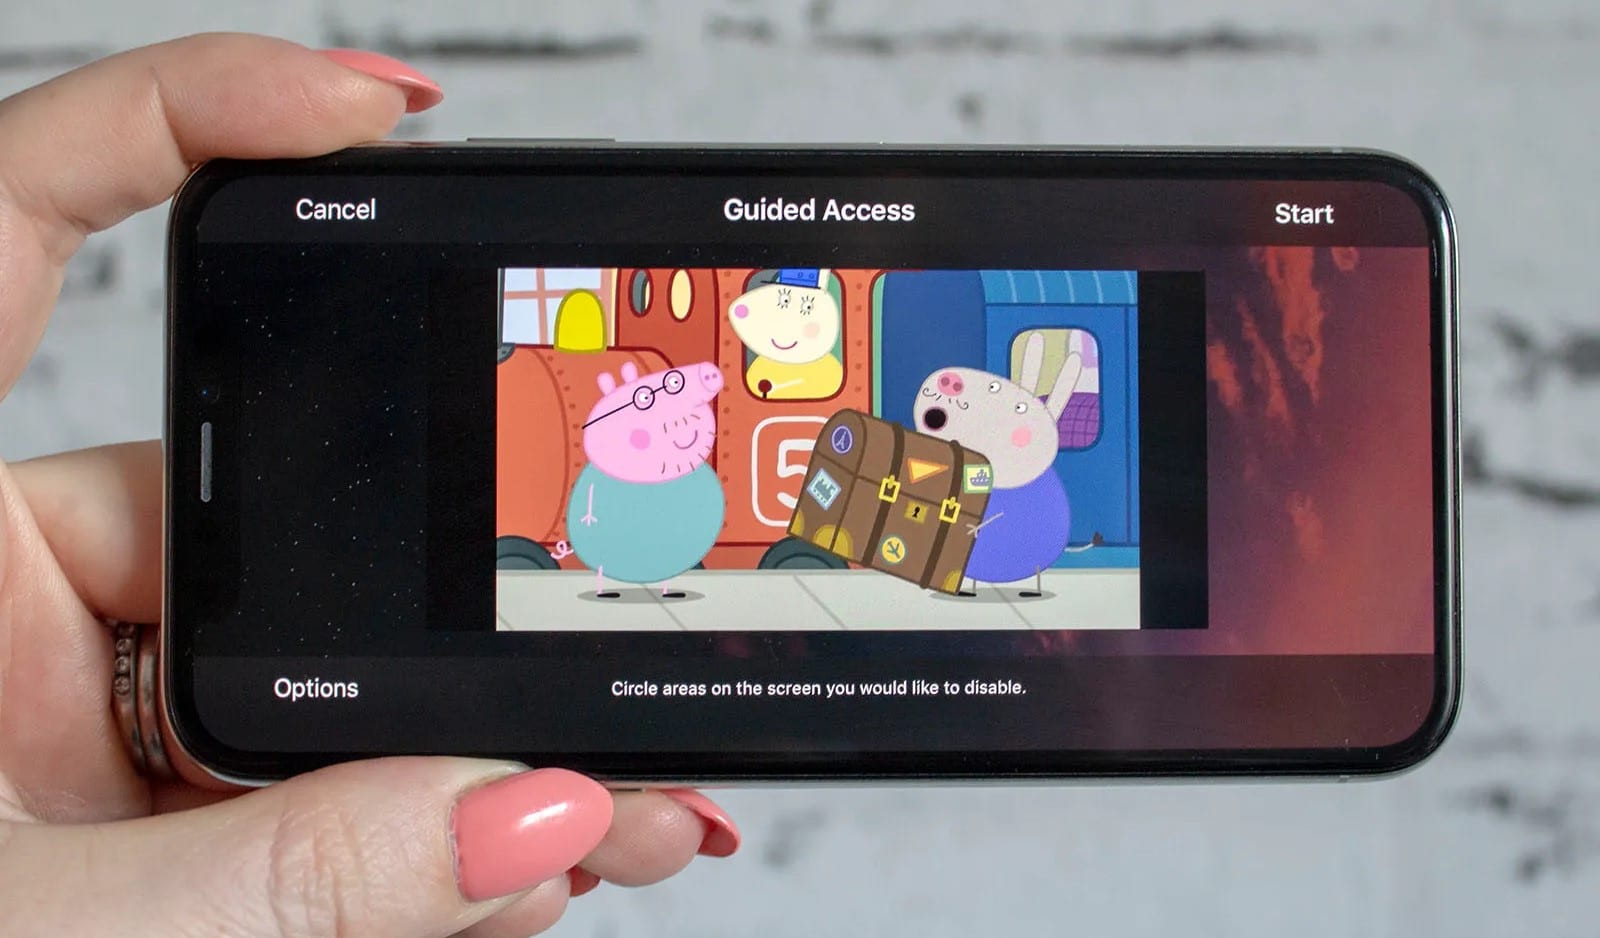
How to lock the iPhone screen while playing a video
To achieve the intended result in the article, we will have to make use of one of the most neglected features of iOS. It is certainly placed in the settings in an unintuitive way. This makes most users do not notice its existenceor simply believe that it is for something else. The feature is called Guided Access, and actually has a specific function in terms of accessibility. However, your application does not make sense on a personal iPhone and we will take advantage of it in another way.

Related article:
Trick for macOS: increase or decrease the volume and brightness in quarters
Where to find Guided Access settings
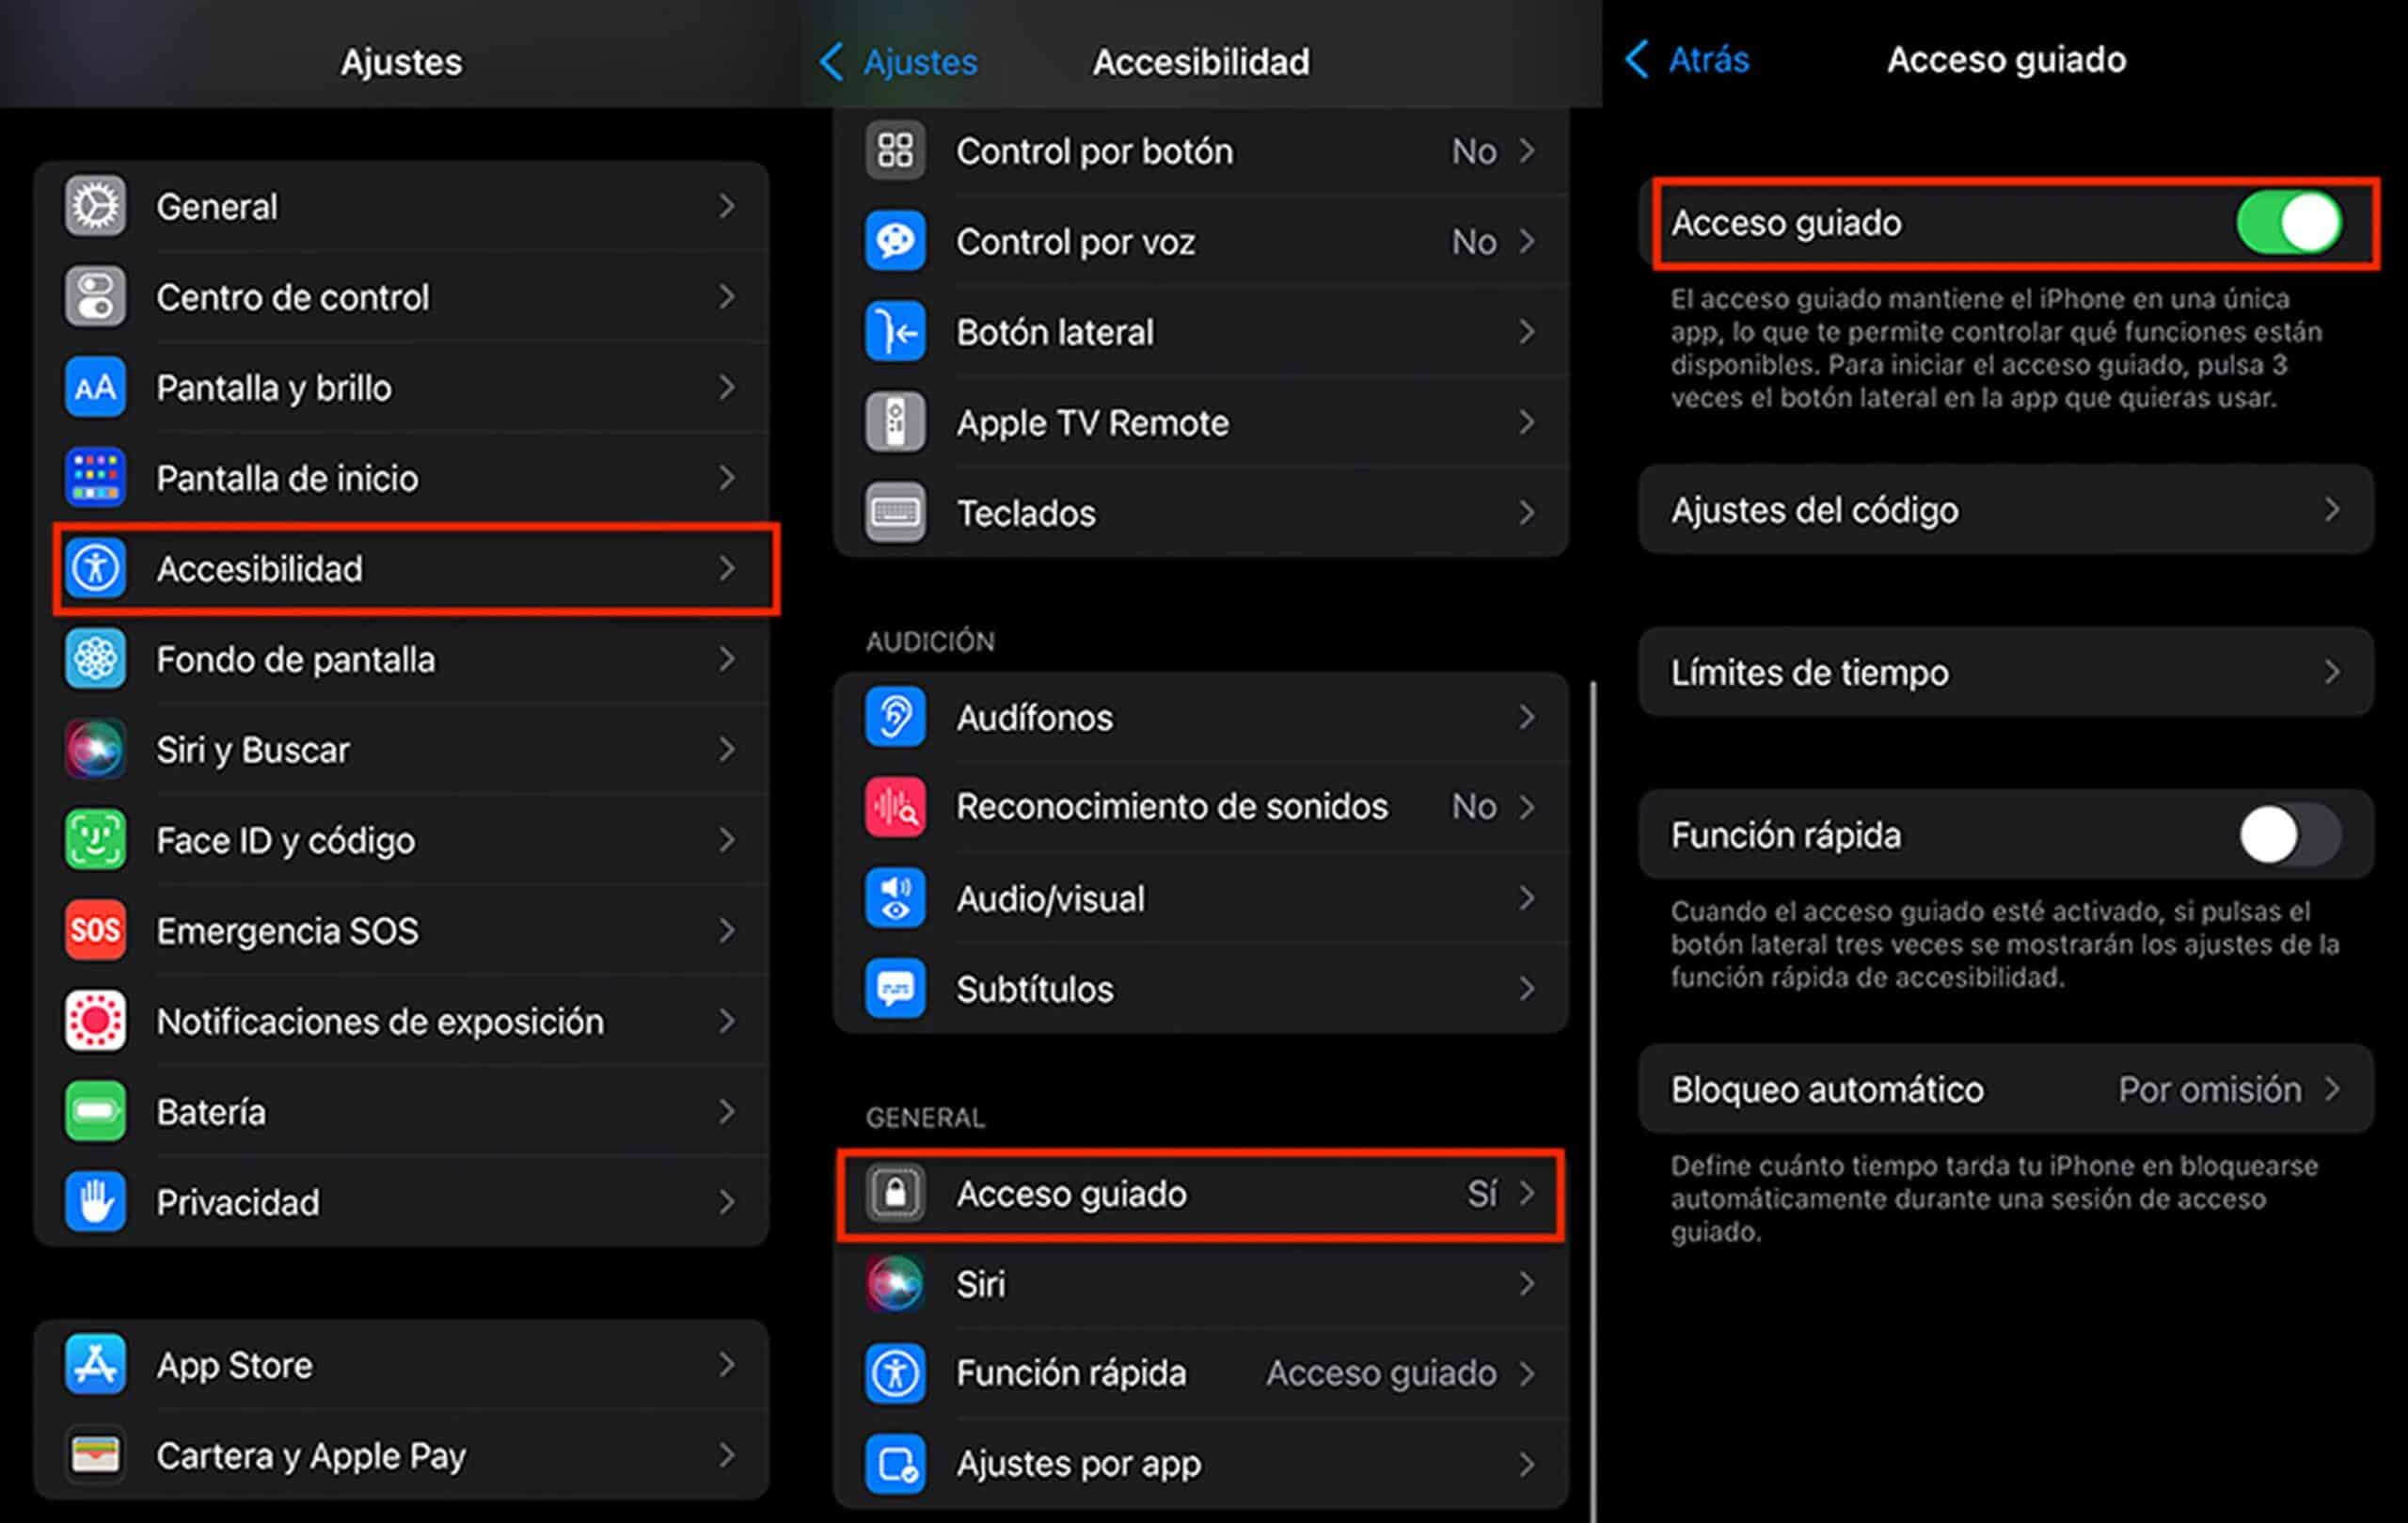
The function that we will use is found in the accessibility settings. We will find it at the bottom of this same options section, near the Quick Function option, which we will use together later. Combining these two options we will achieve the purpose which the article is about, but we will also get another much more useful and interesting effect.
How to turn on Guided Access access
In the first place, the only thing that we will have to do is to activate this option. For this first case, where we only want to lock the iPhone screen while we have a video active, we will only need this. It is our choice to use the rest of the options customizable, such as unlocking by code or time limit. I understand that they do not make much sense to achieve what we want in this case.
Once this option is activated we are ready to put it to the test. We will address a video content, a YouTube video, for example. while playing we will press the side lock button three times. If we do not have any other quick function activated, the Guided Access function will be activated automatically. In the other possible case, that we are shown more options that we do not want, we just have to go to the settings section that we saw before, those of Quick Function. There, in the options button located at the bottom, we will deactivate the options that are left over. Later we will give Start.
A curiosity is that cannot remove the Guided Access feature from the Quick Feature sectionby default this will always be active.
How to set up Guided Access
The bad news is that we have to configure the options enabled or denied in each application separately. A good initial step would be to go to the applications where we will use it to leave it defined in all of them.
If we want to change the setting, we will press the side lock button three more times. This will show us the options related to Guided Access. In case we have put a code on the previous screen, we will be asked before entering.
As we saw in the previous step, here we can configure the functions that are blocked on the iPhone while Guided Access mode is active. Among them we find the Tap. For our first case, it will be enough to leave it deactivated. Once done we will close the options and we will have our iPhone ready.
We will can exit Guided Access mode by double pressing the side lock buttonwhere the password will be required if we put it in the aforementioned step. To reactivate it, simply press three times on the lock button.
How to lock the iPhone screen to restrict it to third parties
The most useful and interesting way I have found to use this function is to restrict it to third parties. We will give an example of its operation so that we understand the claim.
Let’s understand what we want to achieve by locking the iPhone screen with Guided Access
I am using my iPhone, as always, but a friend asks me for my phone to see a video or photo in detail. It’s ugly to show him a video from your hand, but We will make it so that you can do nothing but see that video or photo. We will press the lock button three times and give it to him without any concern. When I give it to me again I will press twice the side lock button. Since it recognizes me by Face ID, it will not ask me for any code and simply It will allow me to play without any limitation.
The end result is, in the eyes of a third party, that the iPhone only responds to us, as if it knew us. It is very easy to activate if we already know how to configure the iPhone to lock the screen to watch the video that we mentioned above.
How to set up Guided Access to get the owner recognition effect
The steps are very similar to the previous ones. The only thing we have to take into account is that the function of Guided Access is the only one activated in the Quick Function section. It will also be vital for the proper functioning of the effect you let’s put a code to Guided Access, as well as recognition through Face ID. IF our iPhone does not have Face ID, but Touch ID, we can also perform the effect, but in a less subtle way of course. Finally, we will require that the option of Shortcut within Guided Access is turned off.
This will be enough as far as iPhone settings are concerned. Let’s move on to the configuration of Guided Access itself.
Once we have activated the guided access, and later we have pressed the side button three times To get the options of the Guided Access, we will configure it appropriately. In this step we must go through the applications likely to require leaving the iPhone to another person. As we mentioned above, each application will have to be configured separately.
To get our effect we must leave all functions deactivated. It is up to our choice that the volume can be increased or decreased, or rotate the device, for example. For the case that we want to achieve, it can be interesting, so the person to whom we leave the iPhone can increase the volume of the video, or rotate it, without requiring us, but they will not be able to do anything else. It is important that the lock button, touch, keyboard and time limit options are deactivated.
Some important details to keep in mind
As we saw previously, we must configure each application that we want to block with Guided Access. Depending on what type of application we want to block, we can allow or deny more options. For example, in videos we saw an example, but if we leave it with an open game, the options can be more permissive. In that supposed case, we will be interested in having most of the options enabled. In any case, you won’t be able to exit the game to go see other information on the iPhone, which is what really matters to us.
The function of side button lock should always be disabled. This will not mean that the iPhone always stays with the active screen, but that the button will not lock the device. In case the person pressures you it will only turn off the iPhone screenreturning to where you were without requiring an unlock code or biometric identification.
A point that is very much in favor of this option, and that you can use for a very different purpose, is that while Guided Access is active, the iPhone cannot be turned off. Whether you have left the block side button allowed or denied.
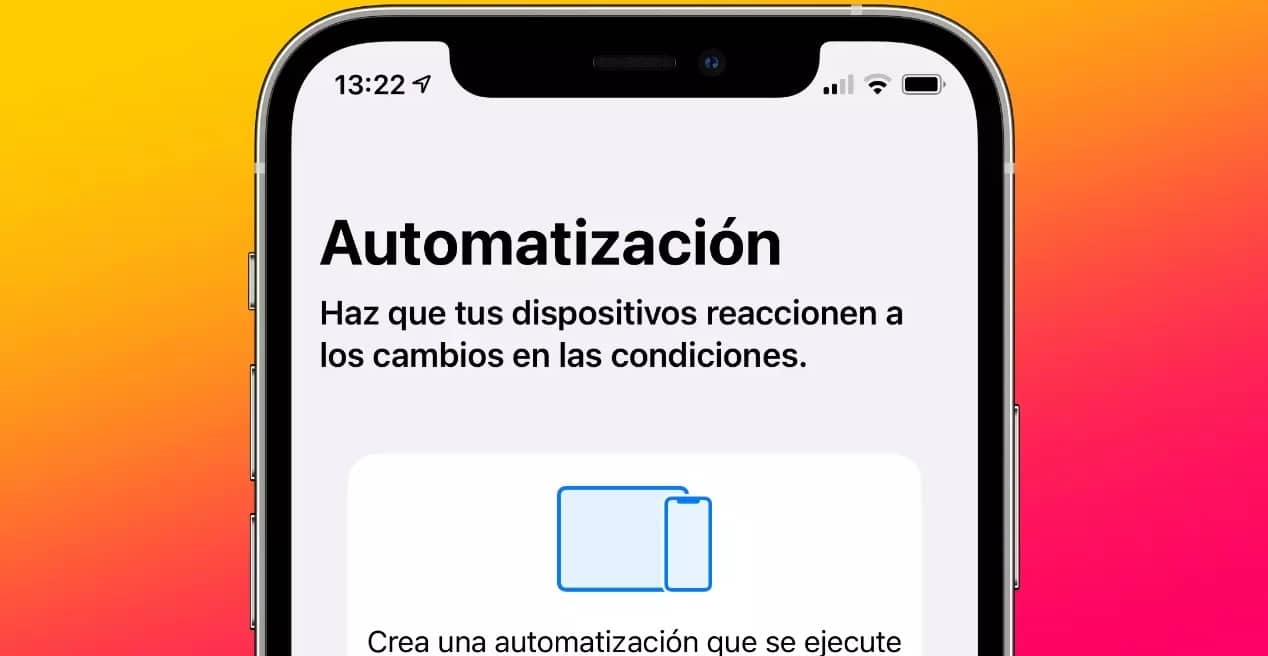
Also you can include the activation of Guided Access in a shortcut. This gives you the possibility to include it in automations. For example, that it is activated automatically when you receive an email or message with a defined text. Let’s imagine that your iPhone is stolen, if someone sends a message with the text “Activate lost mode”, the iPhone will activate Guided Access mode, so it cannot be turned off and it will be easier to track. We can even combine it with the reproduction of an alarm that sounds at full volume. Remember that the shortcut you will need to open an app first, and that it is previously configured, as we saw before, otherwise the execution will fail.
Put it to the test!
Once this is configured, we only have to test it. Leave the iPhone to your friend or family member showing him that he only listens to you. Incredulous will try to prove it, and You will be amazed to see that it is true. Practice it a couple of times before to get the fluency in pressing the side lock button and you’ll be ready to stay with your friends. You can also try it with an iPadas it is fully functional on this device as well.
If you want you can reveal the trick later, yes, Also show them where you learned it, in Soy de Mac.
Finally, we leave you another very interesting article about the extra functions of Magnifier. This is another of the accessibility features that you can get much more out of than you think.