iCloud, since its launch in 2011, has become one of Apple’s key services for the generation of its ecosystem, due to the fact that it allows its users to store their files, photos and data in a secure and accessible location anywhere. time and place. In macOS, iCloud is natively integrated and easy to use to organize and sync your files. Therefore, in this article we are going to see how you can synchronize iCloud and macOS files and take advantage of Apple’s native app.
iCloud settings on your Mac
Next we are going to analyze the process that you have to carry out to carry out the iCloud sync on your Mac. The process consists of two steps that we can expand with an additional step that is the possibility of having iCloud in the Dock.
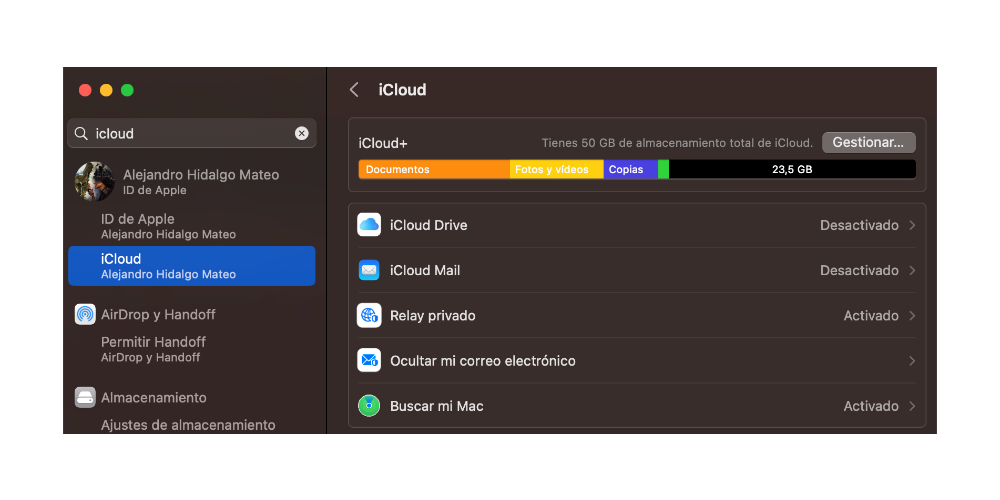
- iCloud Settings: Before you start using iCloud to organize and sync your files with Apple’s native cloud. To do this, from the Finder you can analyze the status of your iCloud account. In the event that you have it disabled, you have to go to system preferences and log in with your Apple ID and password. Once you’re signed in, you can select the iCloud services you want to use.
- Upload files to iCloud: With iCloud set up on your Mac, you can upload your files to the iCloud cloud. To upload files, you can do it through Finder by dragging the files you want to upload to iCloud, which is located, as we have said, in the Finder sidebar. Also, when you generate a file in iWork, IaWritter, or graphic design apps like Pixelmator, many include the ability for files to be stored in iCloud by default, so you can determine if you want to store them in a folder on your desktop or upload them to Apple cloud. You already have the files uploaded to iCloud. However, there are also applications such as the Photos app that upload files directly to iCloud.

Finally, since the latest versions of macOS, you can open the iCloud Drive application from the Dock to quickly store the files you want. The process can be done in two ways:
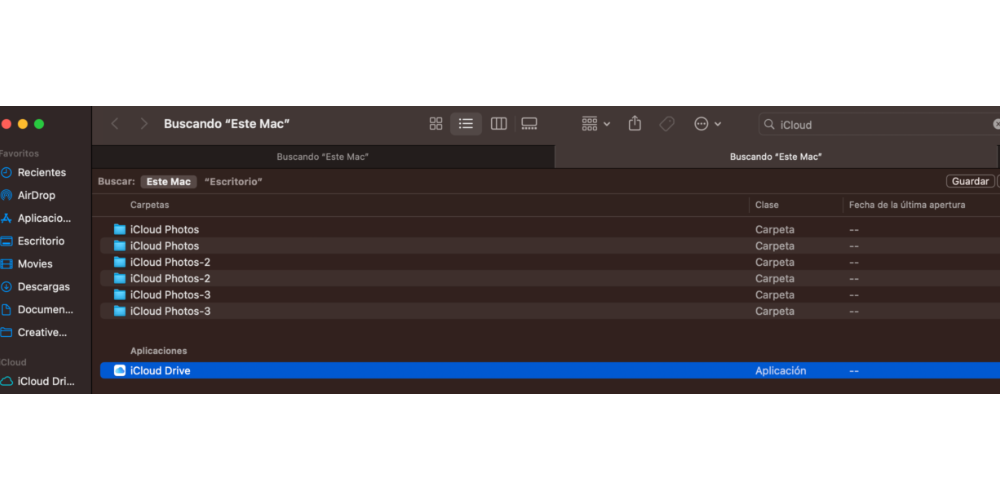
- From the Finder: Open Finder and click on the search box in the upper right corner or press the corresponding keyboard shortcut: atl+cmd+space. Now type iCloud Drive.
- Looking for the containing folder: in this case, we must follow the following path: Finder>Go>Go to the folder. In the menu that just appeared, you must write the following path: /System/Library/CoreServices/Finder.app/Contents/Applications/
Create folders and tags in iCloud
Once you have the files in iCloud, it is important that you organize them to have a efficient resource management. To do this, you can create folders in iCloud Drive to organize your files by category, subject or any other criteria that you find useful.
For create a folder in iCloud Drive, click the button new document in the Finder toolbar and select Folder. Give the folder a name and drag the relevant files into the folder. You can generate as many folders as you want to organize your files. Next to the folders, just like in iPadOS, you can add labels to your files in order to better classify your files. To add a tag to a file, right-click right button in the file and select Tags in the drop down menu. Select the tag you want to add or create a new tag if it doesn’t exist