
One of the most requested functions when we use communication applications such as Facetime, Discord, etc… is to share our screen. It can be really useful for show what we need to our interlocutors. By the way, when we talk about communications applications, the app par excellence, at least until recent years, was Skype. Hence It is essential to know how to share your screen in Skype from your Mac.
In today’s article we will see how to share our screen in a Skype conversation using a Mac. In addition, we will learn some of the most frequent errors and that can cause the occasional headache when the function does not respond properly. So You will be able to solve it if the case arises directly.
First of all, We will start by having the most recent version of Skype for Mac, or if we do not have it installed, add it to our Mac in a simple way. Later we will see how to activate the option, and finally some details to take into account for its correct functioning.
Before sharing, install the latest version of Skype
It is important to have our applications updated as a general rule. However, especially Skype, we will need to share our screen. This is because one of the main problems What you might find when trying is that the version of Skype you have installed does not have this function yet, because it is obsolete. Another of the main reasons is that In older versions it was detected that the screen sharing function was not working correctly, and this ended up just sharing the desktop, without icons or anything, just the wallpaper. This issue was fixed in an update, so it’s important to rule out this first point before continuing.

Update or download and install
Since Skype for Mac app is not available in the Mac App Store, the only way to update Skype is from the application itself. Having automatic updates disabled, for example, would lead to the obsolescence of the version that we mentioned previously, and which is the main reason for problems when sharing the screen in Skype.
How to update the Skype app on Mac
To update the application, we will simply have to go to Mac’s top menu, and in the Help section, we will click Check for updates. If the version of Skype we are using is the most current, the system will indicate this with an informative message. If, on the other hand, the application needs to be updated, the download and update wizard will open at that time. The process could take a couple of minutes.
How to install and install the Skype app on Mac
If, on the other hand, we do not have the application installed, and since it is not available in the Mac App Store, we will have to Go to its official website to download. From Soy de Mac we provide you with the direct link to make it easier for you:
Download Skype for Mac

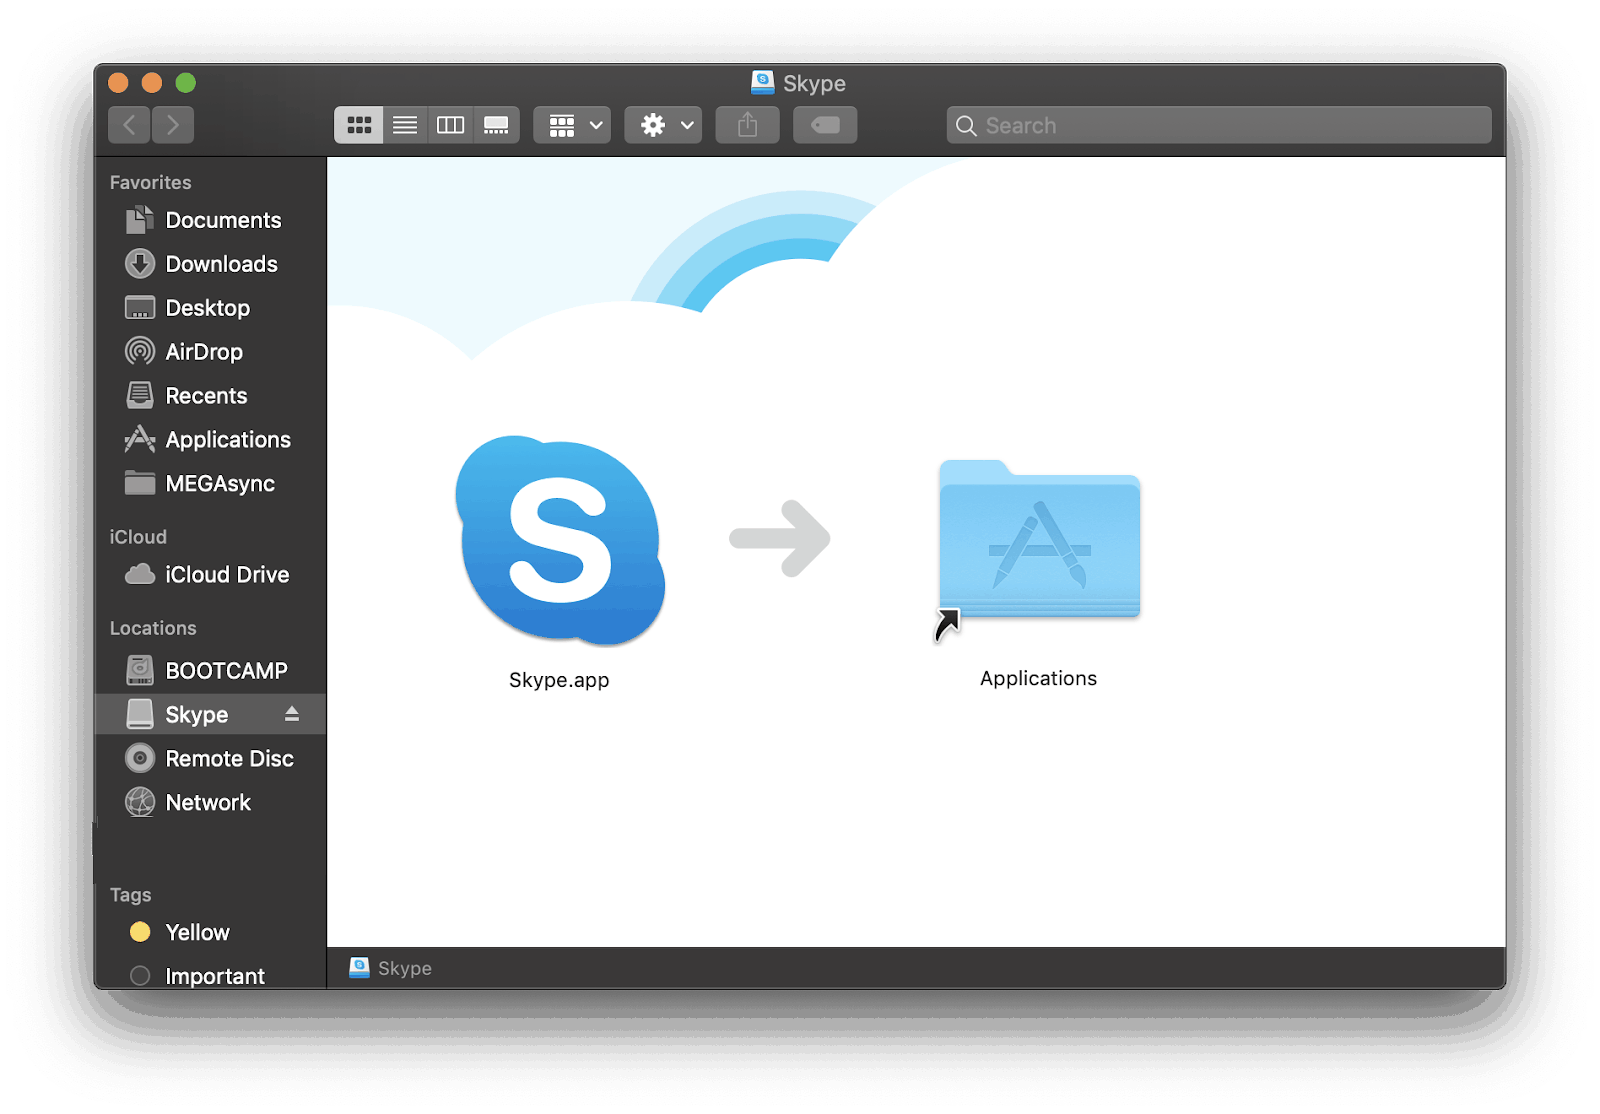
Once we have downloaded the installer, it will be as easy to install as any other application on Mac. The typical applications folder with the Skype icon on the right and we will simply have to drag the Skype application to our applications. Of course, installations in macOS are very simple and intuitive.
Now, how to share your screen in Skype from Mac
Once we have everything ready and we have ruled out a major source of problems, we will now move on to how to share your screen from the Skype for Mac application.
This will be a simpler point, although if It will require that we of course be on a call with someone to have someone to share the screen with.

When we are on a call where we can share the screen, We will only have to click on the “+” which will be shown to us at the bottom right of our conversation screen. At this point I will haveWe have to select whether we want to share the entire screen or just a specific window. Depending on our purpose, we will select the one that best suits our needs.
As you see Sharing your screen through a Skype conversation is very simple. We can also carry out this action even if there are several people participating in the conversation, and we can even record it, in case it is necessary in the future.
Common problem with screen sharing in Skype from Mac
Because it is so It is important to be aware of this possible problem so that the screen sharing function works correctlywe dedicate a specific section to it in the article.
macOS privacy options look out for us to protect our sensitive information. However, it is possible that due to closing an informative message without reading it, or not knowing what said option did, We have disabled an option that is imperative for this feature to function.
To solve it, we must go to the privacy section of Mac Settings. Once there, if we go down enough, we can find the screen recording section. This window may appear differently depending on the version of macOS that we have installed on our Mac. However, it will still be quite intuitive if we remember that we have to look for the Privacy options for screen recording.

When we are on the screen where the applications that have access to the system feature of recording the screen are displayed. Among other possible applications you will find Skype. It will be essential that this application is marked as allowed to perform this function, otherwise the screen sharing option would not work in any case.
Collaborating with everyone
To finish the article, We encourage you to share your experience in the comments. with this Skype option; If you have had a problem other than the ones we mentioned, if the article has helped you make the function work for you, or even if you continue to have problems achieving it, in which case, we will all try to help you.


