What is UFW?
UFW is an acronym for «Uncomplicated Firewall«. Although Linux already has other control measures for connections, such as iptables, actually controlling the firewall through them is a very complicated task. Therefore, Canonical (the developer responsible for Ubuntu) decided to create a simple-to-use firewall so that all users can configure iptables shape using a small number of simple commands. And so the UFW was born.
This firewall is completely free, open source, and written in Python. It comes by default in Ubuntu since version 8.04 LTS, and many distros have decided to add it also by default due to its usefulness. In addition, if it does not come, we can download and install it without problems from their respective repositories.
Essential Commands for Configuring the Linux Firewall
It is important to bear in mind that, although it comes by default in many distributions, it is usually disabled. They do this to prevent users from having rule conflicts that can cause difficult-to-identify problems when connecting to the Internet or using certain programs.
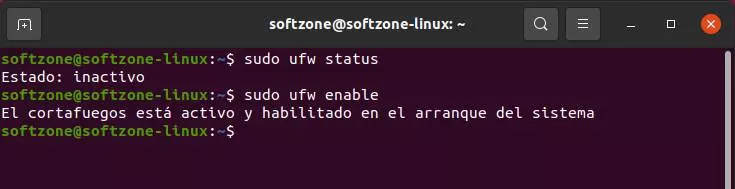
We can easily check the status of this firewall by running:
sudo ufw status
If it is disabled, we can enable it in a moment using the first of the following commands. And, if it is activated and we want to deactivate it, we can do it equally without problems by executing the second of the following commands:
Activate:
sudo ufw enable
Deactivate:
sudo ufw disable
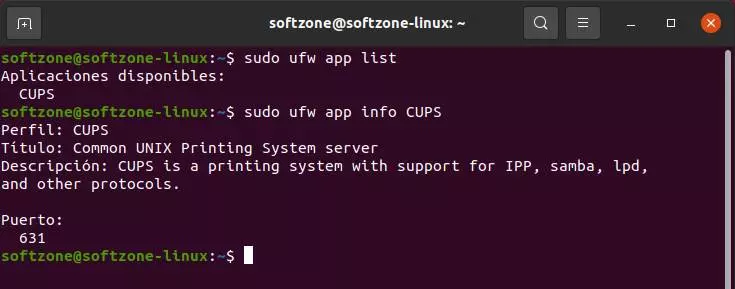
So far the basic control of the firewall that comes by default in Linux. But no matter how much we activate it, without rules, it won’t do much good. Therefore, once activated, we will see how we should configure it. And for this we are going to use the command «ufw app». With it we will be able to see the programs that have rules, and the details of each of these rules.
To se her list of applications with rules, we will execute the command as follows:
sudo ufw app list
And, to see the details of one of the rules, then we will execute the following:
sudo ufw app info nombre_programa
With the firewall activated we will already be a little protected, since all connections from outside to our PC will be blocked. But what if we need a program to be able to connect remotely to the PC? For example, download clients. Or if we want to be able to connect ourselves when we are not at home?
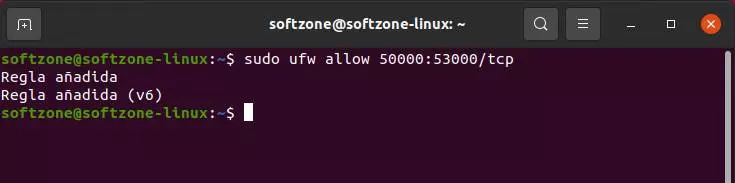
We can do this mainly with “ufw allow”, followed by port, or port range, and the desired protocol. For example, we can run the following commands to open ports 50000 to 53000 so that torrent clients can function normally:
sudo ufw allow 50000:53000/tcp
sudo ufw allow 50000:53000/udp
Likewise, if we change the “allow” to “deny” we will be closing a port, or range of ports. This is useful, for example, if we open a range of ports like the one we just saw, but we want some in between to be closed and blocked.
We can also create rules that apply within the LAN so that other PCs in it can connect to our computer. For instance:
sudo ufw allow from 192.168.1.100/24 to any port 8080
In this example we are allowing a PC with IP 192.168.1.100 within a 24 subnet to connect to our Linux through port 8080. Likewise, we can deny the connection by changing the “allow” to “deny” in the command.
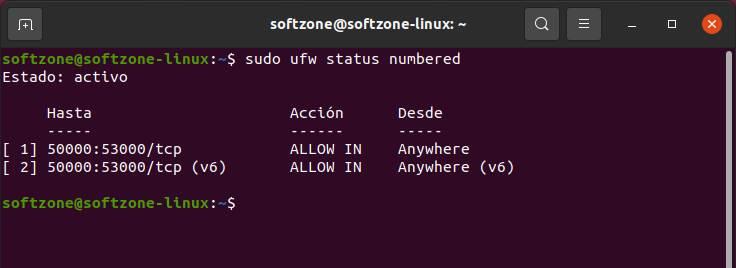
We can see a complete list with all the rules and instructions that we have created in our firewall using this command:
sudo ufw status numbered
If we want to eliminate any of them, we can do it very easily by executing the following instruction (changing “number” by the number that will appear):
sudo ufw delete numero
And, finally, if we want to completely reset the firewall, we can do it in a simple way by stopping it as we have seen before and executing:
sudo ufw reset
With this, all the rules will be erased and all the settings will return to their factory settings.
GUFW: configure Linux firewall in graphical mode
As we have seen, using UFW is not complicated at all, and it gives us all the protection and security we may need. However, if you can simplify things even further, why not do it?
This firewall can be configured using the commands that we have just seen in the previous step, and also through a very simple and comfortable graphical interface that simplifies things much more. We talk about GUFW. We can easily install this interface from the distros’ repositories (generally it does not come by default) and it will allow us to completely control the firewall without learning any command.
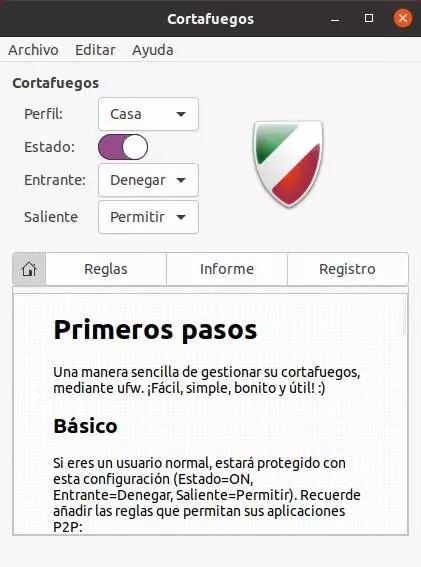
From its main window we will be able to activate and deactivate the firewall, as well as create several profiles depending on the use that we are going to give the PC. We can apply general rules to “allow” or “block” incoming or outgoing traffic, or create much more specific rules.
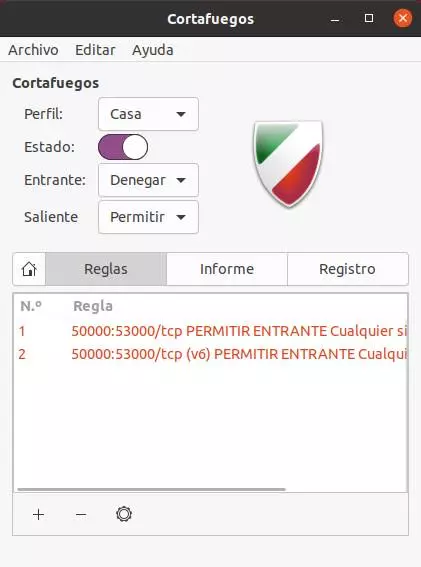
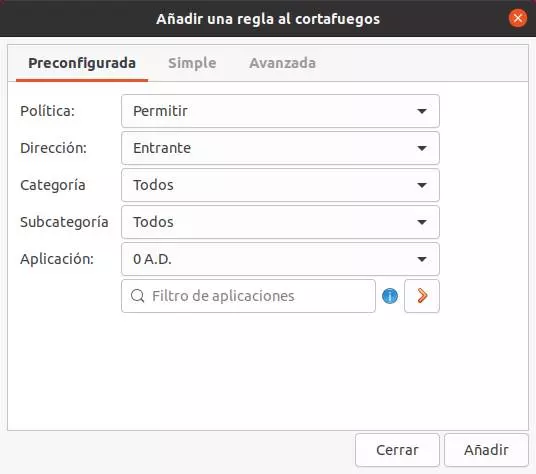
To create a rule, we just have to go to the “Rules” section, click on the “+” button and configure the rule that we want to add to the program. We can choose the policy that we want it to have, the address to which we want to apply it, the category and the application to which we want it to apply. We also have options for a simple creation, and others for a more advanced configuration of it.
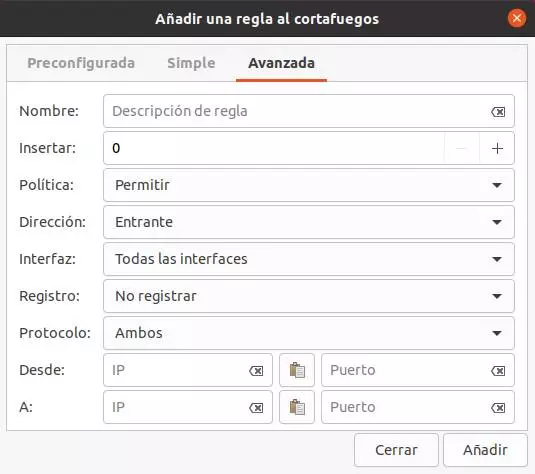
Once the rule data has been filled in, we click on “Add” and it will be added and applied to the firewall. In case we want to delete it, or modify it, we can do it also from the GUFW keys section.