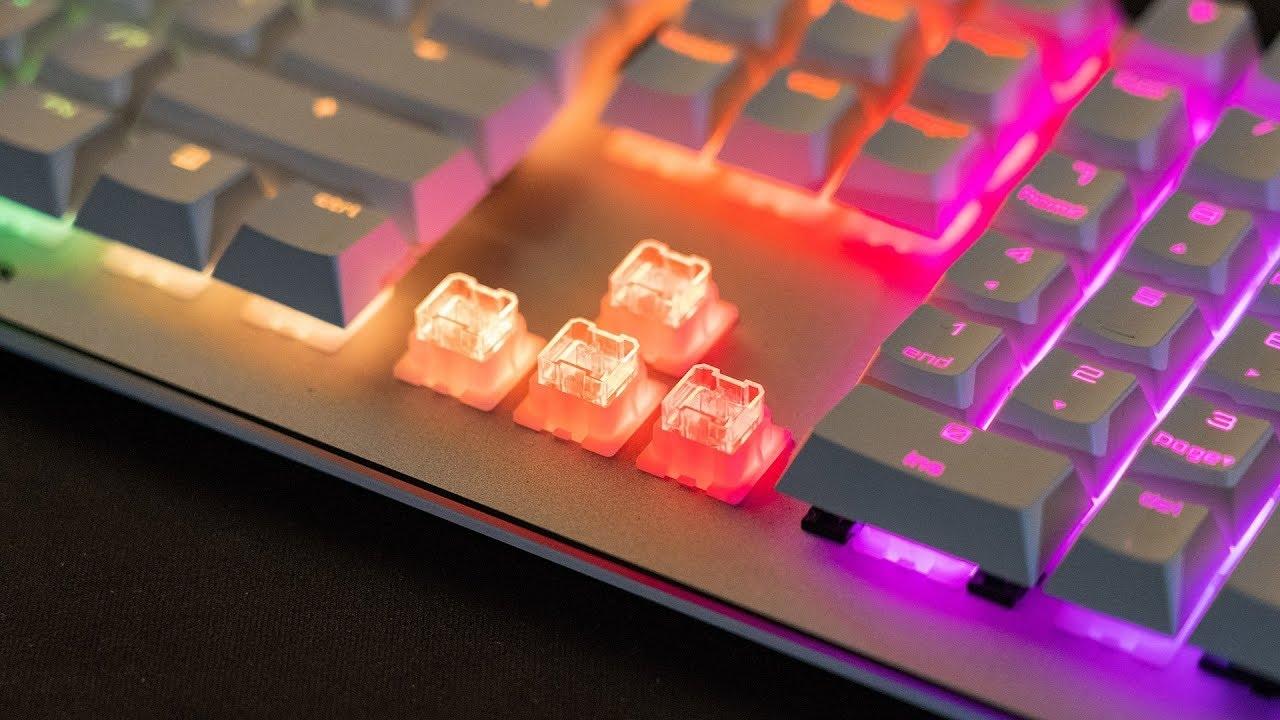
Keyboards with mechanical switches are currently preferred by gamers. There is not just one reason to choose this type of keyboard, there are several. They offer greater precision, a more pleasant sensation and sound when we press a key.
Note that some high-end keyboards allow the change of mechanical switches in a simple way. This is mainly done so that the user can adapt the keyboard much more to their needs or tastes. If your keyboard doesn’t have this feature, the process takes a bit longer.
Items needed to change a mechanical switch
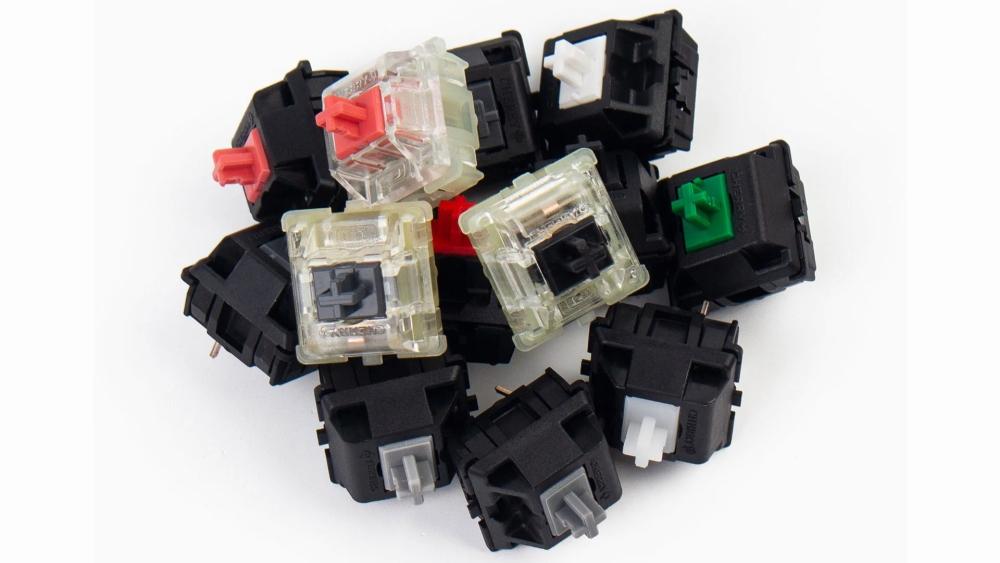
We assume that your keyboard uses soldered mechanical switches. For this you are going to need a series of elementswhich are the following:
- an imechanical switch spare
- extraction tool of switches or precision pliers
- Screwdriver small plane
- Tweezers
- Welder
- tin bellows
- Tin
All of these items, except for the mechanical switch, can be found in inexpensive kits. We propose the following:
You need to know the manufacturer
First of all, you need to find out who the manufacturer of the mechanical switch is. This is very important, since some manufacturers modify the connection pins to prevent compatibility with Chinese models. You should also know that there are manufacturers that produce their own mechanical switches.
The most common manufacturers are:
- Cherry MX for mid-range and high-end keyboards
- kailh for mid-range and low-end keyboards
- Outemu for low-end keyboards
- Razer makes its own switches just for its keyboards and doesn’t sell replacements
- Logitech also makes its own switches and does not sell replacements
We must emphasize that these are the most common, although there are more. If you don’t know it, the manufacturer in the keyboard manual should specify it or you should consult it.
How to change a key on a mechanical keyboard
First of all, reserve time to carry out this process, since it will take you a while. Technically it is quite simple, although it requires many steps and patience. It is important that you have identified which one is failing. We recommend you write down the row and column on a piece of paper. The steps to follow are:
- plug in soldering iron and let it warm up while we disassemble the keyboard
- open keyboard. This supposes withdraw all decks or keycaps. Necessary step to access the screws and also to be able to disassemble the keyboard. Removing them is very simple, you just have to pull them up. Normally, mechanical keyboards include a special clamp for this, designed to facilitate the process when we clean it.
- We remove the screws off the deck and put them somewhere safe. We must prevent them from rolling and falling to the ground, since we can lose them like this
- Now we open the plastic casing to gain access to electronics
- We look for the switch that fails and we turn the keyboard around, without “losing sight of it”
- Now heat up the soldering points and with him bellows of tin or «pacifier» We remove the solder. Verify that all the tin has been removed
- Once the tin was removed, probably due to its weight the switch falls. If not, we turn it over and with the tweezers or precision pliers, we remove it
- Afterwards, we have to take the new switch and put it in the position. Verify that you place it in the same position, something you can do by looking at the name or logo in the same position as the rest. We recommend holding it with a bit of tape or electrical tape so that it does not fall when you turn it over.
- We turn the plate over and proceed to Solder the connectors on the PCB. We will need the tin wire to carry out the soldering. It should look like a kind of little mountain or cone. If you have doubts, there are different tutorials on how to weld on the internet.
- once a soldier, we connect to the computer to verify that it works this new key and all
- If everything has gone well, We mount the PCB in the plastic casing, we screw and put the keycaps
Keyboard with interchangeable switches
If you have a keyboard that allows you to swap switches without going through the whole process above, you’re in luck. The process, which can easily take half an hour, is reduced to a few minutes. In this case, we would have to follow the following steps:
- remove the keycap of damaged switch
- through some tweezers precision, remove switch broken mechanic
- put the new mechanical switch
- we return to put the keycap and we verify that it works
As you can see, the process is greatly reduced and there is less risk of damaging the keyboard.