Although it is not usually a process that users do regularly, both Windows 10 and Windows 11 allow us to change the name of the user account that we have created for any other. If you want to know how to change the username as well as the folder that Windows creates to store the data, we invite you to continue reading.
Rename a local account
The first thing we should know about this process is that we can only do it if we have administrator permissions on the computer. If we have a Standard account we do not have the possibility to change the name of the account without having the help of the administrator or main account that manages the team. Besides, the process is different for local accounts (not associated with a Microsoft account) than on PCs used through an associated Microsoft account and is exactly the same on both Windows 10 and Windows 11.
From the Equipment Manager
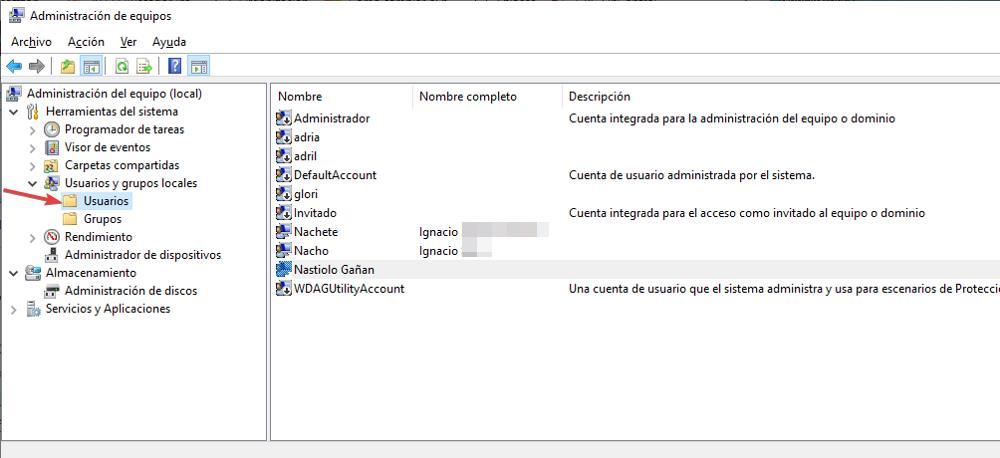
In order to change the Windows account username, both in Windows 10 and Windows 11, of a local account, that is, of an account that is not being used associated with a Microsoft email, we must start by accessing the application Team managementan application that we can access from the Windows search box.
Next, we access the folder Local users and groupsfolder found in the section System tools. And, inside that folder, we press users.
Next, we go to the username we want to change the name of and press the right mouse button to then select the Change name option and enter the new name we want the account to have.
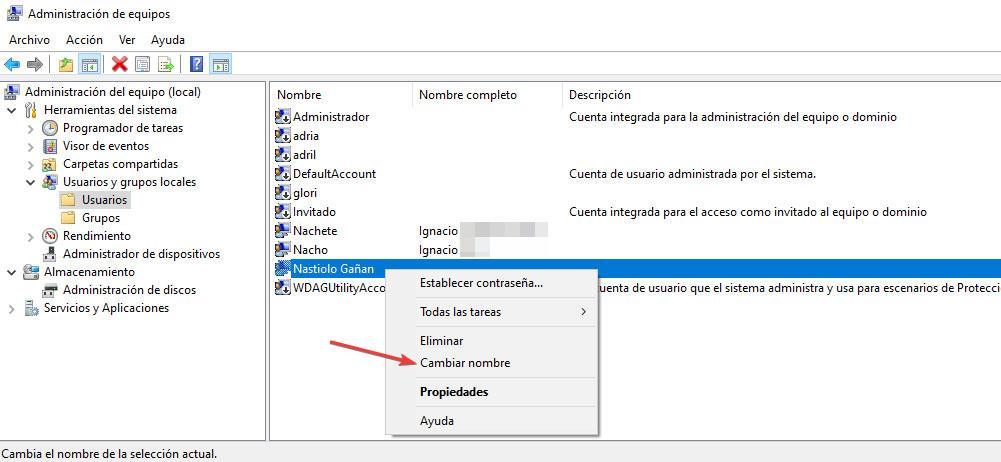
If we click on Properties We will also be able to change the name of the account and add a Full Name and Description. Once we restart the computer, by clicking on our user account, we will see how it shows the new name that we have established. Changing the name of the user account does not change the folder name which was created when we created it on our team.
Through the Team Manager, we can initially change the name of the Microsoft user accounts associated with the team, however, once we access the account, the original name is quickly displayed again, the name we have on the servers Microsoft.
with netplwiz
A much easier and faster option to change the username of a local account on a Windows 10 and Windows 11 computer is through the netplwiz application, an application that is available natively, so it is not necessary install third-party applications or download from any website. To use this app and rename a local user account, we need to use the Windows search box with that name and open the app.
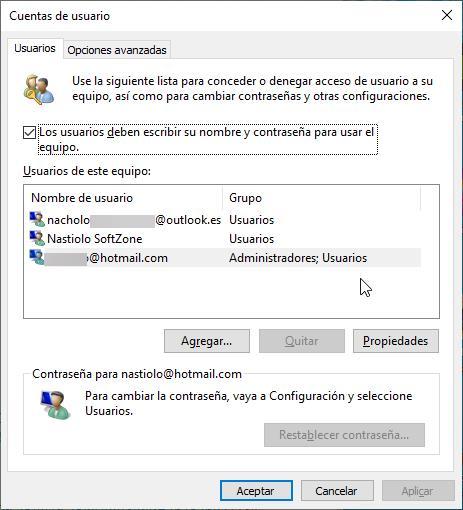
Next, we select the name of the account to which we want to change the name and click on the button Properties.
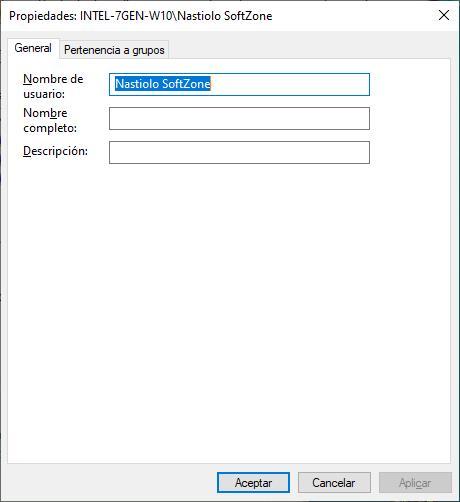
Next, in the Username section, we must enter the new name that we want the account to have. In the Full Name and Description fields, it is not necessary to enter anything, since these changes are reserved for Windows user accounts associated with a Microsoft account.
This method, like the previous one, initially also allows us to change the name of the Windows user account associated with a Microsoft account, however, once we access those accounts, Windows automatically changes the name that we have established by the associated with our Microsoft account.
Rename an account
The options that we have mentioned above are only valid to change the name of a local account, that is, of a user account that is not associated with an account, worth the redundancy, of Microsoft. Although initially the application allows us to do so, when accessing the user, Windows shows the one registered in the account again once we log in again.
from configuration
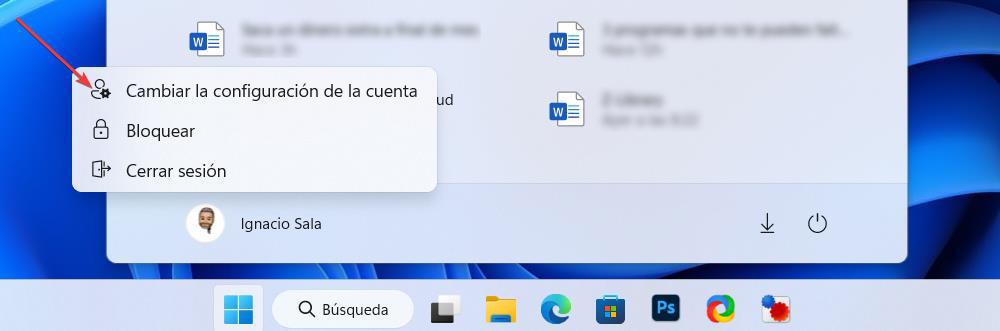
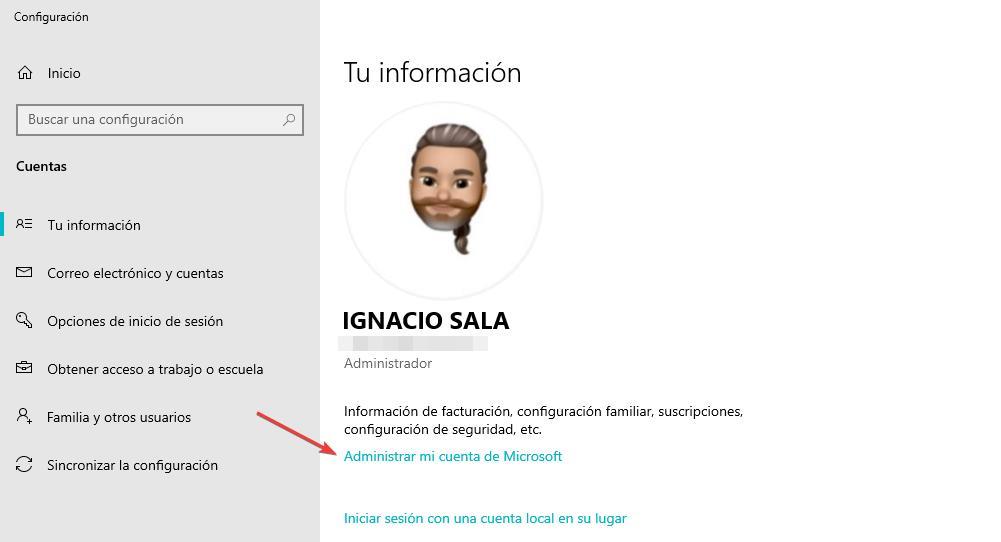
When we use Windows 10 or Windows 11 associated with a Microsoft account, we do not establish any name when we set up the computer for the first time since Windows automatically takes care of obtaining the name of our account. As it works differently from local accounts, we will not be able to make the change directly from our PC, but rather we need an Internet connection to be able to carry out the process. To change the username of a Windows account associated with a Microsoft account, we access the start menu where our image is shown and select the option Change account settings.
If our computer is managed by Windows 10, in the configuration window that is displayed, click on Manage my Microsoft account.
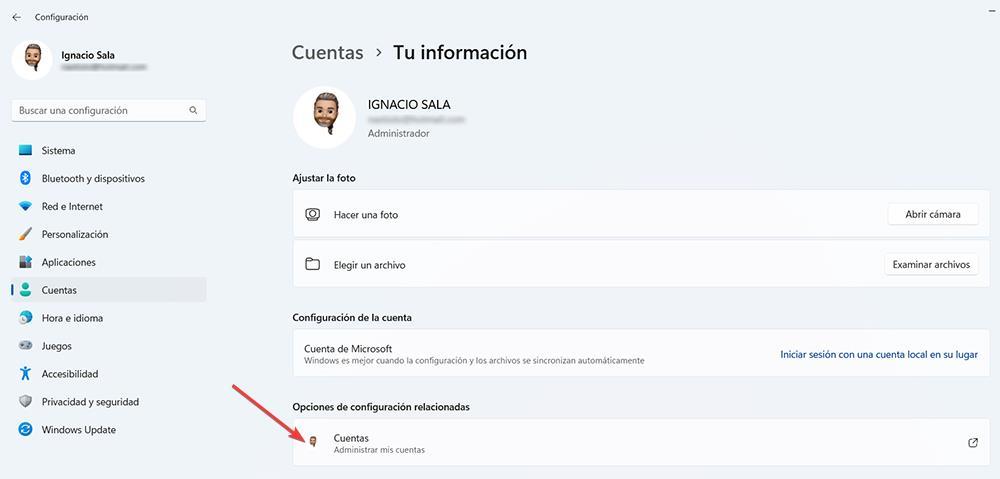
But, if our computer is managed by Windows 11, the option that we must press is accounts within the section Related configuration options.
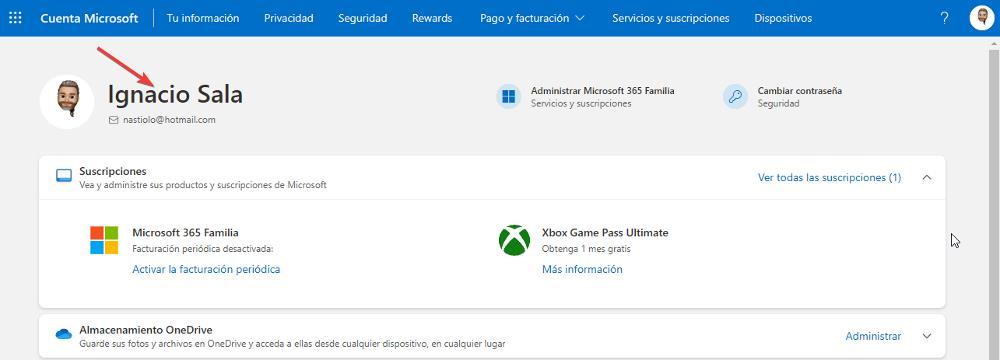
In both cases, the Microsoft page will open with our account data. On that web page, we click on our name to access our personal data.
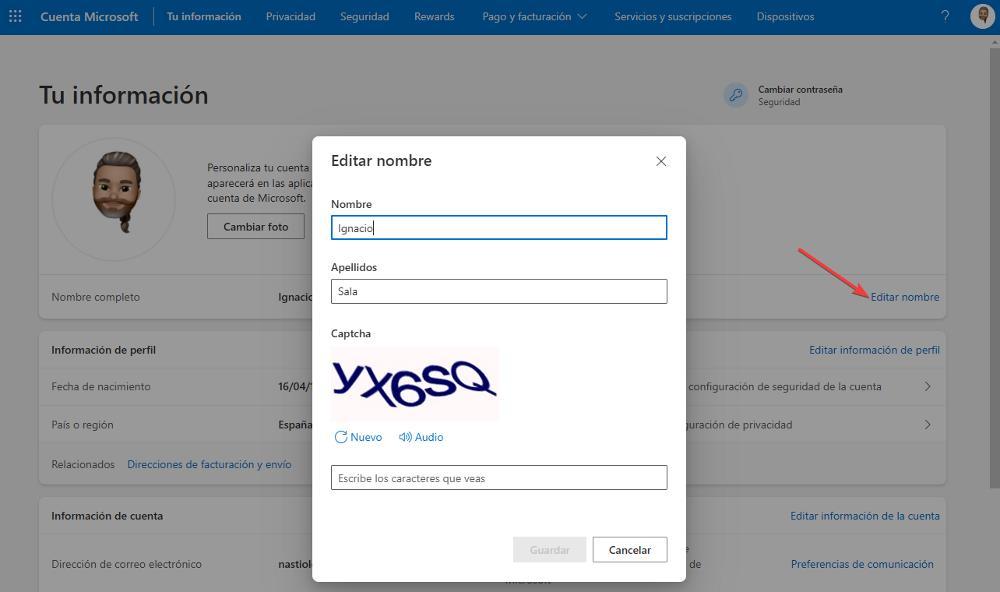
In the next window that appears, click on edit name and then we write the new name that we want to use. Next, to confirm that we are not a bot, we must solve the captcha and click on Keep.
The name change will take a few seconds to be reflected in our account. If it does not, we spend a few seconds, if it will the next time we start the computer.
Through the Web
Another method that we have at our disposal to change the name of a user account without going through the Windows configuration options is through the Microsoft website from where we can access our account and where we can find the subscriptions that we have contracted, the equipment associated with the same account, the forms of payment and so on.
From that web page, we just have to click on our name to access the section that will allow us to modify the data of our user account and change the name of our account. We must solve a captcha to confirm that we are a person and, seconds later, the change will be reflected in our team.