States we communicate can be very useful in various situations in which we may find ourselves when looking for connectivity. And it is that at this point we must bear in mind that at home or in the office we can have several devices that could be connected. However, not all of them have the same coverage, so sometimes we use the so-called repeaters. They serve to amplify Wi-Fi signals and thus reach further, for example at home.
In addition, it may be the case that we want to use our laptop, which we can move anywhere, as an access point. In this way we can move that PC that acts as an access point to any other place. Perhaps some of you think that this is a somewhat complicated task and that it is not worth doing. However, as we are going to show you below, you will see that it is something that we can carry out easily and in a few seconds.
As it happens on so many other occasions, the operating system of those of Redmond He tries to make things much easier for us. So let’s see how we can do it in a simple way.
Configure Windows 10 as a Wi-Fi access point
At this point, the first thing we have to do is start up the equipment that we want to configure as an access point. It can be both a desktop PC and a laptop, although perhaps the second option is even more useful. Once the equipment is started, we look for the icon corresponding to the Wi-Fi network which is located on the operating system taskbar. Specifically, this is found together with others as used as the date or the volume of the system’s audio.
Once we have located the icon we are referring to, we click on it with the main mouse button. Next, a list will appear on the screen with the networks that we have access to at that moment and that are available. In the same way, in the lower part of the window that has been opened, we find three shortcuts. The first one is used to activate or deactivate the wireless connectivity, the second to activate the airplane mode and the third is the one that interests us in this case. Therefore we only have to click on the so-called Coverage Zone.
First of all we will tell you that it is enough to click on this button with the main mouse button to activate the WiFi access point. However, if it is the first time that we use this functionality, we recommend that you configure it previously. This is highly recommended, especially if we take into account that our Pc It will serve as a wireless connection point, so we must take some security measures.
Configure the access point
Therefore, to configure this element that we are activating, we only have to right-click on the aforementioned Coverage Area. At that moment, a message will appear on the screen that says Go to configuration, where we click. This will take us directly to a new window of the application Windows 10 Settings where we find several parameters.
The first thing that we find in this window is a selector from which we can activate or deactivate the functionality as such. Also, as we can see, we have the possibility of establishing the type of connectivity that we will use for the access point. Here we can choose between Wi-Fi or Bluetooth, so in the present case we will opt for the first option.
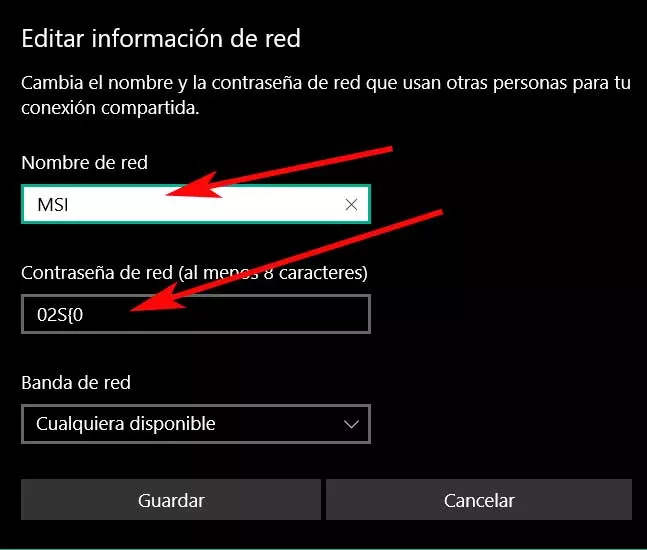
At the same time we recommend customizing the default name that Windows offers us for this access point, as well as the password to connect. As you can imagine, this will allow us to more easily recognize the new access point, in addition to limiting its connection through a personal password. This is the proportion we will make those users whose devices we want to use our equipment to connect to the internet.
At this point, all we have to do is click on the Edit button located at the bottom of the interface. This will lead us to a new window in which we can fill in the previously specified data.
What measures to take so that the access point does not fail
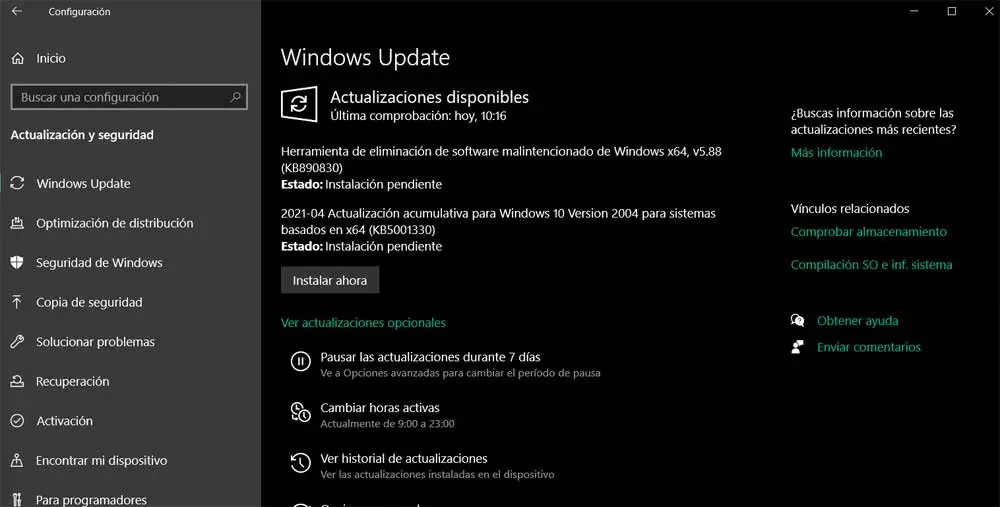
Although as we have seen create a access point on a PC With Windows 10 it is quite simple we can find that it does not respond as it should. This means that the rest of the devices are not able to connect to this element that we have just created. Therefore, for everything to go well, we also recommend taking a series of measures that will possibly solve the problems that we may encounter. First of all, and as usual, we recommend updating the Redmond operating system to its latest version. This is something that we achieve from the Windows Update of the Settings application.
Another measure we can take is to restart the router from which we used the Wi-Fi originally. Although it is somewhat obvious, it is important to make sure that the password that we have provided to the rest of the devices is correct. An element that may be limiting the access of other computers to our PC is the antivirus. Therefore we can deactivate Windows Defender or any other that we have temporarily installed to see if that is the source of the failure.
In the same way we also have the possibility of restarting all the network system and reconfigure the access point in Windows 10. This is something we achieve through a command prompt window, which we open with the CMD command in the search box. In the window that appears we just have to write the following command:
netsh winsock reset catalog
Therefore if we find some kind of malfunction In the Windows 10 access point that we just created, we can try to take one of the steps described above.


