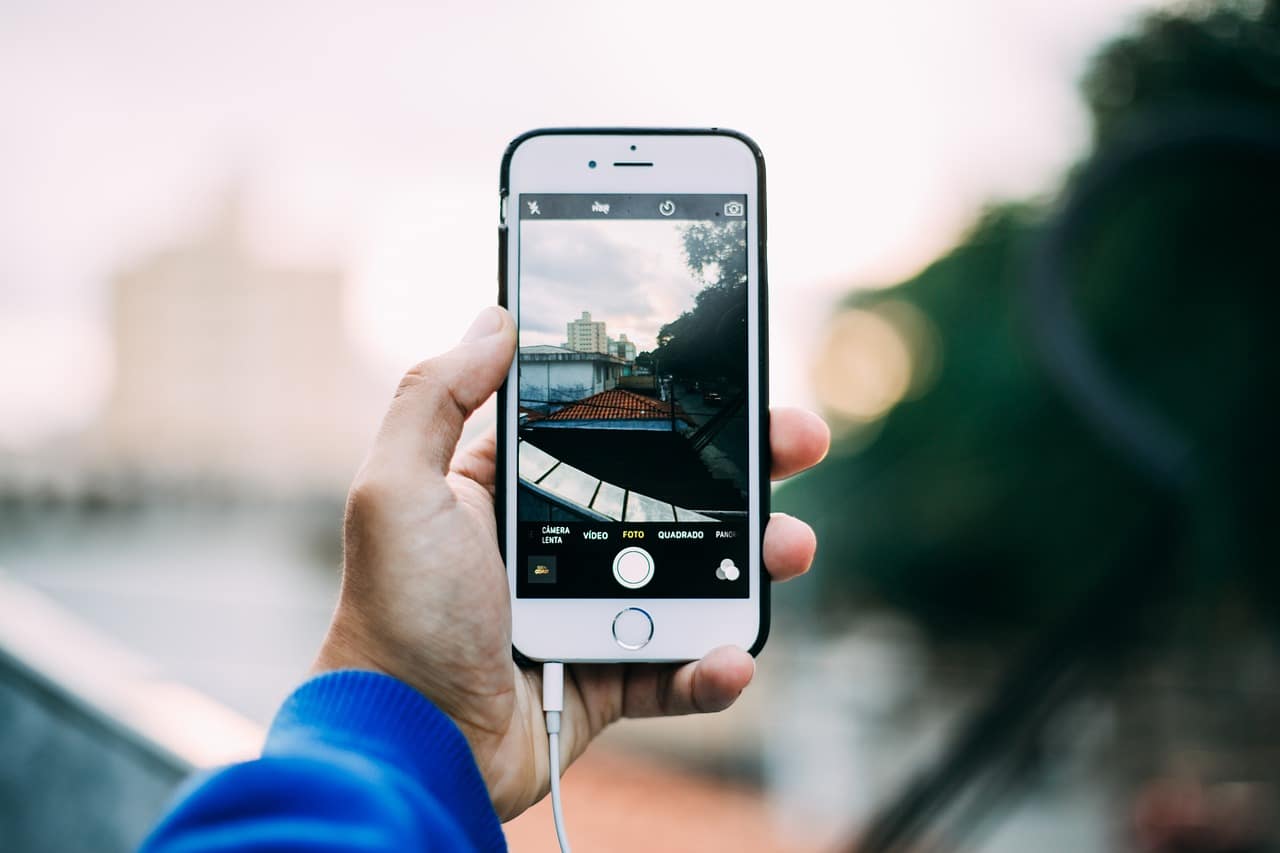
Modern life is full of unforgettable moments and what better way to immortalize them than with a quick photo from your iPhone? But sometimes those memories need a safer, larger place, like your PC.
Are you wondering how to transfer photos from your iPhone to your PC? Don’t worry, you are in the right place.
Discovering the connectivity between your iPhone and PC
iOS devices like the iPhone have a reputation for not being particularly friendly to non-Apple systems like Windows PCs. But that doesn’t mean it’s impossible.
Here I will guide you through several easy ways on how to transfer your precious photos from your iPhone to your PC.
Direct Connection: The Classic Way
One of the easiest and most direct ways to transfer your photos is by using the USB cable that came with your iPhone. Here are the steps:
- Connect your iPhone to your PC using the USB cable.
- On your iPhone, a message will appear asking if you trust this device, click “I trust”.
- On your PC, open File Explorer and select your iPhone.
- Navigate to “Internal Storage” > “DCIM”, then select the photos you want to copy.
- Right click and select “Copy”, then go to the location on your PC where you want to save the photos and right click and select “Paste”.
With the help of iCloud
iCloud is a cloud storage service from Apple that can greatly facilitate the task of transferring photos from your iPhone to your PC. Here are the steps:
- On your iPhone go to “Settings” > [tu nombre] > “iCloud” > “Photos” and turn on “iCloud Photos” and “Upload to My Photos”. This will ensure that all your photos are automatically uploaded to iCloud.
- On your PC, visit iCloud.com and sign in with your Apple ID.
- Click “Photos,” then select the photos you want to download.
- Click the download icon in the upper right corner.
In addition, you can also install the iCloud client for Windows to have automatic access to your photos.
iCloud Drive, a variant of the previous option
Another option that Apple offers is iCloud Drive. This option requires you to download and install iCloud for Windows on your PC. Once installed, you can access your iCloud photos directly from your PC’s File Explorer.
third party applications
There are also numerous third-party applications such as EaseUS MobiMover either dr.fone among others, which can make it easier to transfer photos from your iPhone to your PC. These apps are usually very intuitive and offer step-by-step instructions to help you through the process.
Now that you know the different ways to transfer your photos from your iPhone to your PC, I hope you can keep your memories safe and accessible. And remember, technology is here to help you, so feel free to explore these options and see which one works best for you.
Wireless transfer with AirDrop
On a Mac with OS X 10.10 or higher, you can use AirDrop to transfer files between your PC and your iPhone. AirDrop exchanges information over Wi-Fi and Bluetooth, so the devices need to be close to each other. (Remember to have both Wi-Fi and Bluetooth turned on on both your Mac and iPhone.) To ensure security, transmissions are encrypted.
To apply AirDrop, you need to be signed in with your Apple ID on both iPhone and Mac.
- Choose a photo on iPhone or Mac.
- Tap or click the button (such as the Share button, Send button, AirDrop button, or more button) that displays the app’s sharing options. For example, to beam a photo from iPhone using AirDrop, select the photo in the Photos app, then tap the Share button.
- Tap or click the AirDrop icon in the sharing options, then select your other device.
After sending a photo to your iPhone, you can find it in the app where you have stored it or in the app that automatically opened it. When you send a file to your Mac, you can find it in the application where you saved it or in the Downloads folder.
Importing photos through iTunes
Another option is to use iTunes to import your photos. This method involves syncing your iPhone with iTunes, and then using iTunes to transfer the photos to your PC.
To do this, follow these steps:
- Connect your iPhone to your PC and open iTunes.
- Click on your iPhone icon and select “Photos”.
- Click “Sync Photos” and select the photos you want to import.
- Click “Apply” to start the transfer.
Using Google Photos

Finally, if you’d rather avoid Apple’s methods entirely, Google Photos can be a great alternative. Google Photos offers unlimited storage for high-quality photos and can automatically sync your photos across all your devices.
To use Google Photos, you need to download the app on your iPhone and create or sign in with your Google account. Once you’ve done this, you can now set it to back up your photos automatically. Then, on your PC, you can sign in to Google Photos through your browser and have access to all your photos.
These are just some of the many methods available to transfer photos from iPhone to PC. Remember, the best method for you will depend on your personal needs and preferences.
Next we will cover the topic of settings and precautions that must be taken before transferring the photos, as well as some more specialized options.
Preparing for the transfer
Before you start transferring photos, it’s a good idea to do some maintenance and preparation. First of all, we recommend organizing your photos on your iPhone. You can create new albums in the Photos app and move the photos to the corresponding albums. This will not only make the transfer easier, but it will also make it easier to find your photos on your PC once they have been transferred.
It is also essential to make sure that your iPhone is backed up before doing any photo transfers. Although rare, there is always the possibility that something could go wrong during the transfer process and you don’t want to risk losing your precious memories.
Using specialized applications
While the options we’ve discussed so far are generally adequate for most people, there are more specialized apps that offer more functionality. For example, some apps allow you to transfer photos in batches, convert photo formats automatically, and more.
PhotoSync
PhotoSync allows you to wirelessly transfer, backup, and share photos between devices, including iPhone, iPad, Android, PC, Mac, NAS, cloud services, and more. It can transfer photos in their native resolution, without any quality loss, and can also handle the transfer of photo metadata, such as location and date/time.
iMazing
Another option is iMazing, an iOS device management tool that lets you transfer photos (and other data) between your iPhone and PC. In addition to photo transfer, iMazing also offers features like managing music and messages, backing up, and transferring data to a new iPhone.
So far we have covered almost all the most common and some more specialized ways of transferring photos from iPhone to PC, from connecting directly via a cable, to using various cloud services, email applications, Bluetooth, and more. specialized applications. However, there are a couple of additional things we might consider to help you manage and further enhance your photo transfer experience.
Converting HEIC format to JPG
Since iOS 11, photos taken on an iPhone are saved by default in the HEIC format, which is more efficient in terms of storage than the more traditional JPG format. However, not all operating systems or PC programs can open HEIC files.
If you encounter this problem, pleaseyou can choose to convert your photos from HEIC to JPG before transferring them. The procedure to transform a HEIF file into a JPEG is quite simple and can be done by following these steps:
- We start the Photos application on our iPhone or iPad.
- We select the image we want to convert.
- We press the share icon, represented by a square with an upward arrow.
- We opted for the Copy Photo option.
- We start the Files application.
- We explore until we find an empty or suitable folder for the image, for example, the desktop.
- We maintain pressure on an empty space.
- Finally, we select the Paste option.
Backing up your photos
Once you have transferred your photos to your PC it is important to make sure you have a backup of them. Hard drives can fail and photos can be accidentally deleted. To avoid losing your precious memories, we recommend backing up your photos to a cloud storage service or external hard drive.
In short, there are numerous ways to transfer photos from iPhone to PC and several factors to consider to make sure the process goes smoothly.
We have reached the end of this article. If you found it useful, please share it with your friends and family who may also need help with this topic! And if you have any questions, feel free to leave them in the comments. We are always here to help you.
Until next time!