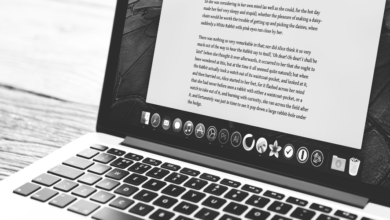
Many Mac users may think that macOS is one of the least updated Apple operating systems. They are partly right, since the new features of macOS focus more on the productivity and be more efficient in our work. However, there are many interesting functions in macOS and that, in many cases, we do not manage to extract all its performance. Therefore, in this article we are going to highlight everything we can do with the Preview on Mac and the magnifying glass function.
Preview on Macs
To get started, open the Preview app on your Mac. To do this, you can search for it from the Spot light, the native macOS search engine or if you press F4, all the apps you have on your Mac appear, where you will see the Preview. Now, open a PDF file or an image and follow the seven steps:
- Once you have the PDF or an image open, scroll to the top of the screen and click on “Tools.”
- Then, select “Show Magnifying Glass” to activate the magnifying glass function. You will see a circle moving across your screen, which is the magnifying glass.
Now, you can move the magnifying glass around the screen with the cursor of the mouse. When you reach an area that you want to expand, you have to click and hold the mouse button. Once this process is complete, go back to “Tools” and then to “Show Magnifying Glass”. The check mark disappears and the magnifying glass will be disabled.

you know how you can Activate and deactivate the magnifying glass function in preview. However, it is important to know how to adjust the zoom level of this, so that we can determine a correct approximation and not have to repeat the previous steps. To do this, you have to select “Increase magnifying glass size” or “Decreasing magnifying glass size” in the menu “Tools”.

Finally, we can customize the Preview toolbar, so that you can add the most common buttons through the “Customize your toolbar” tab. Then, drag the tools you use most often like the magnifying glass, rotate or crop. When you turn this option on, all features at the top of Preview start to shake, just like apps on iOS.
Advanced tools focused on accessibility
Also, the zoom option is intended for users who are visually impaired and who need accessibility features for Mac. To enable zoom on the entire macOS desktop, you have to go to System Settings, then to Accessibility and finally to Zoom. Here you can activate full screen zoom or image window zoom, which works similar to the magnifying glass in Preview, but on your entire screen.

Preview offers a great iCloud integration, which means you can store your files in the cloud and access them from any device with your Apple ID. This is especially useful if you work with documents and images on different devices and want to access them anywhere. Finally, we cannot end this publication without highlighting that Preview has a instant activation command and that is used to activate and deactivate the magnifying glass: Control-Alt-L.