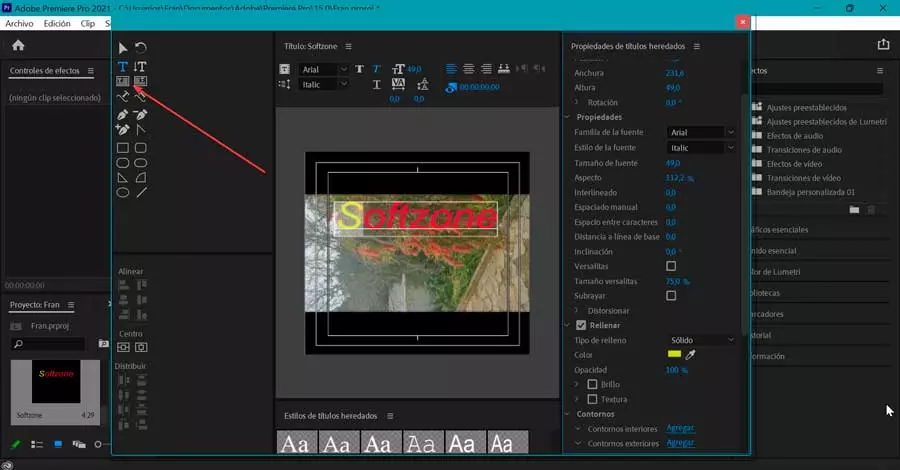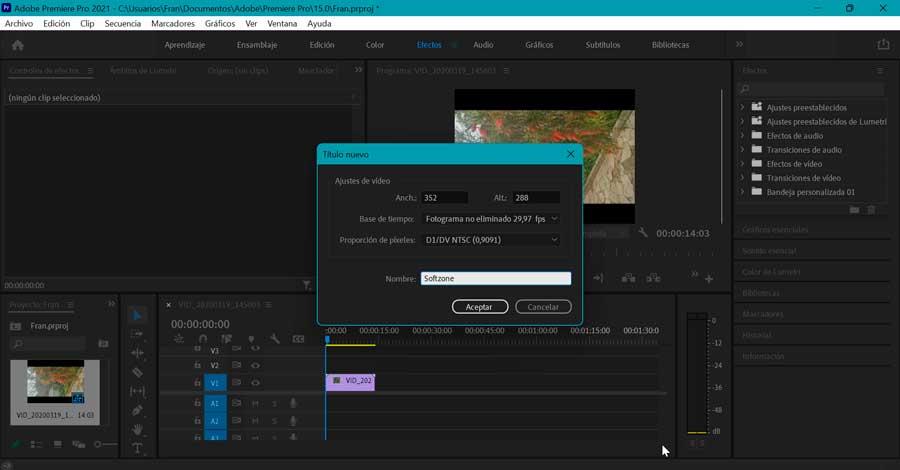
Next, we click on “File” and “New” again, but this time we select “Legacy Title”. This will open a new floating window where we can enter the name we want to give it and configure both the width and height that we want it to have. Once finished, click on “OK”.
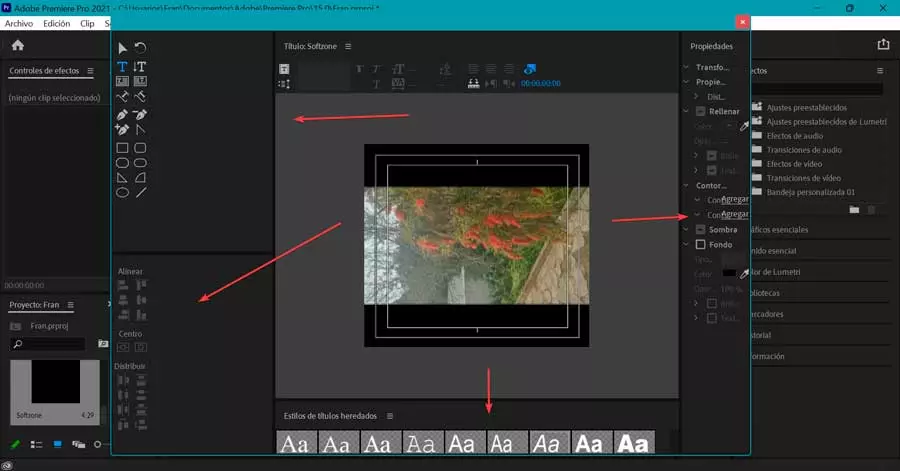
Subsequently, the title creation tool that Premiere incorporates will open, where we can create our own title. At the top left we find the section of “Tools” that you can use to work (Selection, Rotation, Text, Path Type, etc).
In the lower left we find the section of “Actions” from where we can align, center and distribute the titles to our liking. If we look at the bottom center we can choose from a collection of “Title Styles”, while on the right side we find the section on “Properties” from where to customize the titles.
Write the content
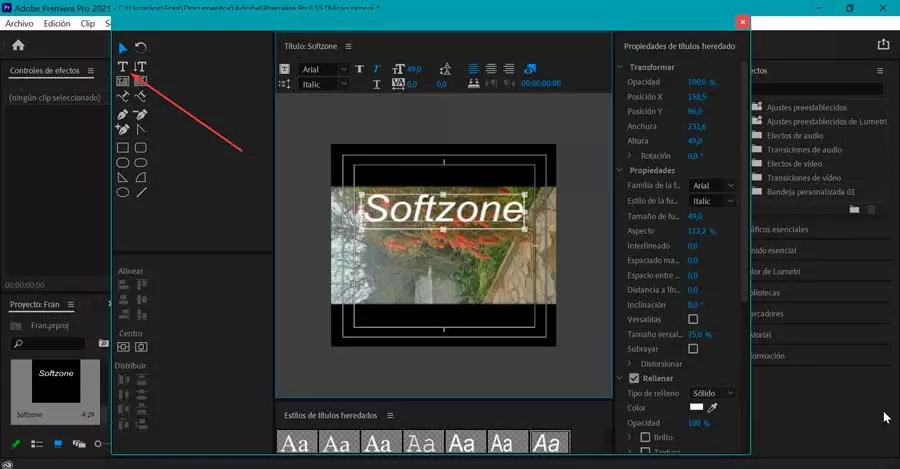
To start writing our title we must choose the “Text” tool that we find in the upper right and click anywhere in the main window to create our text box, where we can write the desired text.
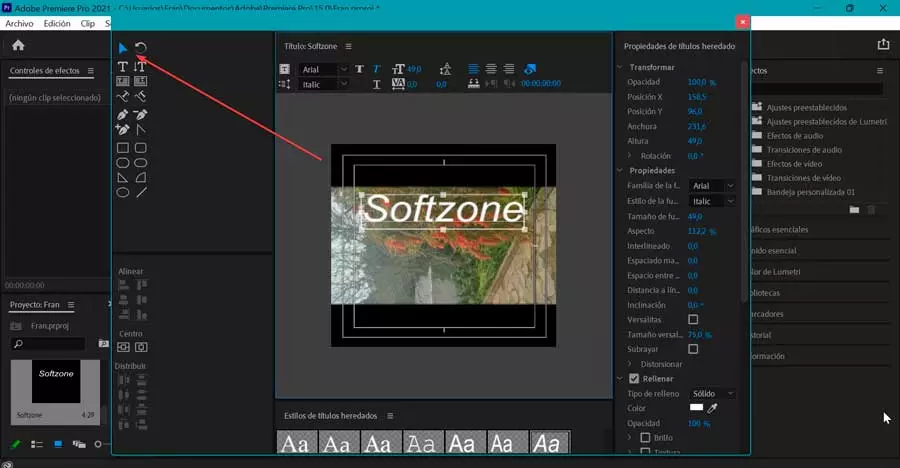
Later we will choose the tool “Selection” (in the form of an arrow) to place the title in the place we want.
With the “Actions” tools at the bottom right we can align and center it vertically and horizontally. In addition, with the squares located in the horizontal, vertical and in the corners of the title we can adjust its size so that it fits perfectly.
Customize from Properties or Styles
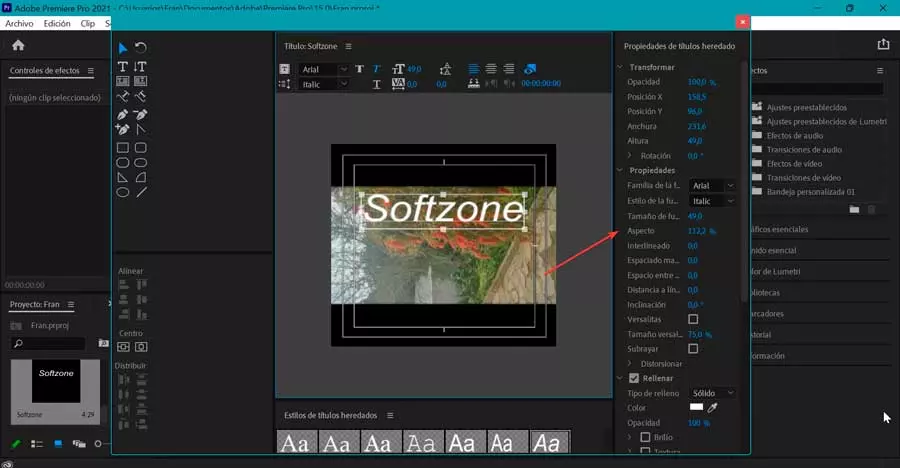
When customizing it, we can use the toolbar “Properties” found in the right column. From here, with the text box selected, we can set its size, font, or color. It also allows you to add underlines, shadows, outlines, backgrounds, as well as configure the opacity and the type of fill.
In addition, we can select different parts of the text with the tool “Area Type” and modify the letters separately. This is something that can be useful if we want to have a title that has different sizes and colors.
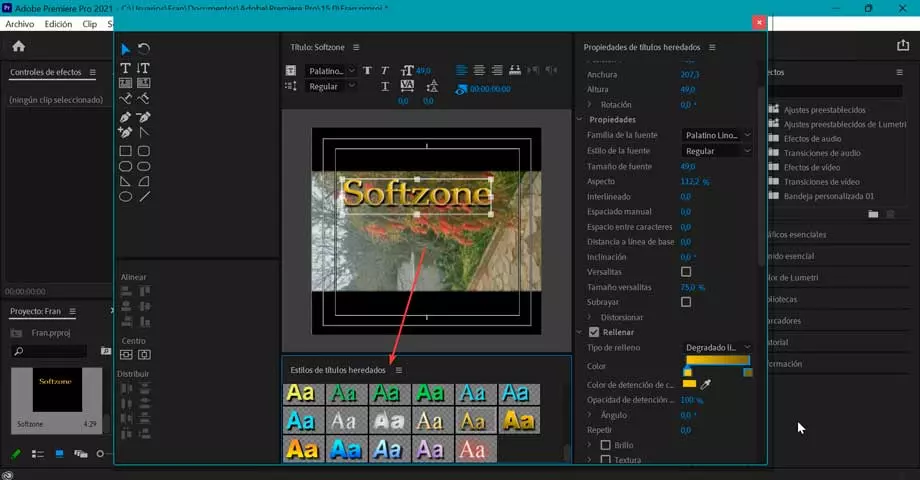
At the bottom, within the section, “Legacy Text Styles”, we also find pre-established titles that we can choose if we do not want to complicate our lives with the properties. To ensure that the changes are made we must ensure that the text box appears selected and we can choose between its different options to check the results.
Once we have finished customizing it, we close the window and check how the title appears in the Project window with the name we specified.
Save title text style
In the event that we liked how our text style turned out and we want to save it for future use, we can do so from the “Styles” function at the bottom of the screen.
Once we have created the text style that we want to save, simply click on the icon with three bars of the “Inherited title styles” function. This will open a dropdown menu where we select “New style” and give it a new name.
From that moment on, in the next projects that we want to use this text style, it will only be necessary to access the “Legacy Title Styles” drop-down menu and select it.
Timeline and export
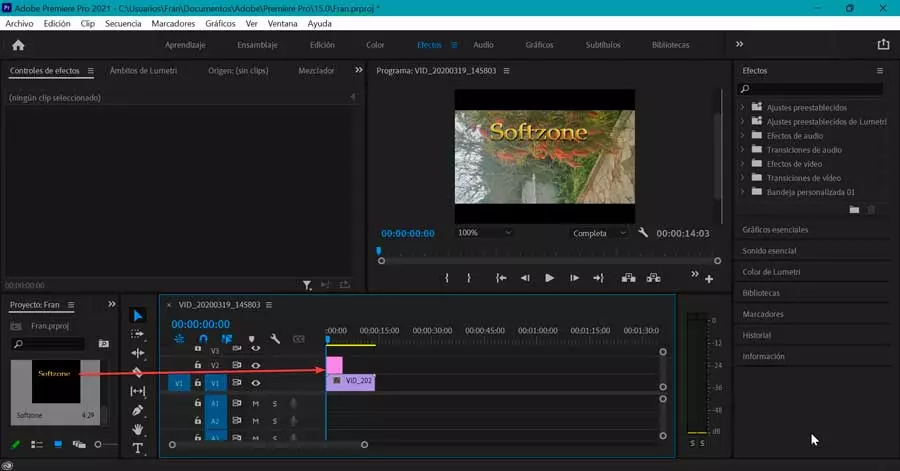
Once we have created and customized our title, we will have it available in the “Project” window, so we only have to add it to the timeline. To do this we must click on it with the left mouse button and leave it pressed. Once this is done, we drag it to the timeline and drop it.
Next, we need to make sure that we position the title clip accordingly to the timeline by adjusting its duration. In addition, we can add transitions both at the beginning and at the end of the title.
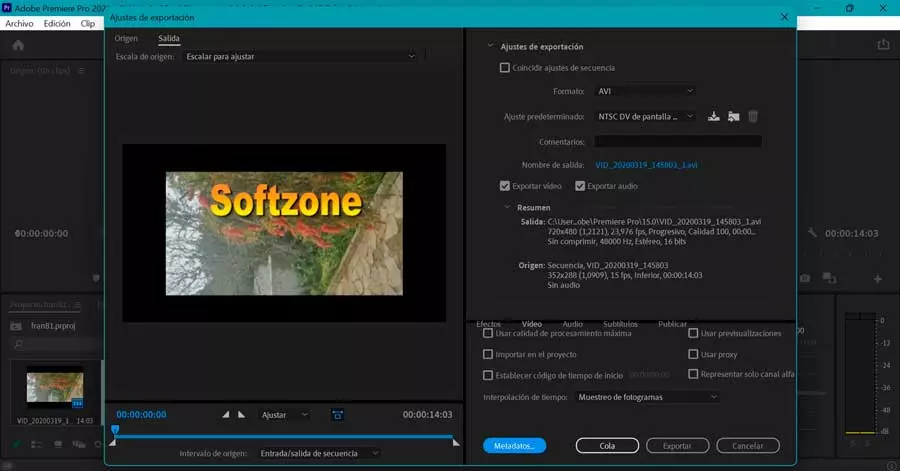
If we are satisfied with the theme we can export it, for this we click on the “File” tab. Next, we click on “Export” and “Media”. This will open a new window where we can change the format and the preset to make basic settings. Finally, we click on the “Export” button that we find in the lower right corner.
Use the Text tool
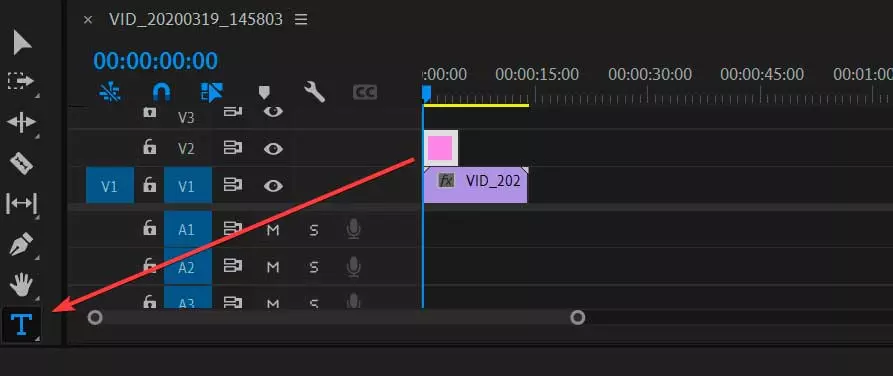
Another easier method to create a title is to use the tool “Text”, which we find in the toolbar once we have added a video to the timeline. We will easily locate this tool because it has a “T” shaped icon.
Once this is done, we click on the “Program” panel and a new red text box will be created where we will write the desired text. In turn, a new title clip will be added to the timeline within the playback section.
Edit the format
Then we click on the “Graphics” tab that we find at the top of the interface, which will bring up the Essential Graphics panel from where we can edit the text format.
Now we click on the “Edit” tab inside the panel “Essential Graphics” which we find on the right. From the Transform section we can change the position and alignment of the text by changing from top to bottom and from left to right, changing its values.
Appearance
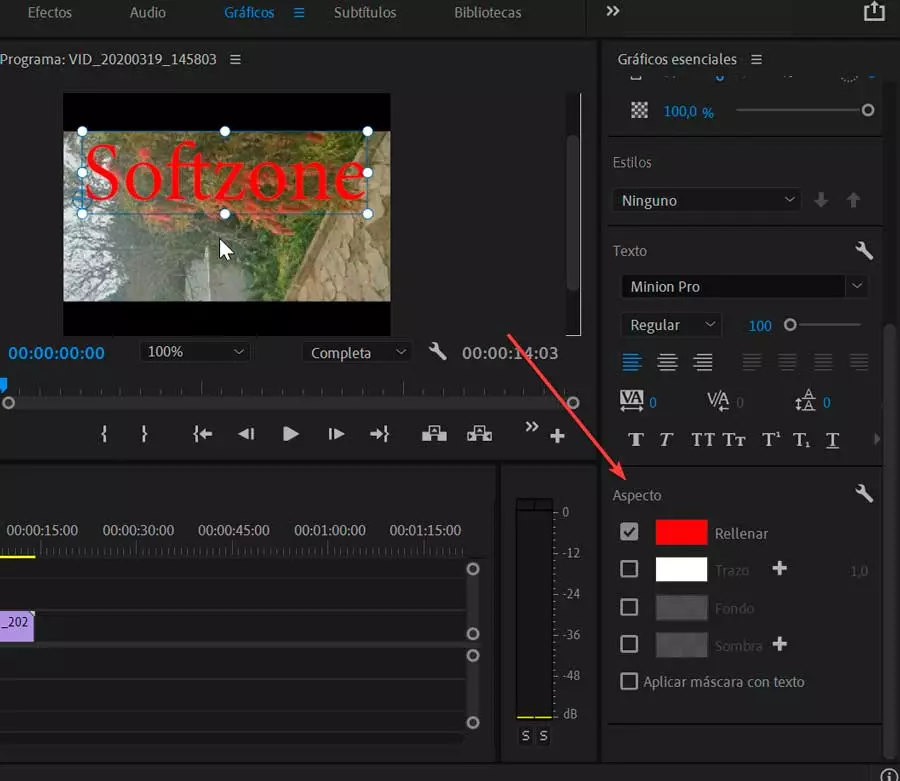
We can change the appearance of the title by clicking on the section “Appearance”. Here we find the Fill, Stroke, Background and Shadow options. We must mark each box to apply the corresponding options and click on the box to be able to choose the desired color.
We use the fill as the main color for the letters. The stroke is the outer edge of each character, being able to adjust the size with the number field on its left. The background allows us to insert color behind the letters and the shadow allows us to adjust the transparency, the angle, the distance and its blur.
