How to configure users for access to resources
So that later on we can share files in Windows 10, we are going to start by configuring one or more users with their passwords so that they can access our PC from other computers. In that sense, we can establish all the user accounts that we need, and we can do it with standard user permissions or with administrator permissions. It is also recommended that, if you are going to share these credentials with other users whom you want to have well defined, we configure it as a standard user and not as an administrator.
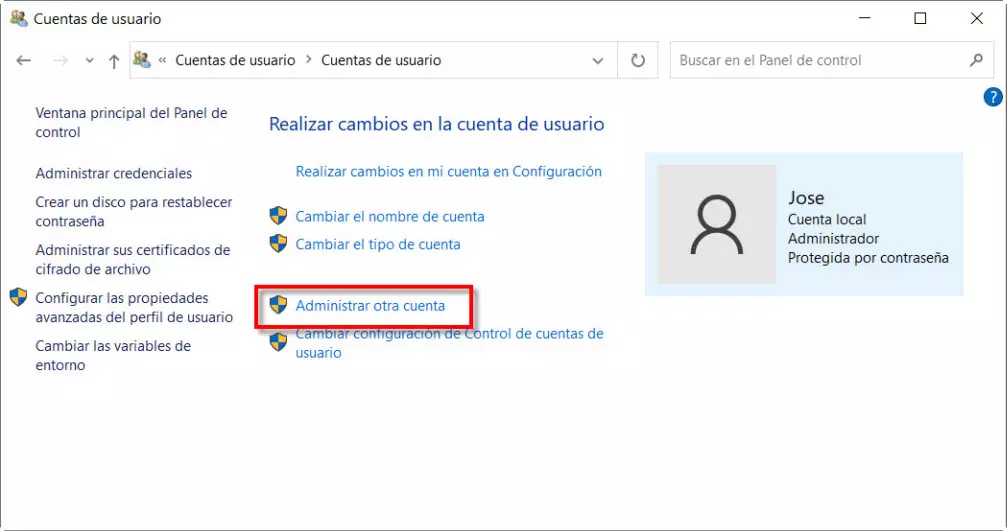
The first thing we have to do is go to Start Menu. There we write Control Panel and we press enter. Then we go to User account, and we click on another access called the same User Accounts. Once inside user accounts we can see our own user account. Now, what we are going to do is create a new one for which we will click on Manage another account.
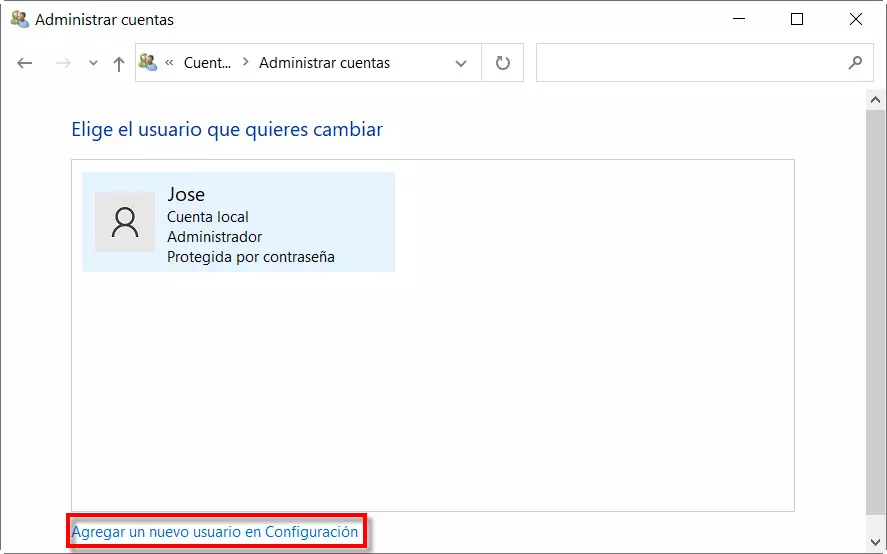
Then we will see all the users that we currently have configured in Windows 10, and then we click on Add a new user in settings in which we can establish the name and password that we want.
Next, what we have to do is look for the option Add another person to this team. This is the simplest option unless you have previously configured a family.

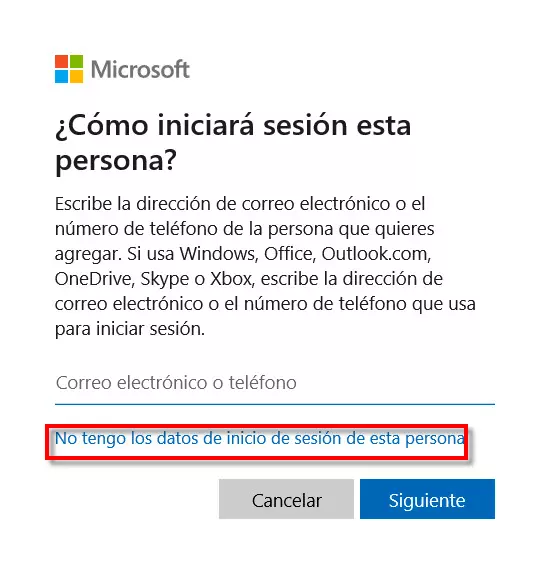
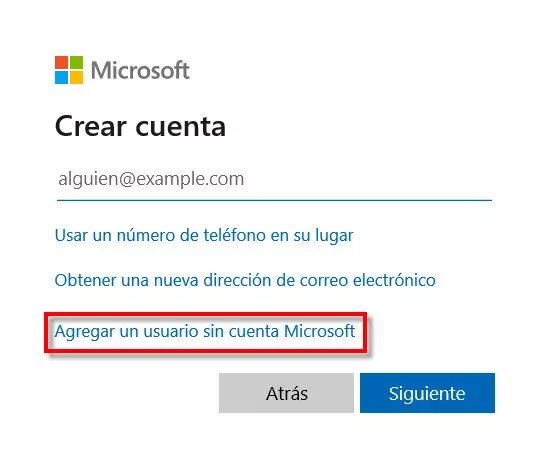
Here, we have two options, one to log in with a Microsoft account. The other is for a classic local account with username and password that does not require any type of email account to access. Therefore, this last option is the one we are going to choose. Then we will select «I don’t have the login details for this person«.
Now what we are going to do is choose «Add a user without a Microsoft account«.
Then, what we have to do is fill in the necessary information to create our account. The first thing we have to put is the name of the account, then repeat the password twice and establish the three security questions that we can use to recover the password in case we forget it.
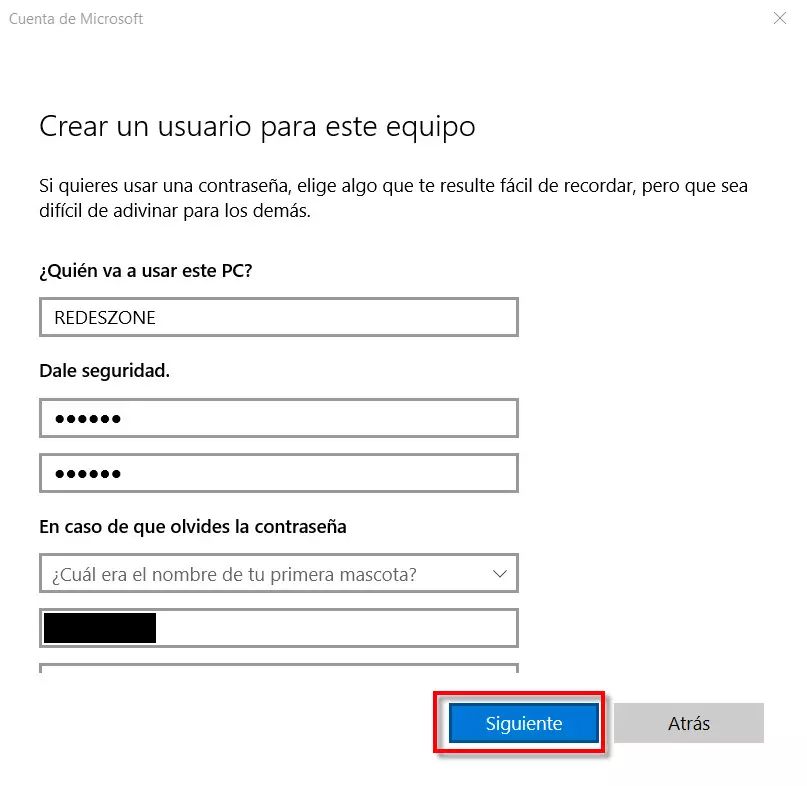
As for that password or password it must be secure and complex. Therefore, it must contain uppercase and lowercase letters, symbols and also numbers and the longer it is the better as the greater our security. Then, when we finish, click on Next.
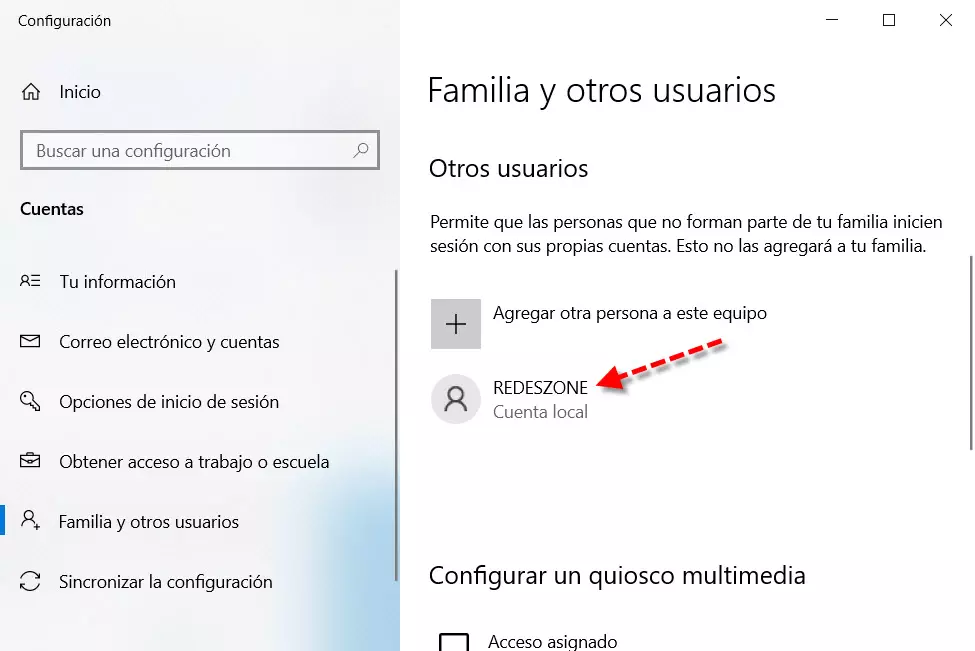
Once completed correctly, you will see how your new account appears and with this you have taken the first step to share files in Windows 10.
Standard or administrator user account?
By default, the account that we are going to create is a standard one, but perhaps on some occasions you may want it to be an administrator. The way to make the change is very simple, we start again from User account. Then we repeat the same steps, click on Manage another account and we will see all our accounts including the one we just created.
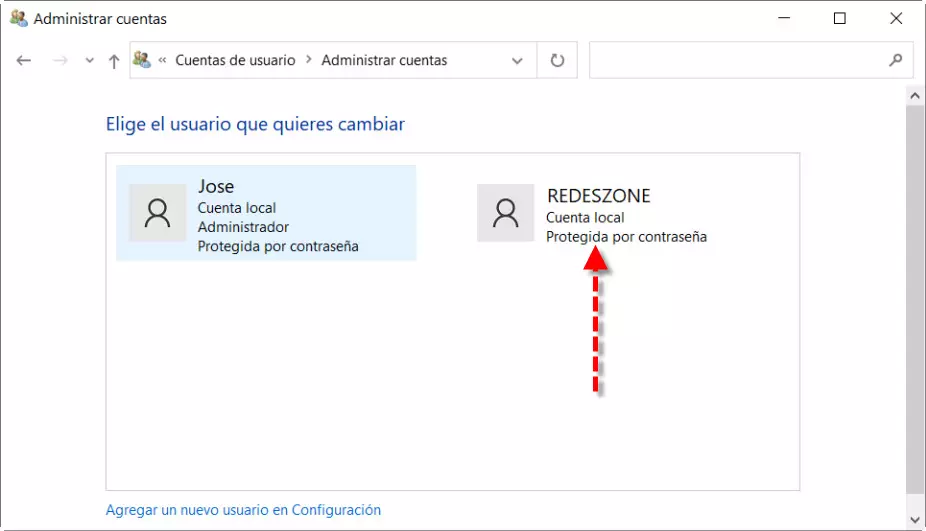
Then we double click on REDESZONE or the name you have given it and it will show you new options.

Here the section that interests us and that we are going to press is Change account type.
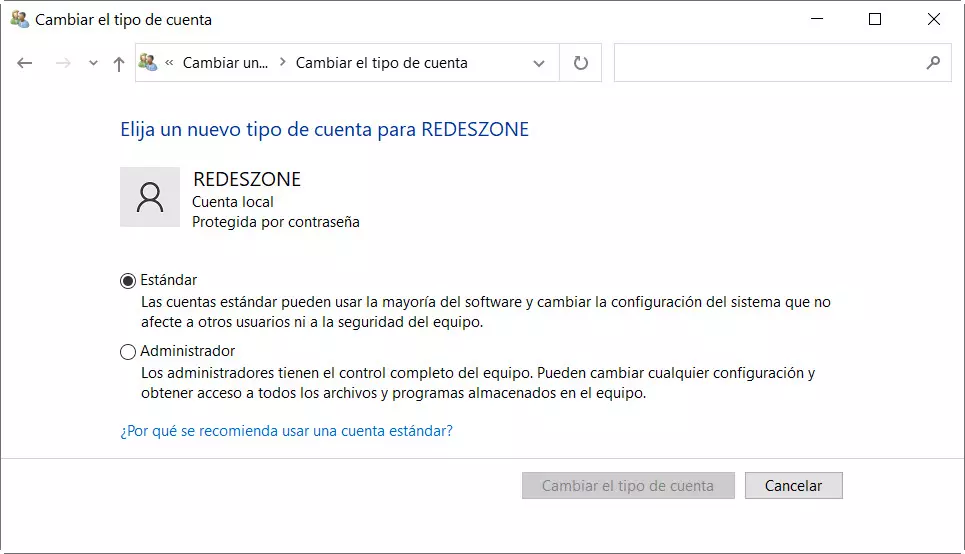
It is usually best to choose the standard account as we have already discussed before. However, if you are going to be the one who controls that account because you have several computers, you can set it as administrator. It should be noted that, with both, you can share files in Windows 10 but the administrator gives you an extra since it allows you to change any configuration.
Setting up your home local network for file sharing
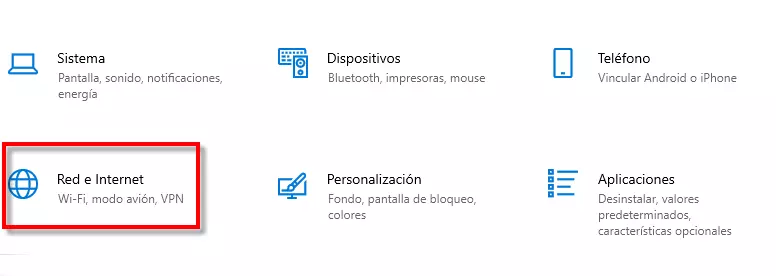
The next step we are going to take is to go to Menu beginning, Setting, Network and Internet.
Then inside Network and Internet we have to go to the section Ethernet if we are connected by network cable or Wifi if we are wirelessly.
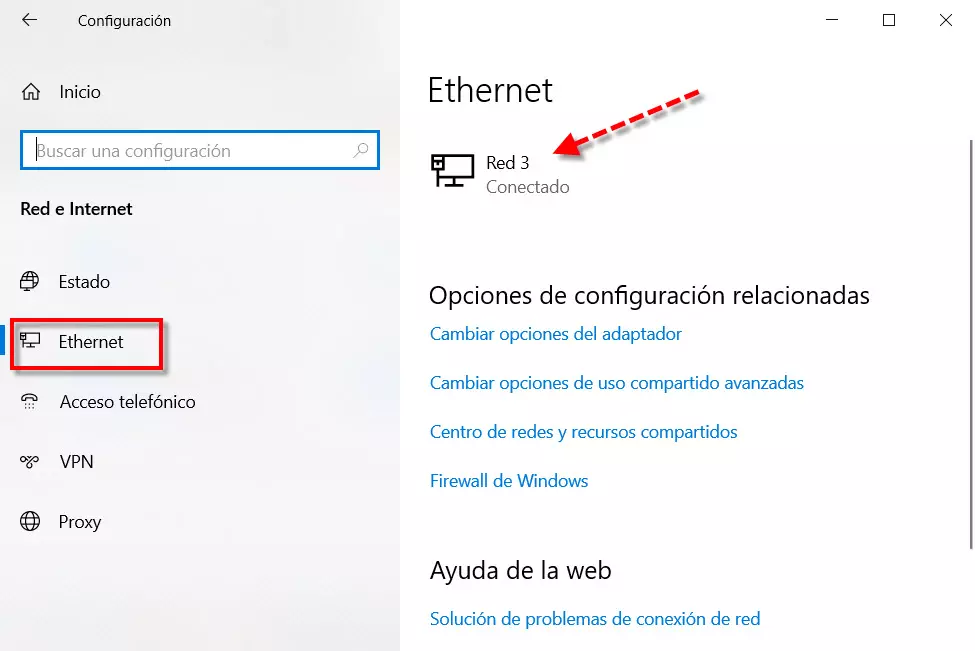
In this case it would be Ethernet and we would click on the icon of my connection, that is, Network 3.
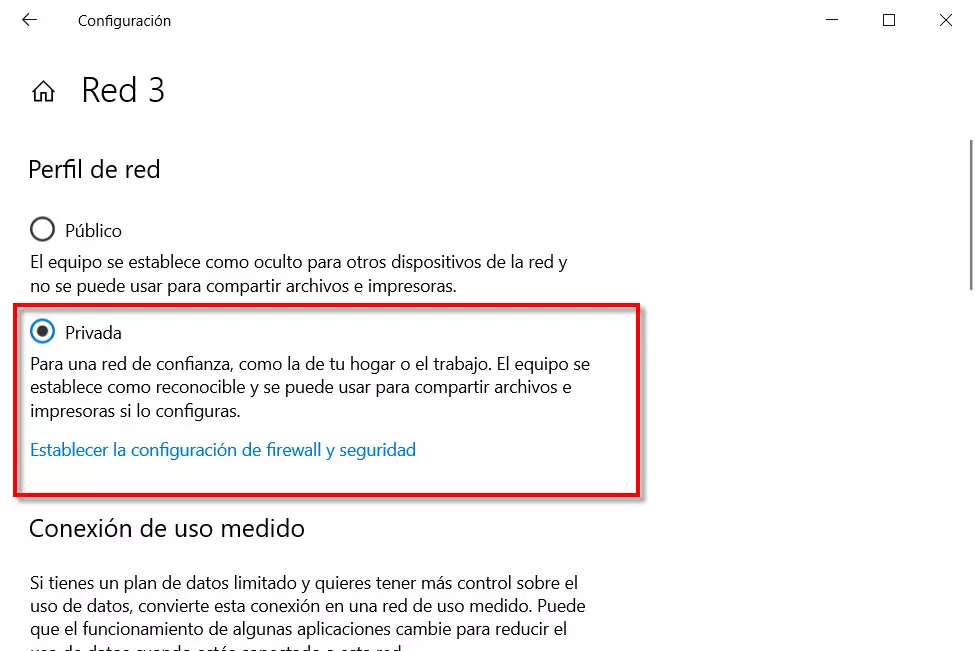
Here what we have to select is the Private network profile which is the one used for your home, work or other trusted sites. Then we go back to Network and Internet, we select the section State, and within advanced configuration click on Center network and sharing.
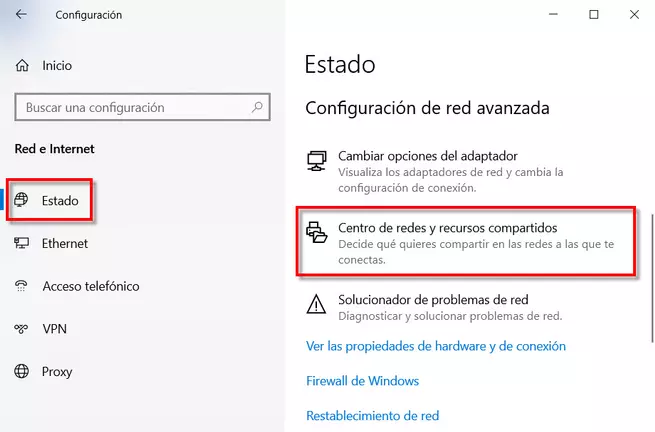
Then we click on Change advanced sharing settings.

Then we will proceed to configure as follows:

Here we have to select these options:
- Enable network discovery.
- Enable file and printer sharing.
Next, we would also have to configure these sections like this:
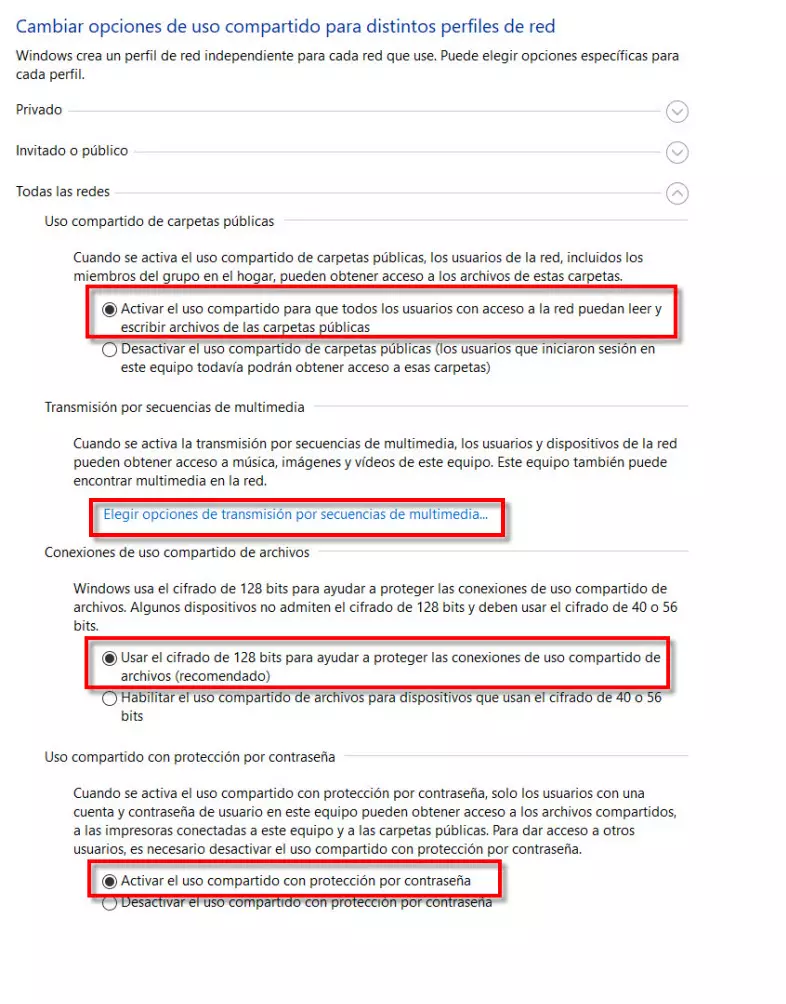
The sections that we have to configure and activate are the following
- Enable sharing so that all users with network access can read and write to the public folder. We could deactivate this if we are only going to share certain folders, this depends on what you need.
- Choose multimedia streaming options that we can activate after pressing a button. This is optional and would allow other computers and devices to access the media files on your computer.
- Use 128-bit encryption to help protect file sharing connections (recommended).
- Enable password-protected sharing.
Without a doubt, this is one of the most important sections so that later we can share files in Windows 10 without having problems.
Another interesting thing that could help is to establish a local fixed IP to our PC, but this is not necessary, but it is possible that the private IP address changes by the DHCP server. Also in Network and Internet, Ethernet and click on Change adapter options. Then on our adapter, right-click and select Properties. After double-clicking Internet Protocol version 4 we will configure similar to this:

For example, if our local network is on the 192.168.1.X network, we can put the first IP address other than that of the router, 192.168.1.2 with the default gateway 192.168.1.1. Generally, DHCP starts assigning IPs above 20.
Add one more computer on the Windows local network
If we want to add a computer to our local network to share files in Windows 10 we must follow these steps:
- Start Menu.
- Control Panel.
- Security system.
- System.
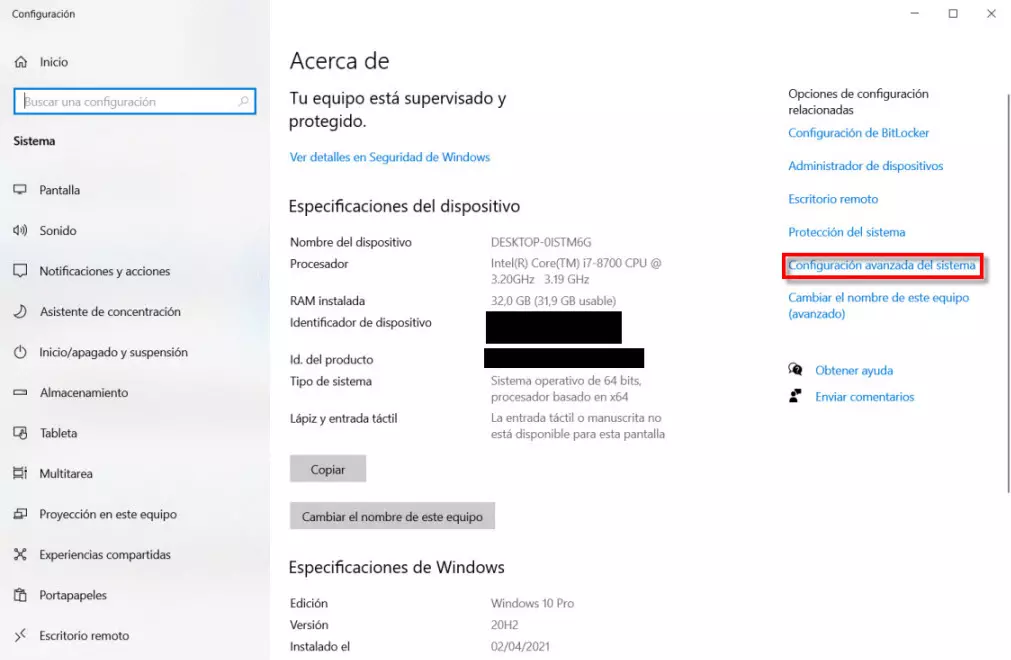
Then we will see this screen and click on Advanced system settings.
Then we will go to the tab Name of the team, where we will put a Equipment Description, we give to Apply and click on the button Change.
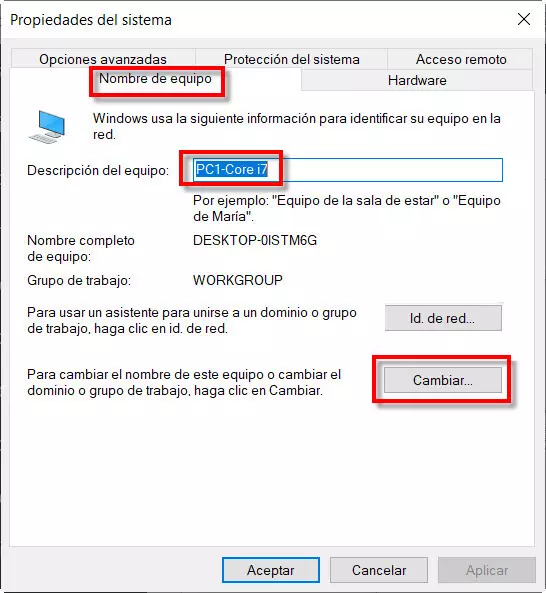
Then a screen like this will appear:
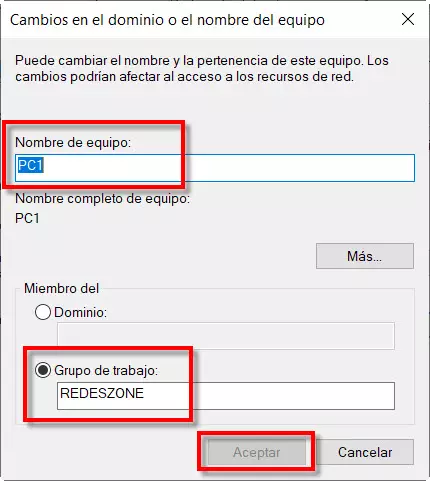
Here we have to put a Team name, a Workgroup and press To accept. At that moment, it will ask you to restart the computer and with that we are done. The only thing to keep in mind is that all the PCs on the network have to configure them like this. Therefore, we would give it another name PC2 and the workgroup would be the same REDESZONE.
How to share files in Windows 10
The first thing we are going to do is go to the file explorer and we are going to create a folder called NETWORKS. Then we press the right button of the mouse, Properties and we go to the tab Share.

Then we will click on the button Share to configure it:
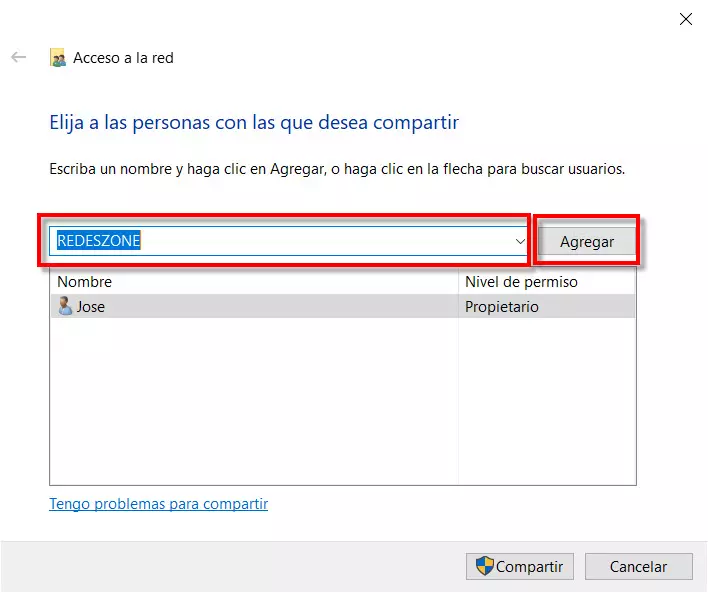
Then we expand to select the user and click on Add and we will see that it has been added.

If we click on the reading triangle, change the type of permission. Reading means that we can only read it and if we add writing it means that we can also modify it. Instead, remove means that we are going to remove that user from that share. The next step we are going to take is to click on the button Share.
On the other hand, if we go back to the tab Share, with which we have been working before, below we have the button Advanced sharing which we are going to press.
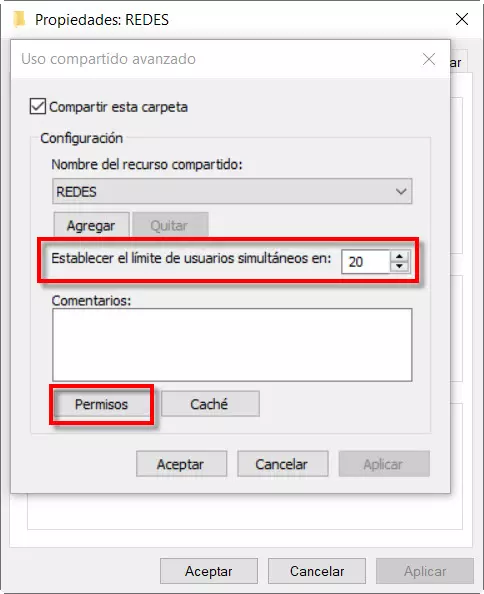
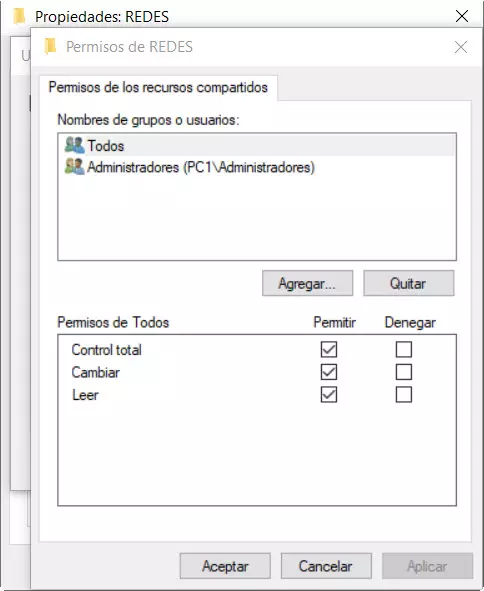
The first red box refers to the establishment of a simultaneous user limit, by default it is 20. On the other hand, we can also define the permissions in a more advanced way if we click on Permissions.
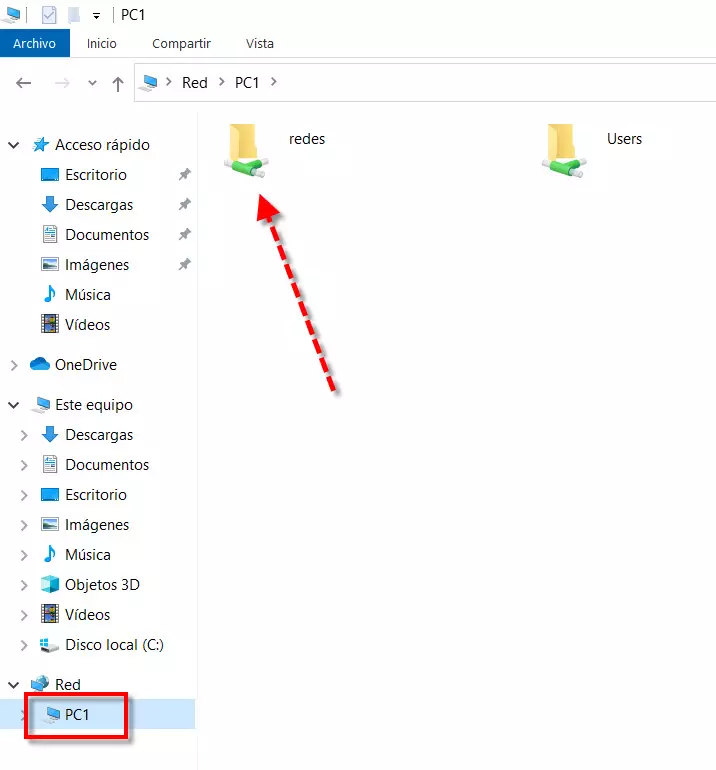
Now we have to go to the PC that we have added to the network to be able to see that folder that we have shared. We open the file explorer and click on the Network icon.

Here what we have to do is put the user account that we created together with its password. If we click on the box «Remember my credentials»We will no longer need to enter the password again. Next, click on the button To accept.
Also another way to access our local folders and files on the network is using our fixed local IP. In a previous section I explained how to establish it. For this we will Start Menu, Run and you will see a screen like this:

We would have to click on open and write 192.168.1.2 and click on To accept. That IP address has to be the same one you put when you configured the Internet Protocol version 4. In my case, said IP was 192.168.1.2.
Next, you will get a screen to fill in your network credentials.

Finally, just like entering from the file explorer you put the username and credentials. With what you have learned, you can already share files in Windows 10 in a quite advanced way.