We have put install in quotes, because although you do not need to install the application as such, in its settings you can make it run automatically when you start the PC, so that you do not have to open it manually every time. This will be offered to you during the initial setup wizard that we’ll talk about in the next section of the article, but you can also configure it manually from the program’s own options.
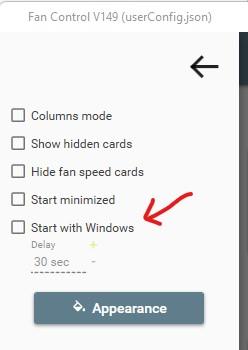
Of course, to do the opposite, you simply have to access these same options and uncheck the “Start with Windows” box.
How to control fan speed
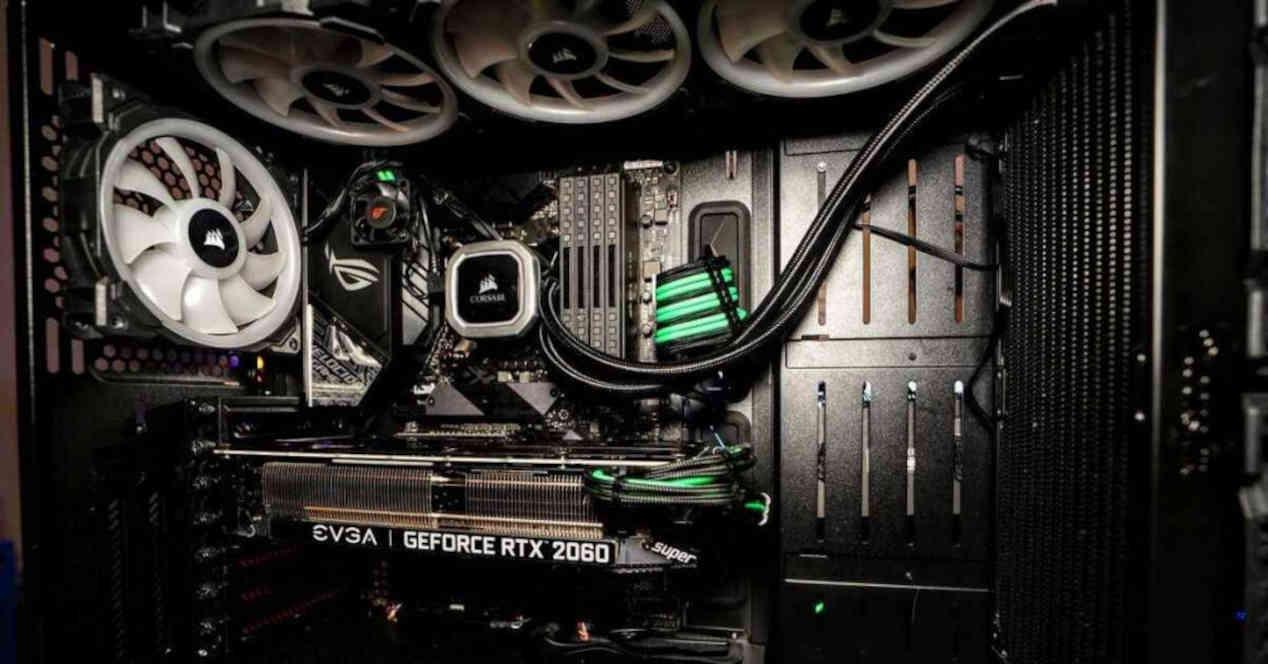
As soon as we run the program for the first time, we will be offered to follow a wizard that will not only detect the fans installed in the system, but also perform a series of detection tests automatically to check their maximum speed, minimum speed, etc., according to so that the control we have over them is maximum. And it is that not all fans are the same: for example, in our tests we have used an RTX 4080 that has two fans, and the software has detected that its minimum operating speed was 45% for one and 48% for the other.
Once the software has detected all your fans and their characteristics, you will be offered to label them with the name you want to be able to identify them. In our case, we have two fans on the heatsink but they go to the same connector, so we have named it “CPU Fans”, but we also have another 4 fans (3 in front and 1 in the back) that are connected to a hub and they control all of them at once, so we’ve called them “Box Fans”.

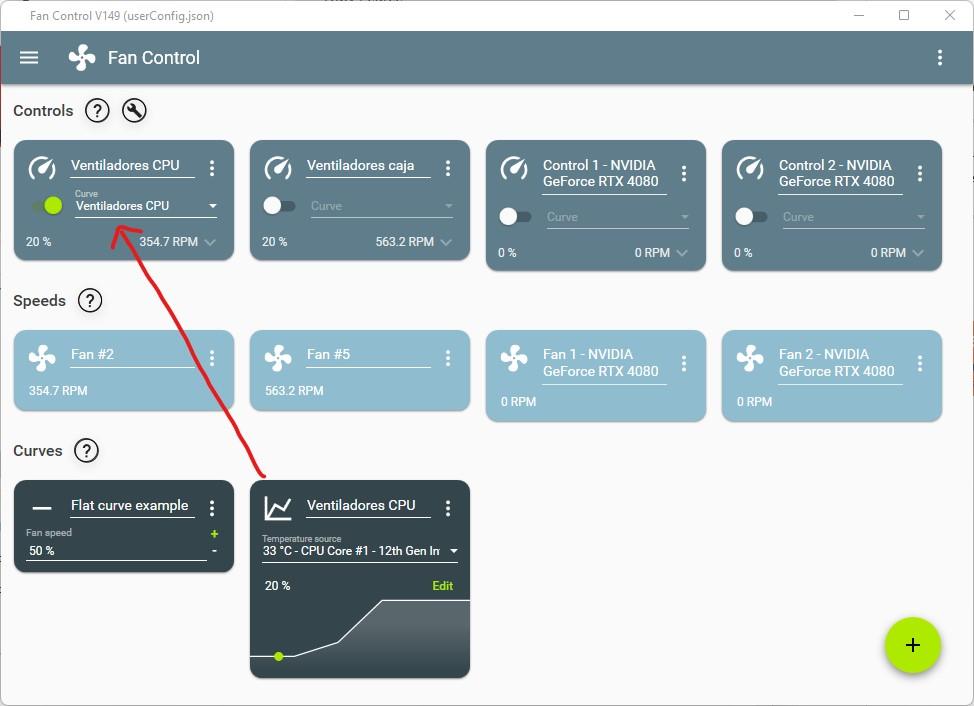
Of course, you can hide all the fans that are not being used (in our case, since the board has 7 fan connectors and we were only using 2, we have hidden the other 5 since we don’t want them to be in the way). As you can see in the screenshot above, the interface is very simple and shows you at a glance the fans or groups of fans connected, with their speed and an interface at the top to control their operation.
At the bottom, in the “Curves” section, a flat fan curve is configured by default, but logically if you click the green + button on the right side you can create your own profiles and then assign them to the fans you want . In our example, we are going to create a custom curve for the fans of the processor heatsink, so to do this we simply click on the + and select “Add graph fan curve”.
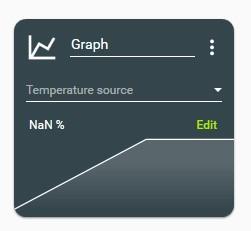
When doing so, it will appear in the Curves section, where we can select the temperature source (the temperature sensor on which it will base its operation), and the green “Edit” button that will allow us to edit the curve and its behavior. We are going to create, as we have said, a curve for the processor fans, so we select the temperature of the processor and create the curve according to our preferences, all with the mouse and visually.
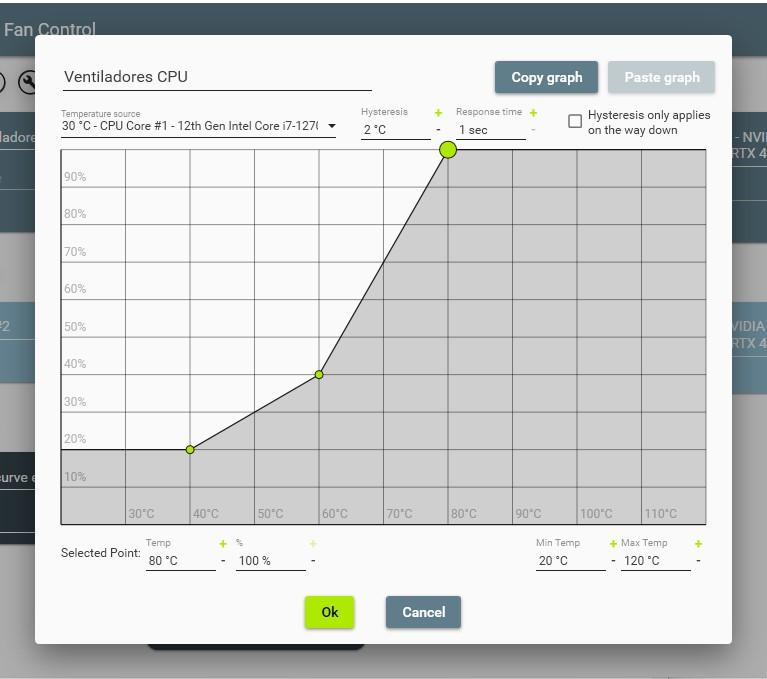
In the curve that we have created, the fans will be at 20% up to 40ºC in the CPU, and they will increase their speed up to 40% as the temperature reaches 60ºC. Then, we make the fans gradually increase their speed up to 100% when the temperature reaches 80ºC. We have done all this in a simple way, just clicking on the part of the curve that we want and moving the point with the mouse or, for a finer adjustment, editing temperature and speed percentage at the bottom.
Once the custom curve has been created to control the speed of the fans, we just have to assign it at the top.
With this, everything would be ready, and all that remains is to do the same for the rest of the fans, including those of the graphics card if you wish. Simple, right?