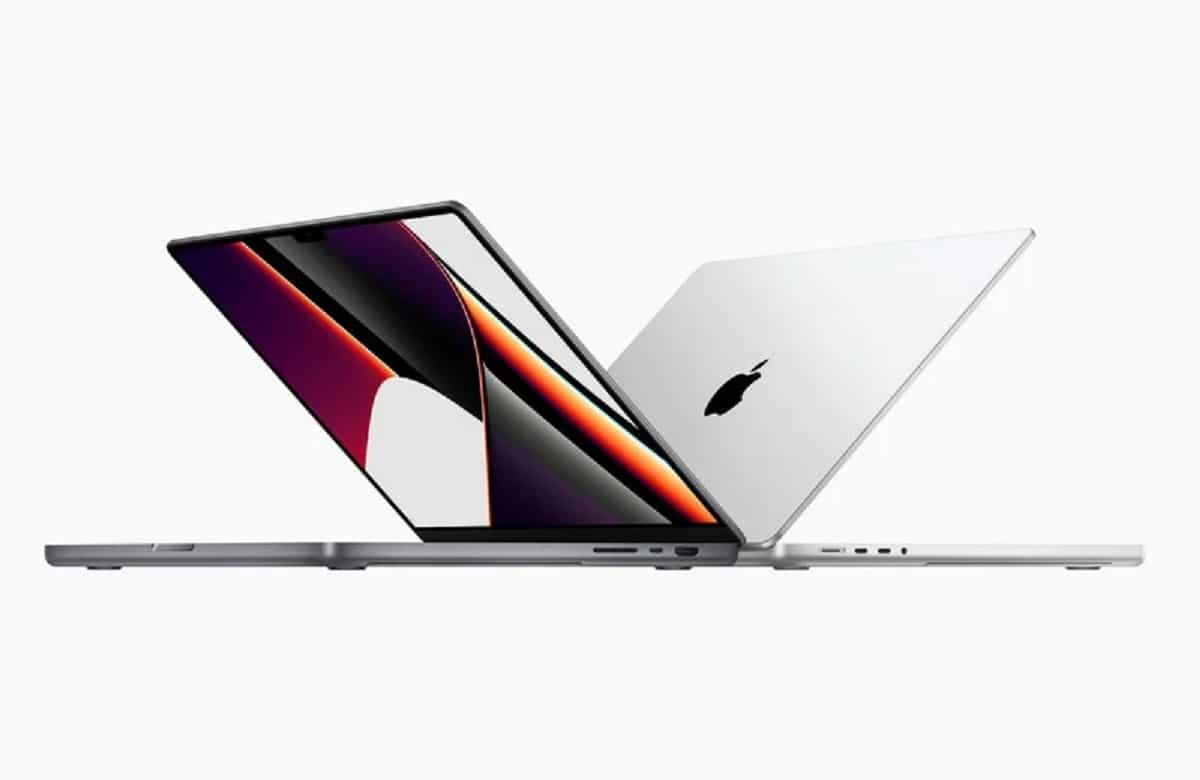
A MacBook that doubles as a hard drive
It is clear that the hard drive is one of the essential parts for a MacBook to work. Without this piece, it would be impossible for us to store any type of data on our computers. And yes, our MacBook is, in a way, the “hard drive” where we store data. But this is not the same as literally your MacBook being a hard drive. Perhaps the one that is one of the lesser known options of macOS, it is called Destination Disk. And this functionality consists of a MacBook boot mode that turns it into a data source, so that it can be connected to another MacBook with a Thunderbolt cable (high-speed USB-C), and transfer data from our computer to another .
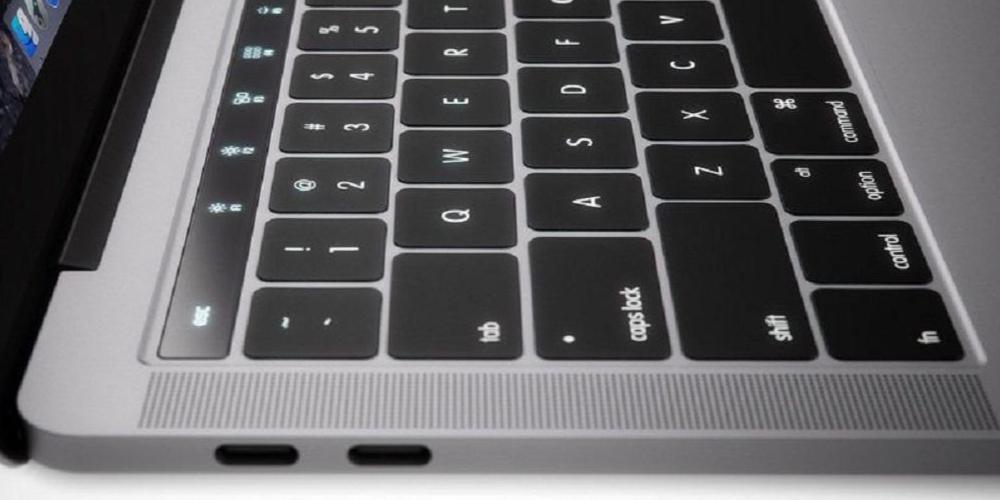
Yeah, it is possible to connect two MacBooks together via the USB-C cable. It is a function that is relatively hidden, and it can be accessed if, when we turn on the Mac, we hold down the T key. A black screen will automatically appear with our battery level, the USB logo and the lightning logo (indicating that a high-speed Thunderbolt cable must be used). If we connect another MacBook to our MacBook, we will have a simple interface in which to copy and transfer files between both computers.
Just as we connect a hard drive to our Mac to copy files, our Mac will take on the role of that hard drive that we would normally use. This functionality is indicated if we want to make a very large file dump, such as a backup copy of all our data to a new MacBook. In this way we make sure that the transfer is done very quickly and, best of all, you do not need any type of internet connection.
If you have a Mac with Apple Silicon
This key command, when booting macOS only valid for Macs with Intel. But if you have a Mac with an Apple Silicon processor, it’s also possible to run Target Disk mode, albeit wirelessly this time. To do this, we must hold down the power button until the Boot Options panel appears.
Here we must select the boot disk that we want (if we only have one operating system, we select the one that appears). We may be prompted to enter our user password, at which point the Mac enters recovery mode. We have to click on Utilities > Share Disk, and it will ask us to select our boot hard drive again, which is where our files will be.
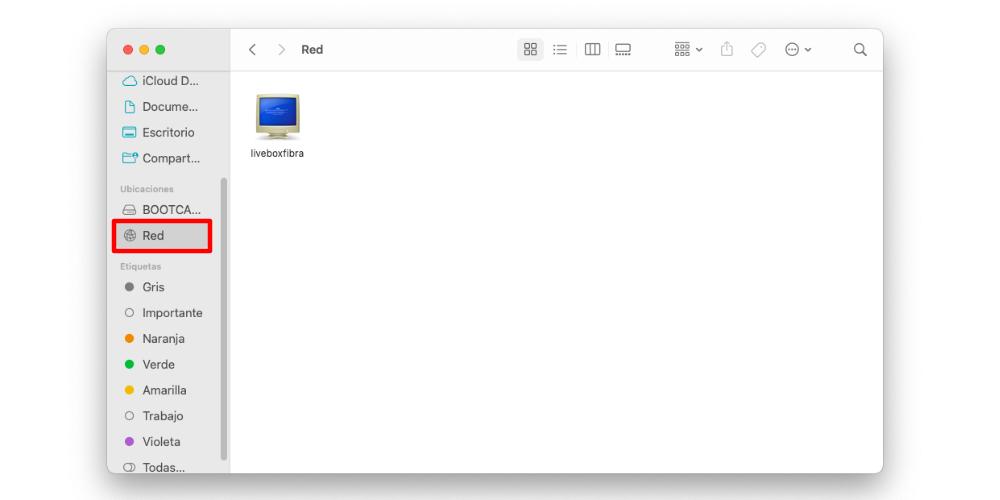
Here the process is different, because here, the Mac with Apple Silicon processor becomes a network hard drive. On the other Mac from which we want to transfer the files, we will have to go to Finder > Network. Here we will see the hard drives that are open for sharing. If we select the hard drive of the Mac with Apple Silicon, we will have to click on it and when the Connect as option appears, we select the Guest option. Once we have finished sharing files, on the Mac with Apple Silicon we must select the Stop sharing option.