It is likely that on some occasion you have heard or read something about GPU-Z, because is a benchmark application in the world of hardware, specifically with regard to graphics cards. In addition, for many years now it has allowed you to upload the specifications of your graphics adapter to an online database, which has sometimes meant that we have seen graphics card specifications published that have not yet been officially presented, or that have been officially presented. they had but had not yet reached the market.
Such was the case, for example, with the NVIDIA GeForce RTX 3050 and RTX 3050 Ti., back in May 2021. As you will surely remember, they were really highly anticipated graphics cards, since they represented the debut of the xx50, which reduced the investment necessary to make the leap to the then latest generation of GeForce. Although they have not yet been presented, it has been months since we began to see signs of the GeForce RTX 4050, which is already the latest model of the current generation pending to be presented.
Be that as it may, GPU-Z has shown us information about what is to come, but in truth its main reason for being is to allow us to make a complete diagnosis on our graphics adapter. Whether it is to confirm what we already know, to find out information that we do not know, or even to detect if your graphics card is what it claims to be or if, on the contrary, you have “sneaked” a counterfeit, something that can be key if you need to establish some kind of claim.
As a general rule, there is an erroneous belief that applications of this type are very complicated, but this is not true. It is true that its interfaces in many cases, and GPU-Z is no exception, are not exactly friendly. Now, if you don’t let yourself be overwhelmed by a huge volume of data concentrated in a very, very small space, this simple but powerful application will allow you to find out everything about your graphics adapter.
To check it, heOr the best thing you can do is experience it yourself.something within the reach of anyone, since GPU-Z is a free application. To download it, click here, choose the server you prefer and carry out the download in the usual way. Once downloaded, double click on the file you just downloaded
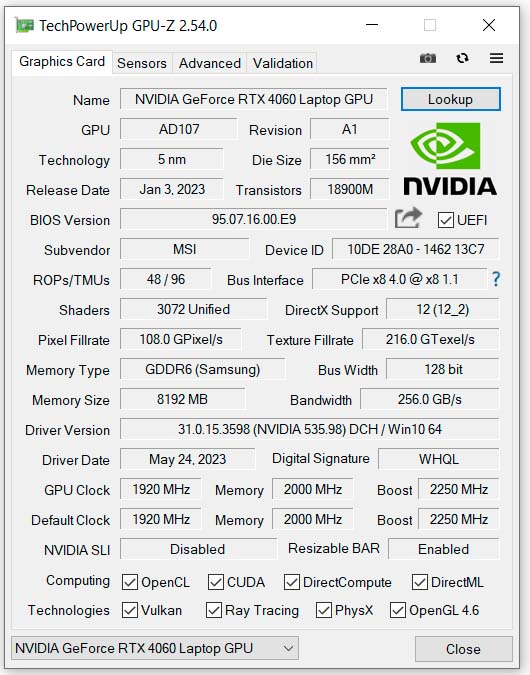
Then a message will be displayed in which you will be offered to run GPU-Z without installing it (something you can do whenever you want, there are no limitations in this regard) or if you prefer to install it on the system, so that it is accessible from the Start Menu ( and optionally you can also create an icon on the Desktop). The operation of the program will be similar in both cases, so you can choose the option you prefer. Whether you run or install, this is what you’ll see when the program opens:
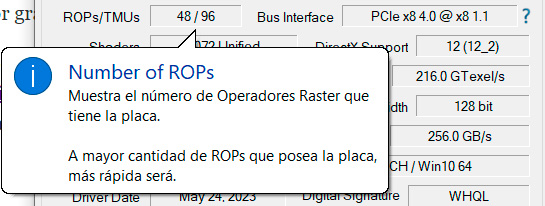
By default, as you can see, GPU-Z opens on the page dedicated to the technical specifications of your graphics card. Surely, in it, you will see parameters that are familiar to you, but it is also possible that you do not know the meaning of others. Don’t worry, because if you place the mouse pointer over any of the fields on this tab, a description of its content will be displayed, for example
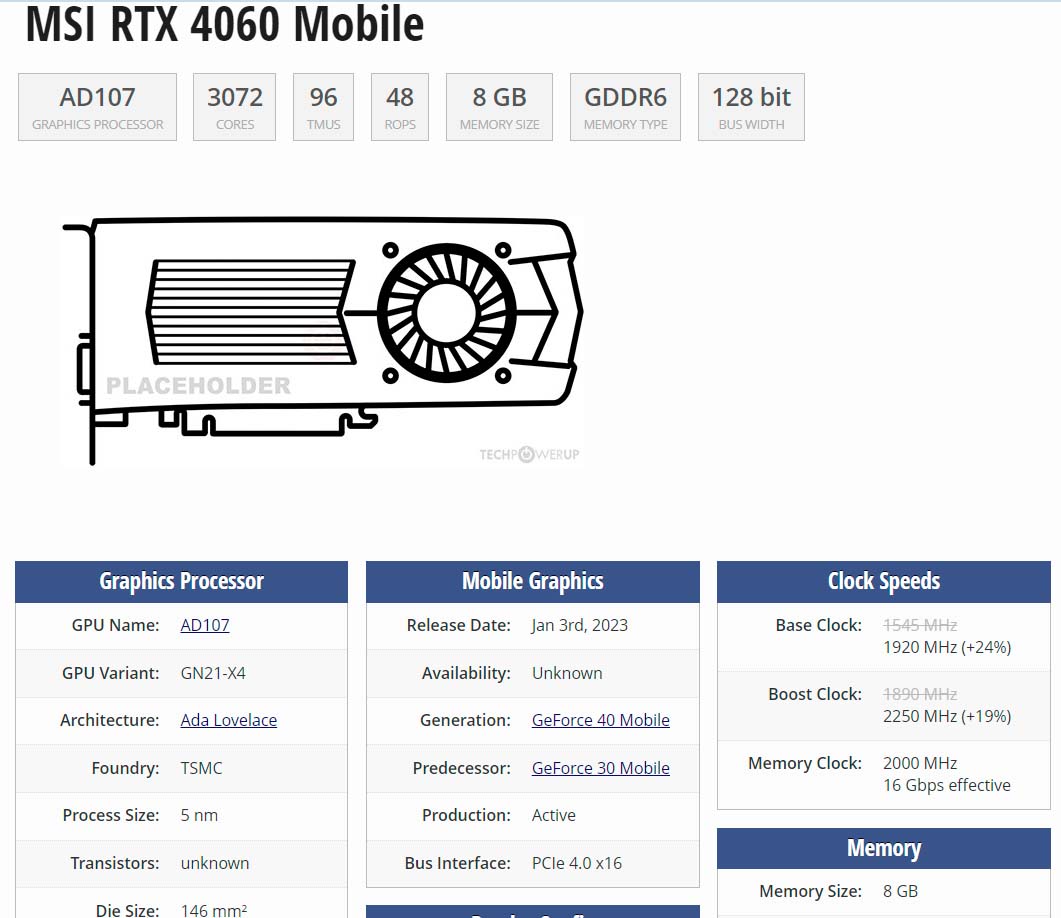
Want to see how your graphics card compares to other models in the same series? You can also do it since, as I mentioned before, GPU-Z maintains an extensive database with the specifications of the graphics adapters that have been evaluated with the application. So, to do this, click on the “Lookup” button that is displayed in the upper right part of the application. A web page will then open in your default browser. In the upper part of it you will see a complete summary of the data of your GPU (with a visually much more attractive style than that of the application, in addition)
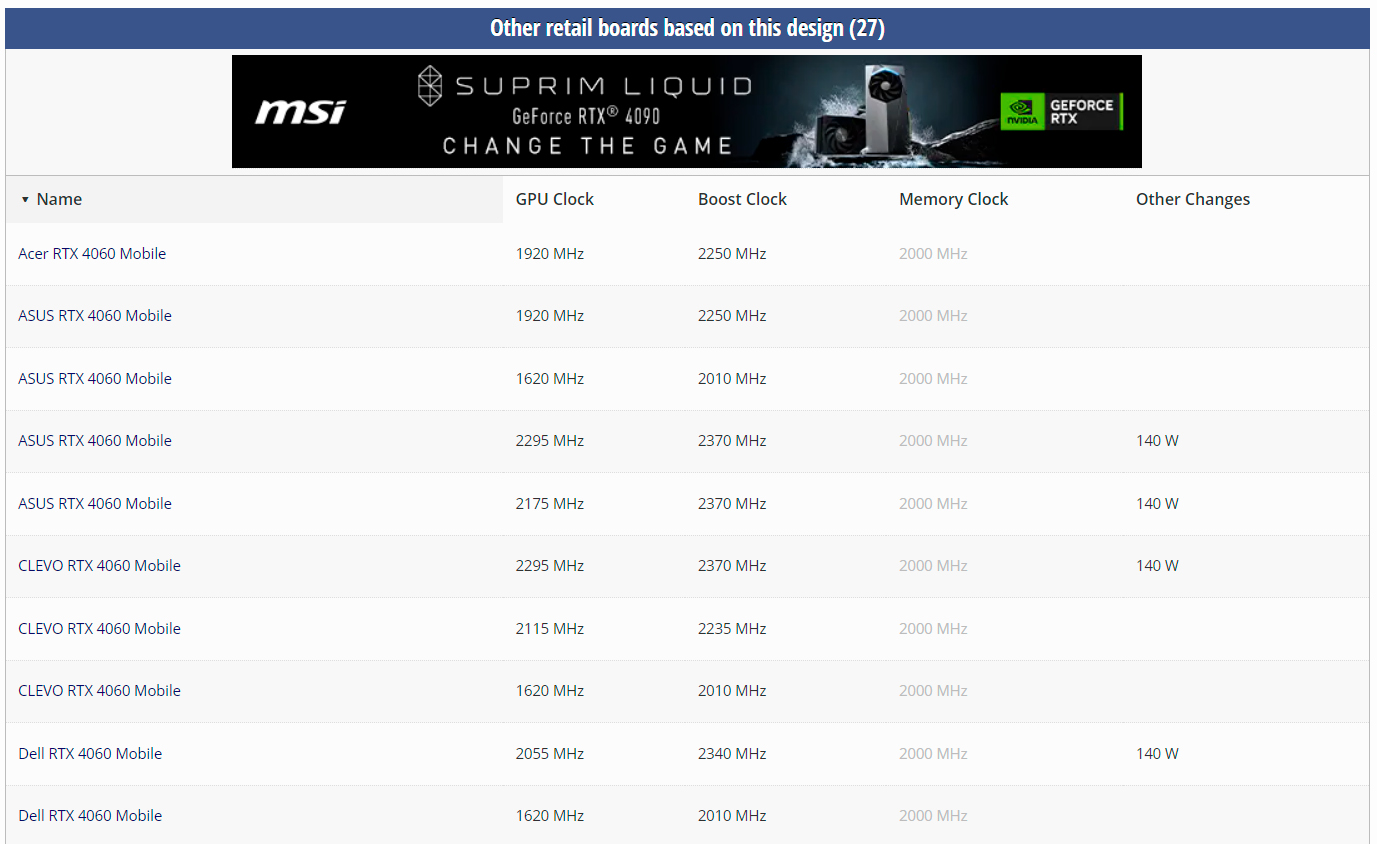
And, under it, the list of similar graphs will be displayed.
Of course, for each entry in the list there is a complete file, so if you wish, you can click on any of them, and you will access it.
Back on the GPU-Z interface, you can also take a screenshot of your graphics card data. For this purpose, you just have to click on the button with the camera icon, in the upper right part. When doing so, a message will be displayed that will allow you to save the screenshot on your PC, upload it to the GPU-Z website (in this case, uploading it will provide you with the link to access it) or cancel the operation.
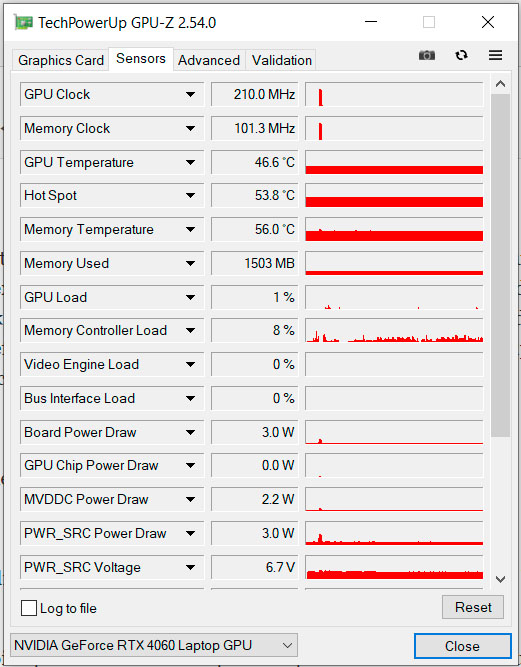
At the moment we have seen the specifications, but did you know that with GPU-Z you can also review the information obtained in real time by the system’s sensors? Working speeds, temperatures and more, you can review all the data you want at a glance. To do this, look for the tabs at the top of the application window and click on “Sensors”. This will display the current values and a graph representing your recent value of 21 GPU related parameters:
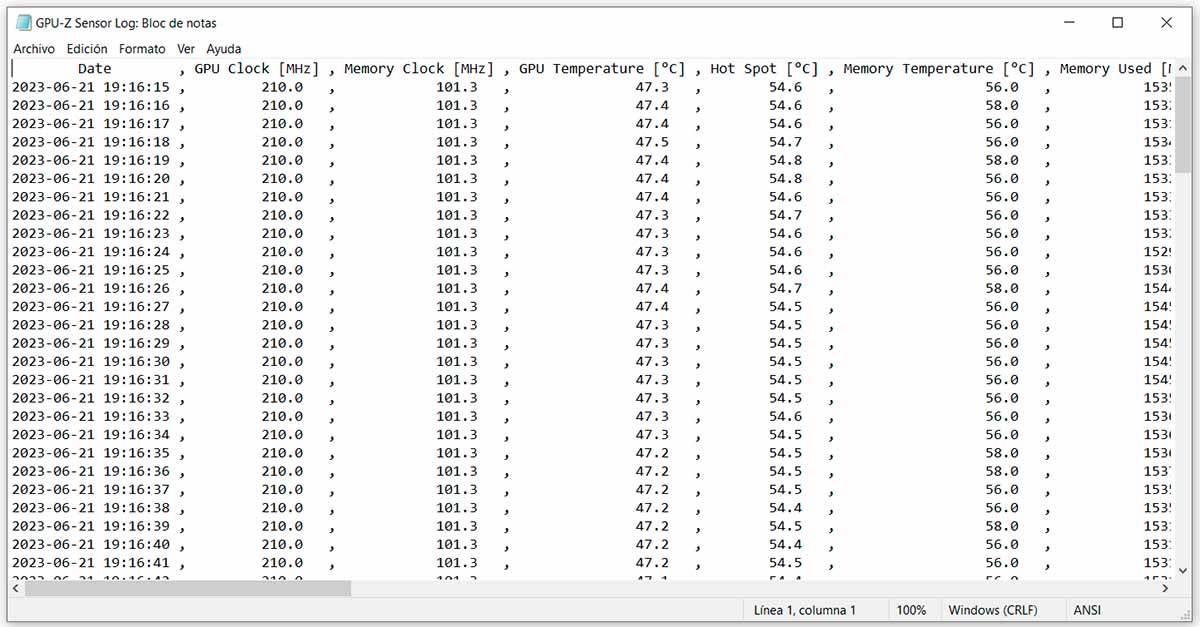
This visual format is very good for a quick review, but it is not the most suitable if what you want is to have said data to save a history, cross-reference it with other data, etc. Don’t worry, for this purpose GPU-Z allows you to create a complete log that will save the 21 sensor values once per second. To do this, check the “Log to file” entry at the bottom of the window, choose the name of the file and its location and, while the application is open, the measurements will be saved:
As you can see, the data will be saved separated by commas (CSV), which will allow you to import them later from Excel, Access or any other application compatible with this format.
If you want to go even deeper into your graphics adapter knowledge, GPU-Z still has more information to offer you. Keep in mind, of course, that in this case the developers assume that you have advanced knowledge and, therefore, they will not show you descriptions, as they do in the main tab. In any case, whether out of interest or pure curiosity, click on the Advanced tab, which will take you to a tab with general information about the GPU. Now this is just the first of several pages of information. Thus, if you click on the drop-down displayed at the top of the window (in which the “General” tab is selected), all the sections available here will be displayed. Some display information, while others will allow you to carry out certain actions on your PC.
Finally, if you want to upload the data of your graphics card to the GPU-Z database (this process is voluntary, of course), click on the Validation tab, enter the indicated data (some are optional, as you can see), click Submit and, in a matter of seconds, the data will be uploaded and you will get a link (you can also select to have it sent to your email inbox) with the validated data. For example, in the case of this test with my PC, you can see the validated data (which is what is shown in some of the screenshots) at this link.

