This is a program that we have told you about many times in the past. The main reason for all this is that Kodi is a multiplatform multimedia center that can turn our computer into a complete computer for management of these files. This can be done thanks to all the functionalities that it makes available to us. So, as you can imagine, its development focuses on playing all kinds of multimedia content.
And not only that, since in addition to the reproduction of music, videos, photos, or television channels, Kodi also takes care of managing all the contents. On the other hand, we will tell you that one of the greatest advantages that this proposal presents us is that we can install it in all types of platforms. With this is what we want to tell you is that not only can we use it in conventional desktop computers or laptops with Windows. In the same way we can use this software solution in devices based on Android, mobile, on a Raspberry Pi, on the console, etc.
Therefore, and as you can imagine, this opens up a wide range of possibilities in all kinds of products. In addition to this we have the possibility of installing the multimedia center on a device such as a Raspberry or a console, and play directly on the TV.
How to manage the contents and parameters of Kodi
Over the years, this is a program that has not stopped growing and evolving, and we must also bear in mind that we are among a powerful open source project. Therefore and as expected, thanks to the work of all its developers, Kodi has a multitude of configurable options. These allow us to configure to the maximum both the reproduction and the management of all multimedia content available. What’s more, we refer to files both locally and via streaming.
Despite all the customizable parameters that the software presents to us, it also allows other timeless developments to be integrated into the program. In this way, what we achieve is to provide Kodi with new functions that are not available natively. What we tell you we achieve thanks to the installation of so-called add-ons or complements. In this way, between the parameters that we have changed and these added elements, over the years Kodi could have changed a lot compared to its original configuration.
We must be very clear that all the changes that we are making in the software are associated with our user. And it is that the multimedia center that we are talking about in these lines allows the independent use of several user account. In addition, each of these will have its own preferences, interface, options, playlists, or design.
But we can find ourselves with a serious problem that can affect anyone at any given time. We mean that it may be the case that the program is damaged. The reasons for this can be multiple, since the operating system crashes, the PC is damaged, we are victims of a virus attack, etc. Any reason for these could lead us to be obliged to format the computer.
How to save media center settings
At this point, in addition to the many problems that we will encounter, we will lose all Kodi configurations and customizations. This inconvenience will mean that we will have to start from scratch with this software, which is not going to be fun. However, we are going to help you, we are going to show you how to create a backup of the program’s configuration data. Therefore, in case of disaster, we can already restore a copy of these in the new Kodi.
And that’s not all, since it will also be very useful when migrating from one platform or equipment to another carrying everything stored in a user. Well, for all this that we tell you, we will use one of the aforementioned accessories. That is, we are going to carry out a backup of the settings on Kodi with an add-on called Backup.
Install Backup Addon on Kodi
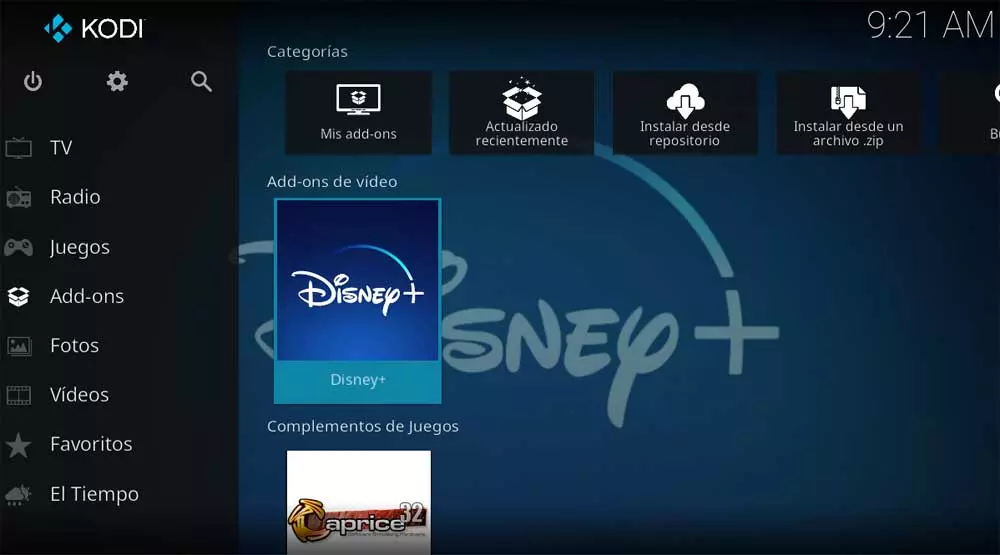
Therefore, for all this that we tell you, the first thing we are going to do is launch Kodi in a conventional way to perform the backup. In the main interface of the application, in the left panel we click on the option called Add-ons, and then in the next window we go to Add-ons for games.
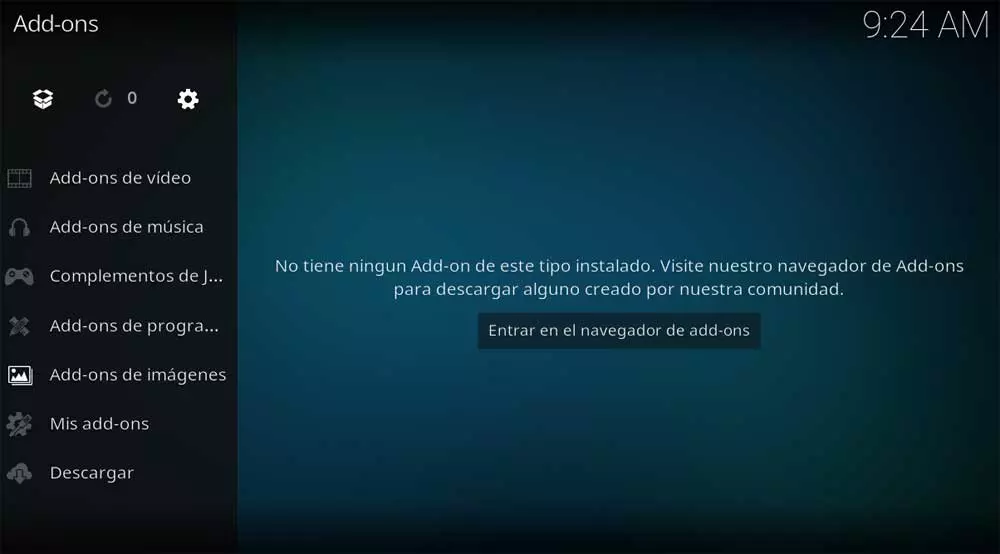
At this point we must bear in mind that this complement is part of the repository that the program presents to us. That means we don’t have to install anything extra. When placing the cursor in the section of Program add-ons, in the right part of the window we find a button that reads Enter the Add-ons browser, where we click.
Next we find a long list of elements of this type belonging to the program’s repository. Now we only have to locate the entry corresponding to the complement called Backup.
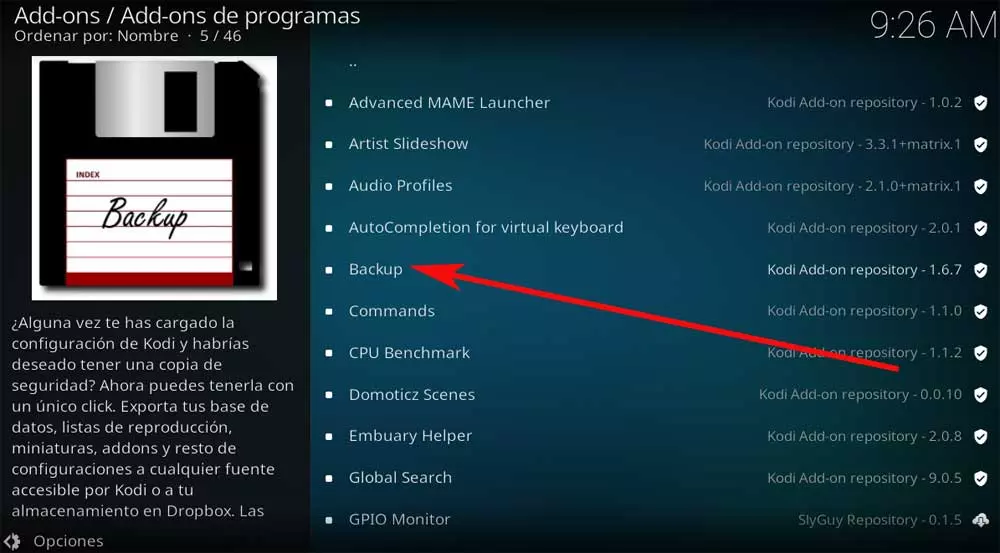
Once we have selected it, in the new window that appears we just have to click on Install. At that time the item will begin to download and will be added to the program as such. When the installation is finished, we can click again on that same entry to configure the plugin.
How to configure backup add-ons
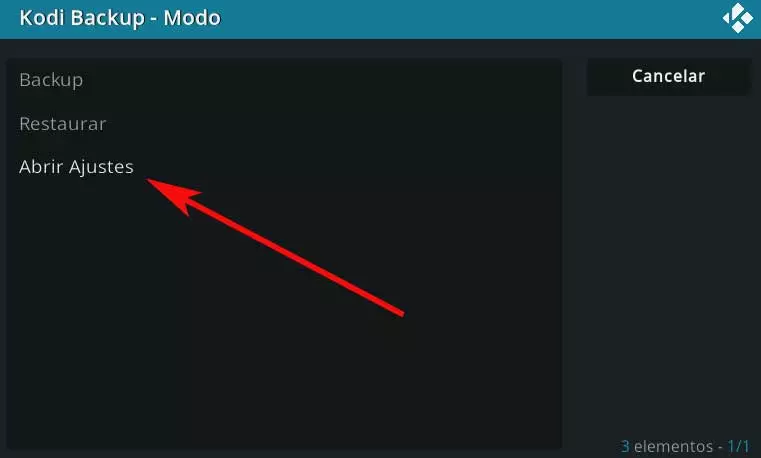
Now what we are going to do is configure the process backup from Kodi to save all your settings. This is something that we are going to achieve by clicking on the Open settings option.
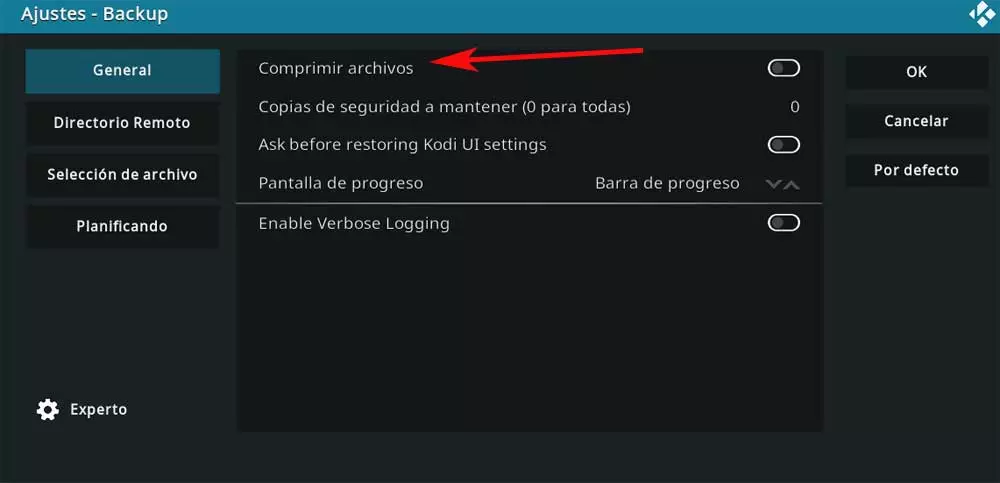
Here we are going to find a new window made up of a series of tabs, in the first one called General. In it we have the possibility to activate the option called Compress files, which allows us to make a backup copy take up less space. On the other hand, if we go to the option called Remote Directory we can select the Location where we want the backup to be stored.
Another very important tab that we find here is File Selection. And it is that from it we can select all those elements that we want to include in the backup. Here we find the user profiles, playlists, installed add-ons or configuration files.
Finally, we will tell you that this add-on allows us to program an automatic backup system. For this we only have to go to the planning tab to enter the times when we want this backup to take place.